
General Settings control form-wide labels, entry storage, what happens after a successful submission, and optional HTML form attributes. Configure these options separately for each form.
Open General Settings
- In WordPress, go to Kali Forms > Forms.
- Edit the form you want to configure.
- Select Settings in the builder navigation.
- Select General Settings in the Settings menu.
Kali Forms autosaves changes made on this screen. Wait for Autosaves automatically to indicate that the update has completed before leaving the builder.
Configure general labels
Open the General tab, then configure the options that apply to your form:
- Required field mark appears beside required field labels. Its default value is
*. - Multiple selection separator is intended to separate several selected values when Kali Forms converts them to one text value. Its placeholder is
,. - Global error message is the fallback message for a submission or network error. Its default value is
Something went wrong. - Hide form name removes the form title from the front-end form when enabled.
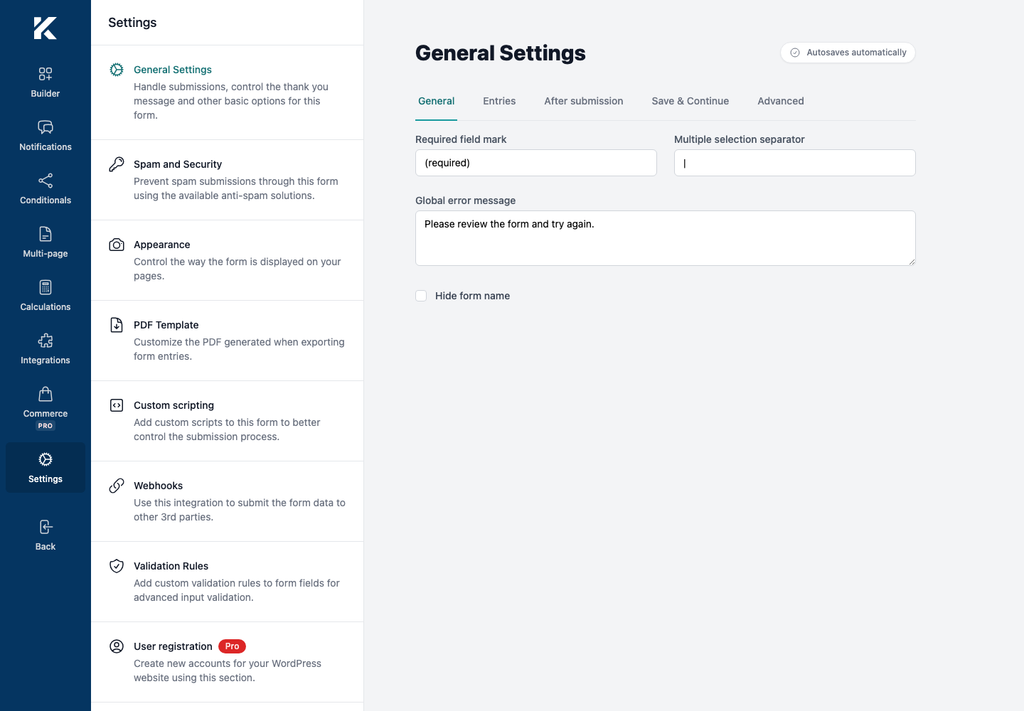
Use a short required-field mark that remains clear beside every required field.
Store submitted entries
Open the Entries tab and enable Save form entries when you want Kali Forms to create a WordPress entry for each successful submission. Disable it when the submitted values should only be handled by notifications, webhooks, or another configured integration.
Saving entries stores submitted form data in the WordPress database. Review your retention and privacy requirements before enabling this option.
Choose what happens after submission
Open the After submission tab. You can configure:
- Reset form after submit to clear the submitted values after a successful submission.
- Show thank you message to replace the form with the configured message.
- Scroll to thank you message to move the visitor’s viewport to that message.
- Conditional thank you message to select a different message according to submitted values.
- Redirect URL to send the visitor to another page after submission.
- Redirect timeout (seconds) to control how long Kali Forms waits before redirecting. The default processing fallback is 5 seconds.
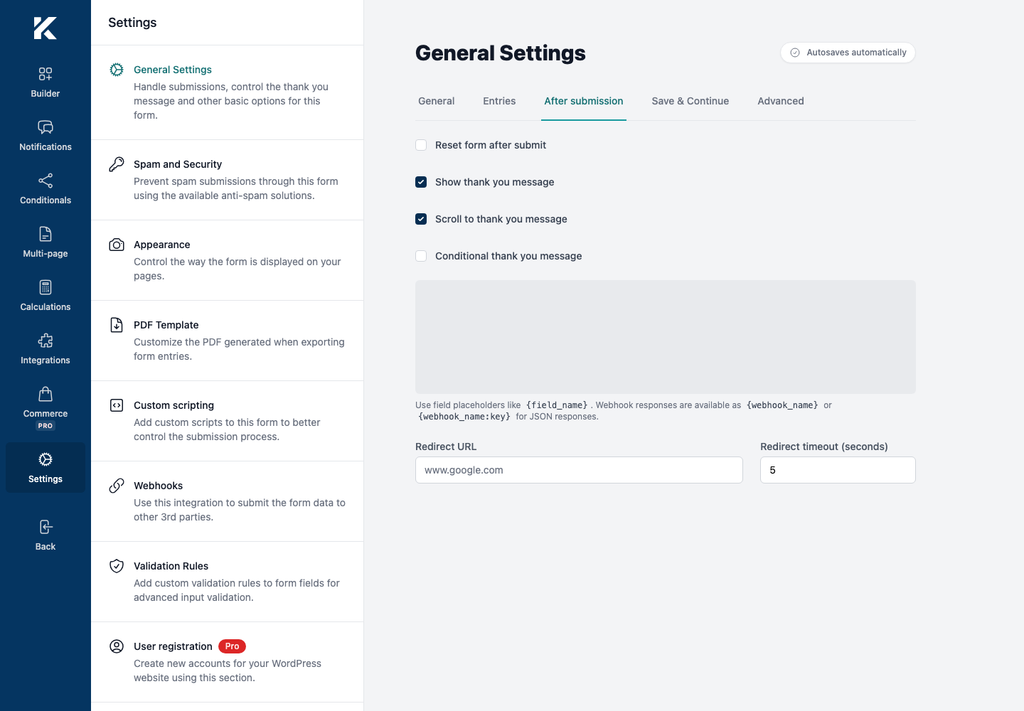
The thank-you message accepts field placeholders in the form {field_name}. Webhook responses are available as {webhook_name} or {webhook_name:key} for a JSON response. Use placeholders only for fields and webhooks that exist in the same form.
If you configure both a thank-you message and a redirect, the message can appear during the redirect timeout. Test the complete submission on a published page.
Configure Save & Continue
The Save & Continue tab lets eligible Pro users allow visitors to save their progress and resume through a unique link. In Kali Forms 3.0.0, this feature requires the Agency plan. If the tab displays Pro Feature and an Upgrade button, it is not available with the current license.
Configure advanced form attributes
Open the Advanced tab to configure the HTML form element:
- Form action changes the URL that receives the form data. Leave it empty to use Kali Forms’ normal submission processor.
- Form method sets the request method to
GETorPOST. - Form CSS Id sets the form element’s
idattribute. - Form CSS Class adds a class to the form element.
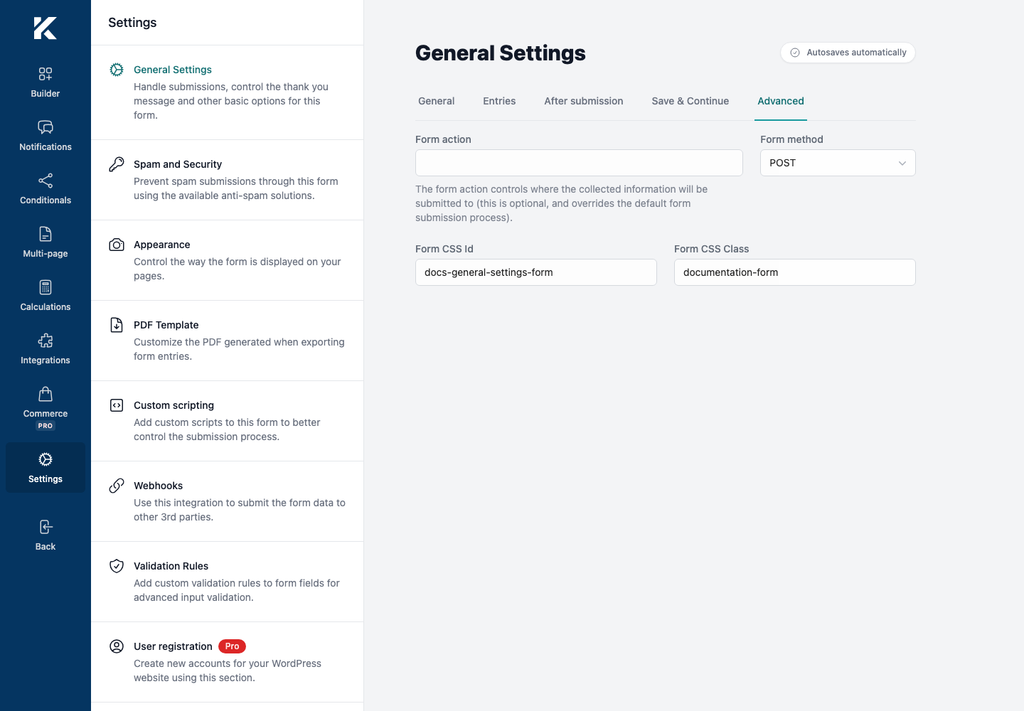
Changing Form action can bypass the normal Kali Forms submission flow. Configure it only when the receiving endpoint and data-handling requirements are known. Use Appearance or your site’s stylesheet for visual changes; the CSS ID and class only provide selectors.