
Kali Forms provides three ways to create a form: generate a draft with AI, start with a predefined template, or add fields manually. This guide explains when to use each method, then walks you through the Contact form template to create a working form with common contact fields and preconfigured email notifications.
Open the form builder
In the WordPress dashboard, go to Kali Forms > Add new form.
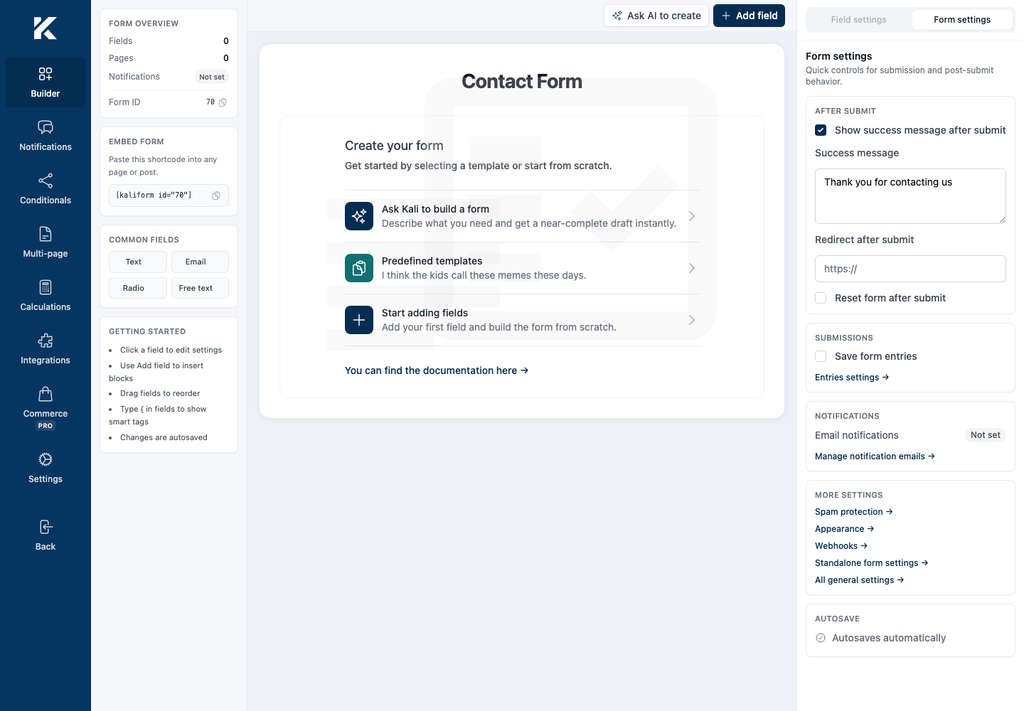
Choose how to create the form
All three methods open the same builder. The difference is how much of the initial form Kali Forms prepares for you.
Ask Kali to build a form
Use Ask Kali to build a form when you know the result you need but do not want to choose and arrange every field manually.
- Select Ask Kali to build a form.
- In What kind of form do you need?, describe the form’s purpose, fields, and any special requirements.
- Select Generate draft.
- Review the generated fields, layout, and settings.
- Select Apply to form when the draft meets your requirements.
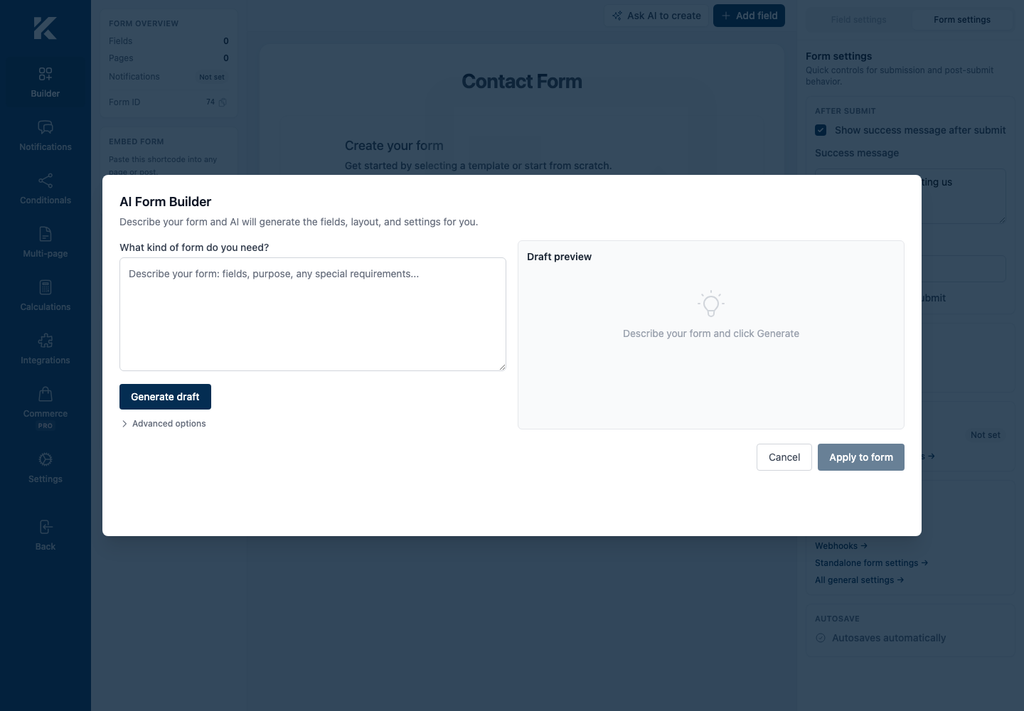
Include specific requirements in the prompt. For example:
Create an event registration form with name, email, phone number,
number of attendees, dietary requirements, and a required consent checkbox.
AI output is a starting point. Before using the form, review field labels, required-field settings, validation, notifications, entry storage, and the success message.
Use a predefined template
Use Predefined templates when an available template already matches your goal. Templates provide a consistent starting structure and may include configured notifications and settings.
- 1. Select **Predefined templates**.
- 2. Browse the available template categories.
- 3. Select the template that best matches the form you need.
For the remainder of this guide, under General, select Contact form.
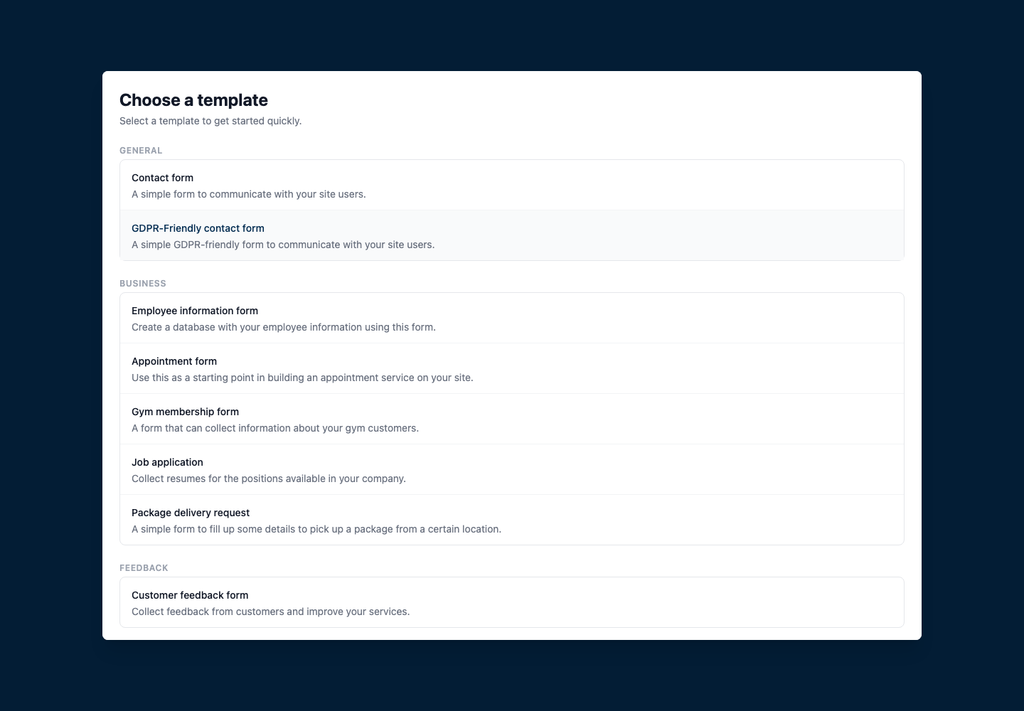
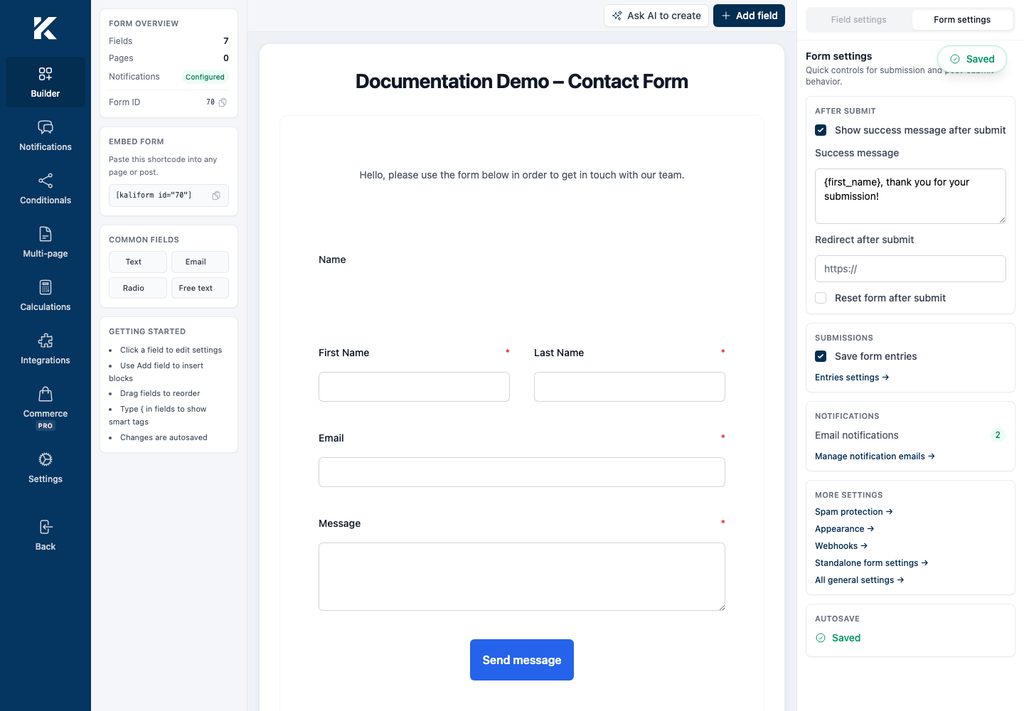
Kali Forms adds the template to the builder. The Contact form template includes a heading, introductory text, first-name and last-name fields, an email field, a message field, and a submit button. It also includes two configured email notifications.
Start adding fields
Use Start adding fields when you want complete control over the form structure or when no template matches your use case.
- Select Start adding fields.
- Browse or search the field catalog. Fields are grouped under Standard fields, Advanced, Payments, and Buttons.
- Select a field to add it to the form.
- Select the field on the canvas to open Field settings.
- Configure its label, validation, options, and other available properties.
- Continue adding fields, then drag them to reorder or resize the layout.
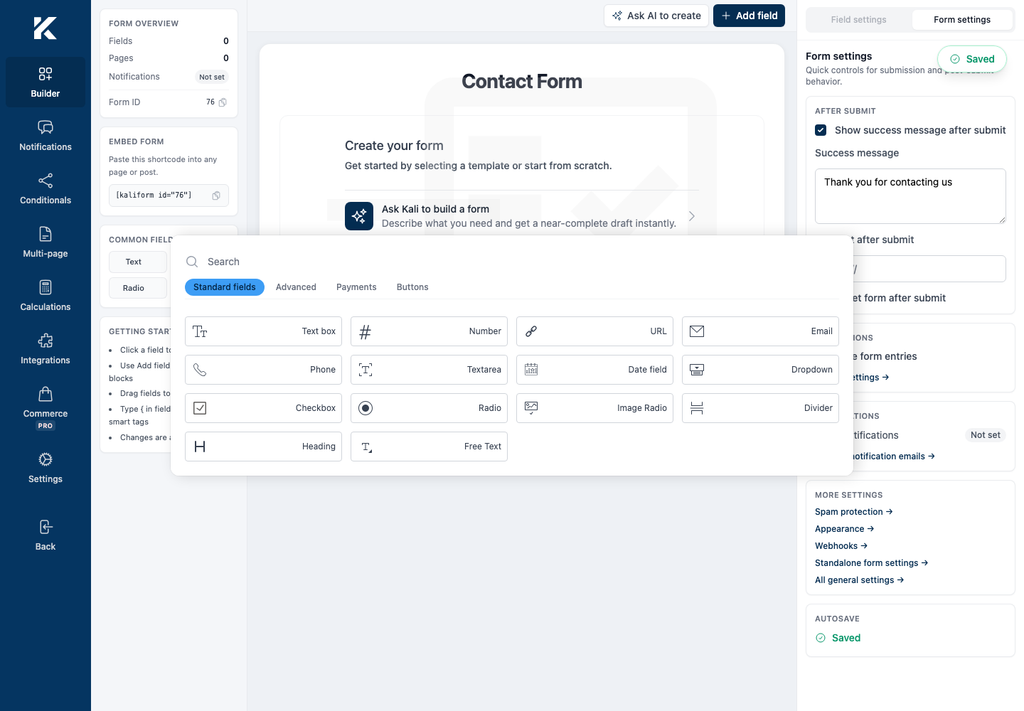
Some advanced and payment fields require Kali Forms Pro or an enabled extension.
Customize the Contact form
Select the form title at the top of the canvas and enter: Documentation Demo – Contact Form.
Review the Form settings panel on the right:
- Keep Show success message after submit enabled if you want to display a confirmation message.
- Edit the Success message if needed.
- Enable Reset form after submit if the fields should be cleared after a successful submission.
- Enable Save form entries if you want to store submitted entries in WordPress.
Wait until the Autosave section shows Saved.
Copy the form shortcode
In the left sidebar, find Embed form and copy the generated shortcode. It has the following format: [ kaliform id=”FORM_ID”]