PayPal is one of the leading payment gateways, offering secure and easy ways to make and accept payments online. In this article we will provide a step by step guide on how to start accepting payments through your forms. Kali Forms handles payments through PayPal Smart Buttons.
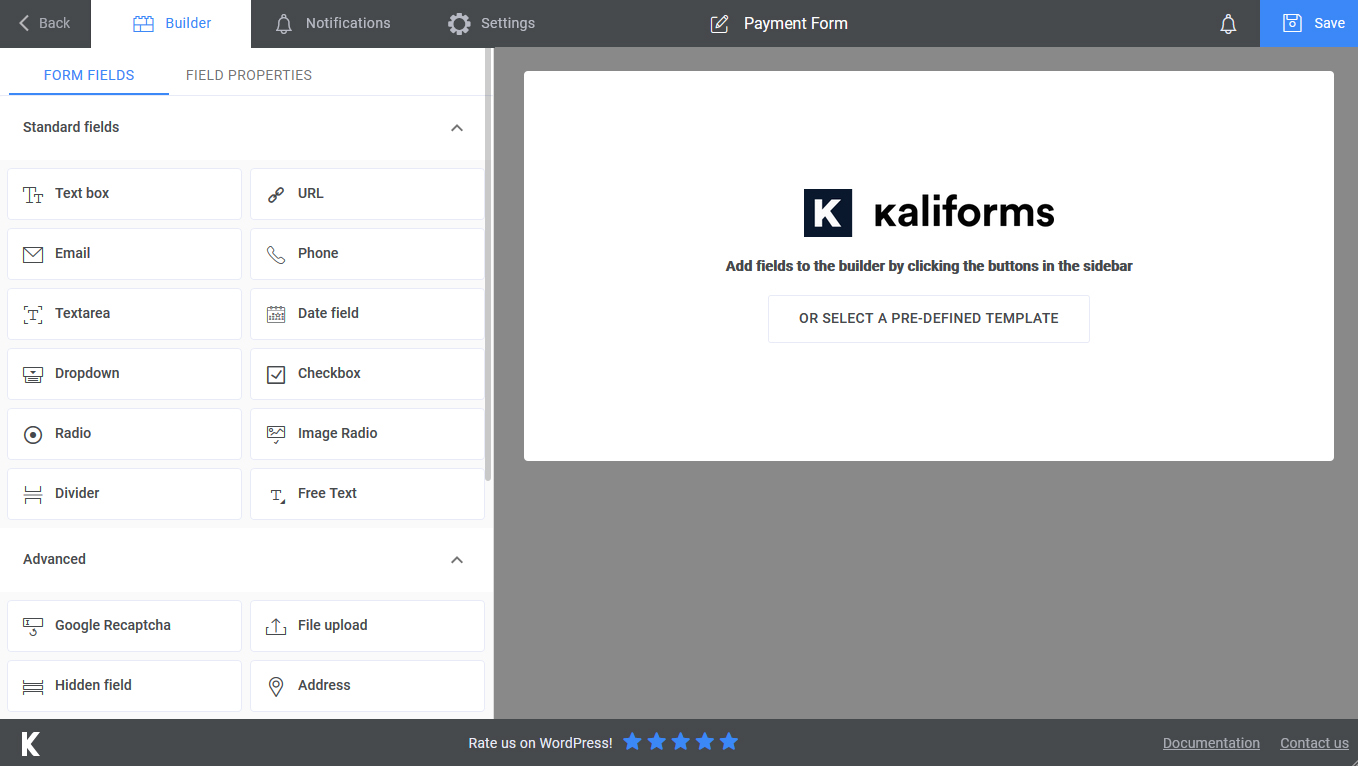
1. First we will need to create a new form. This is done with the help of the Add new button available in the Kali Forms dashboard.
2. Next we will start adding the form fields, in this example we will use:
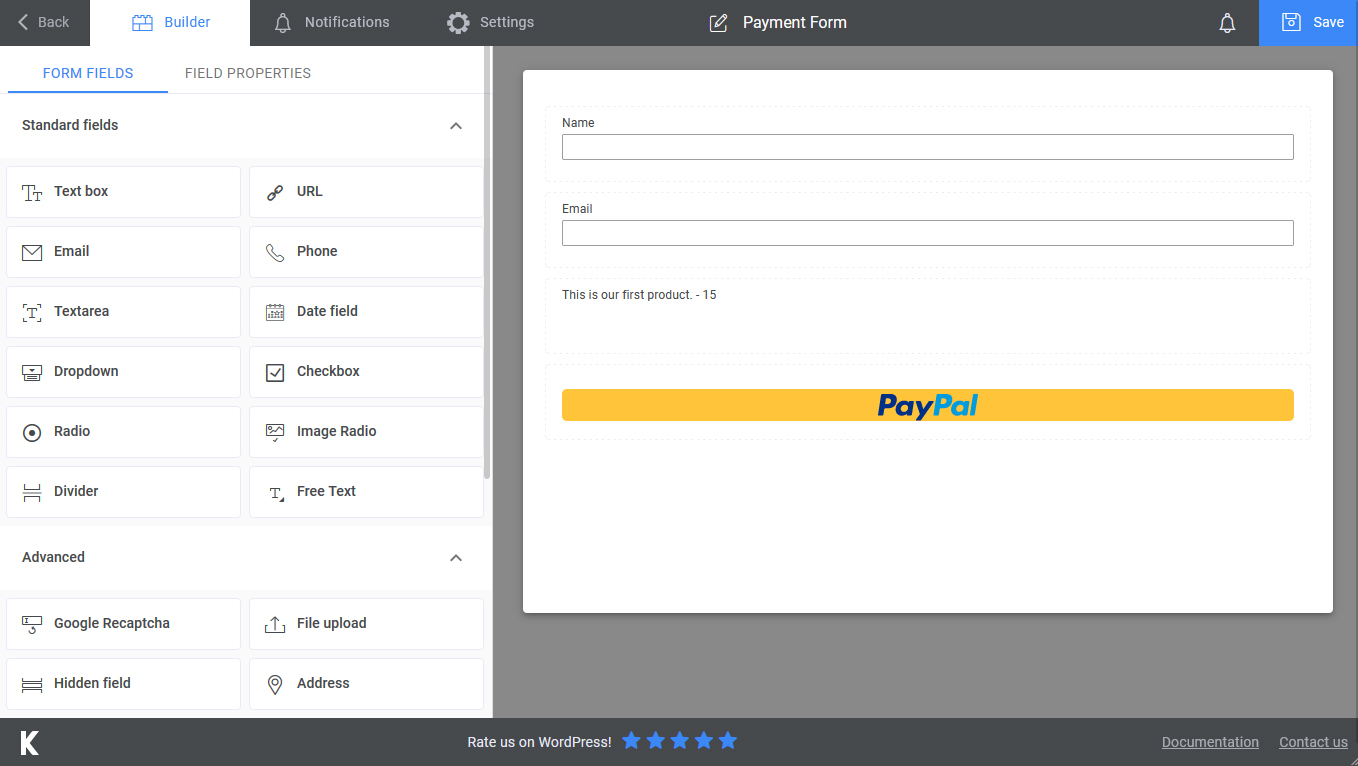
Name – this will help collect the customer name
Email – this will help collect the customer email
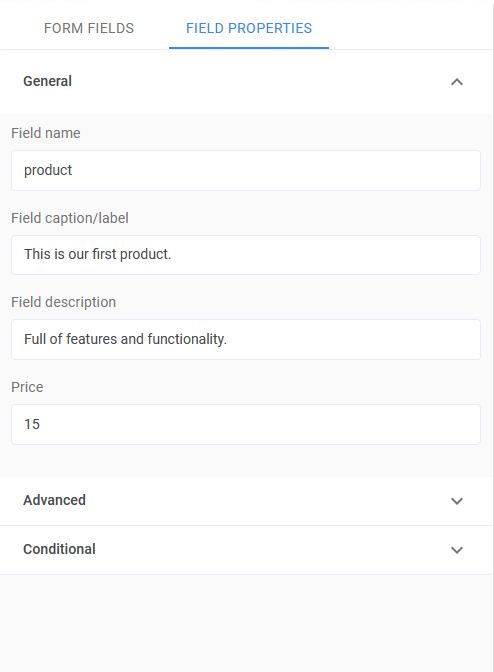
Product – this field will help us define the product or service that is up for sale through our form.
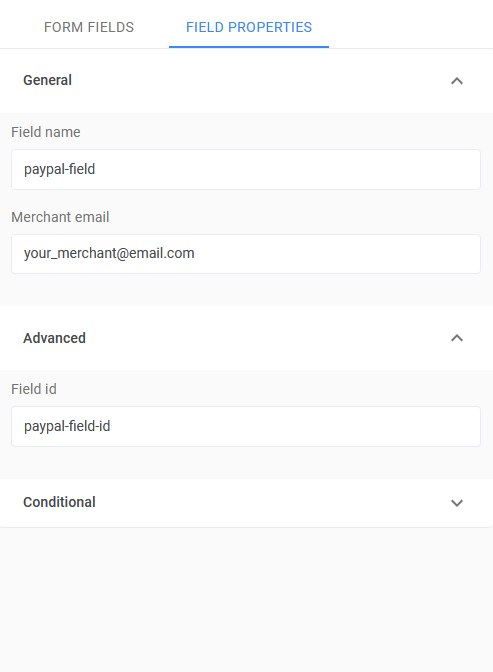
PayPal – this field will help us set the PayPal account that will receive the payment
Submit – this will help submit the form
3. After the fields are set we will need to choose the integration type: Live or Test/sandbox. This is easily done through the Live transactions toggle in Settings > Integrations.
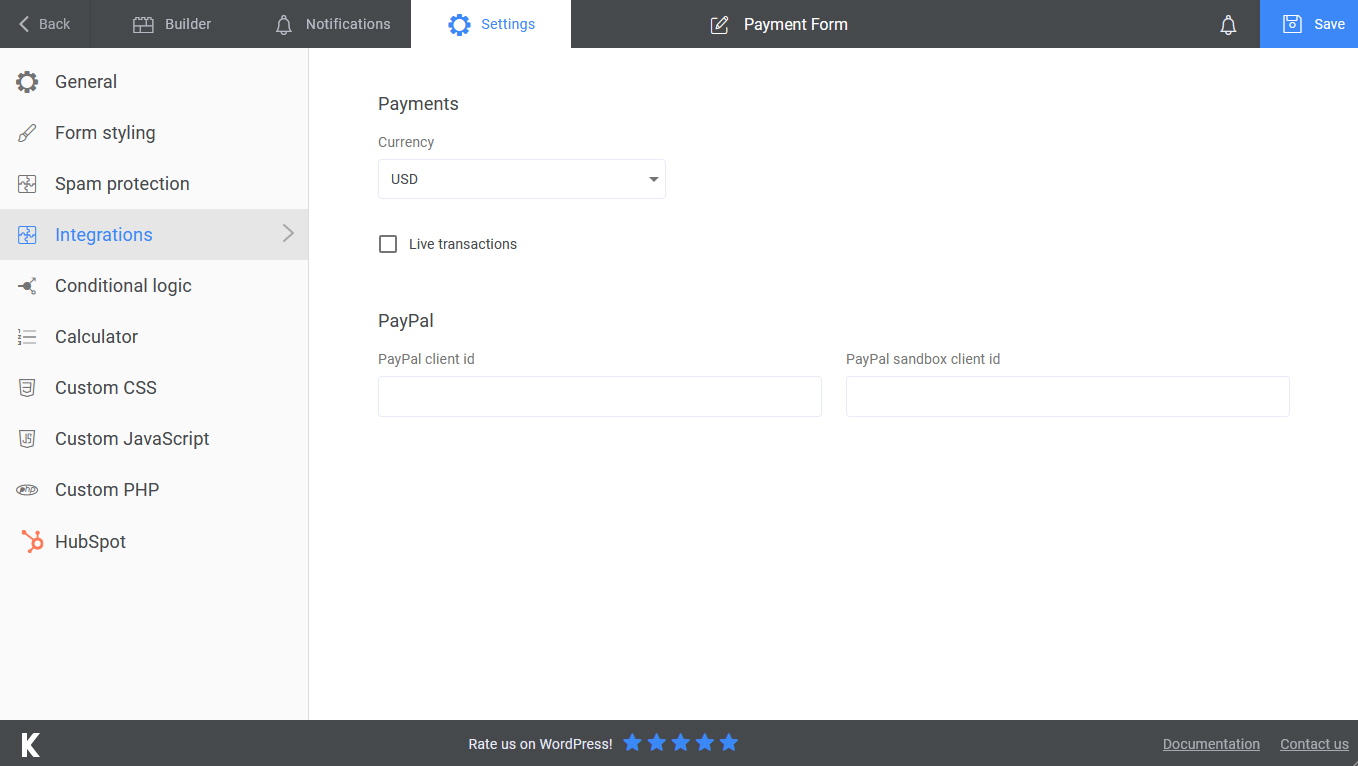
4. Lastly we need to add the PayPal client ID. This can be retrieved from your PayPal developer account.
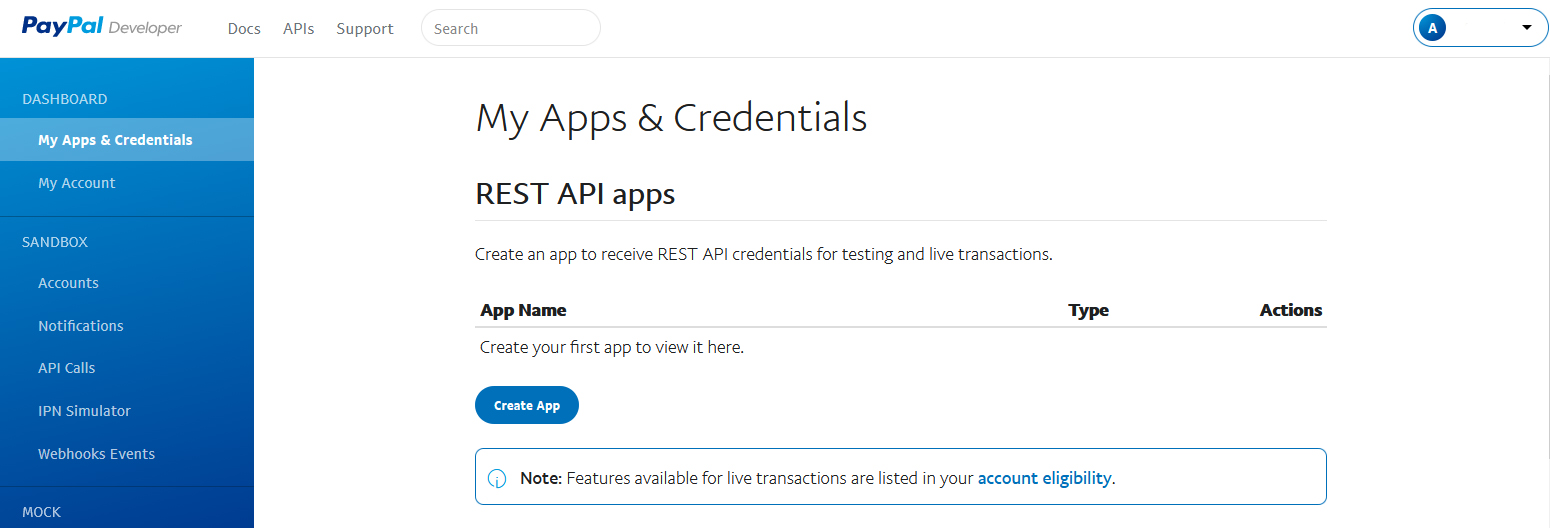
- log into the developer dashboard
- on the top right side of the page access your account Dashboard
- click the Create App button
- set the App name
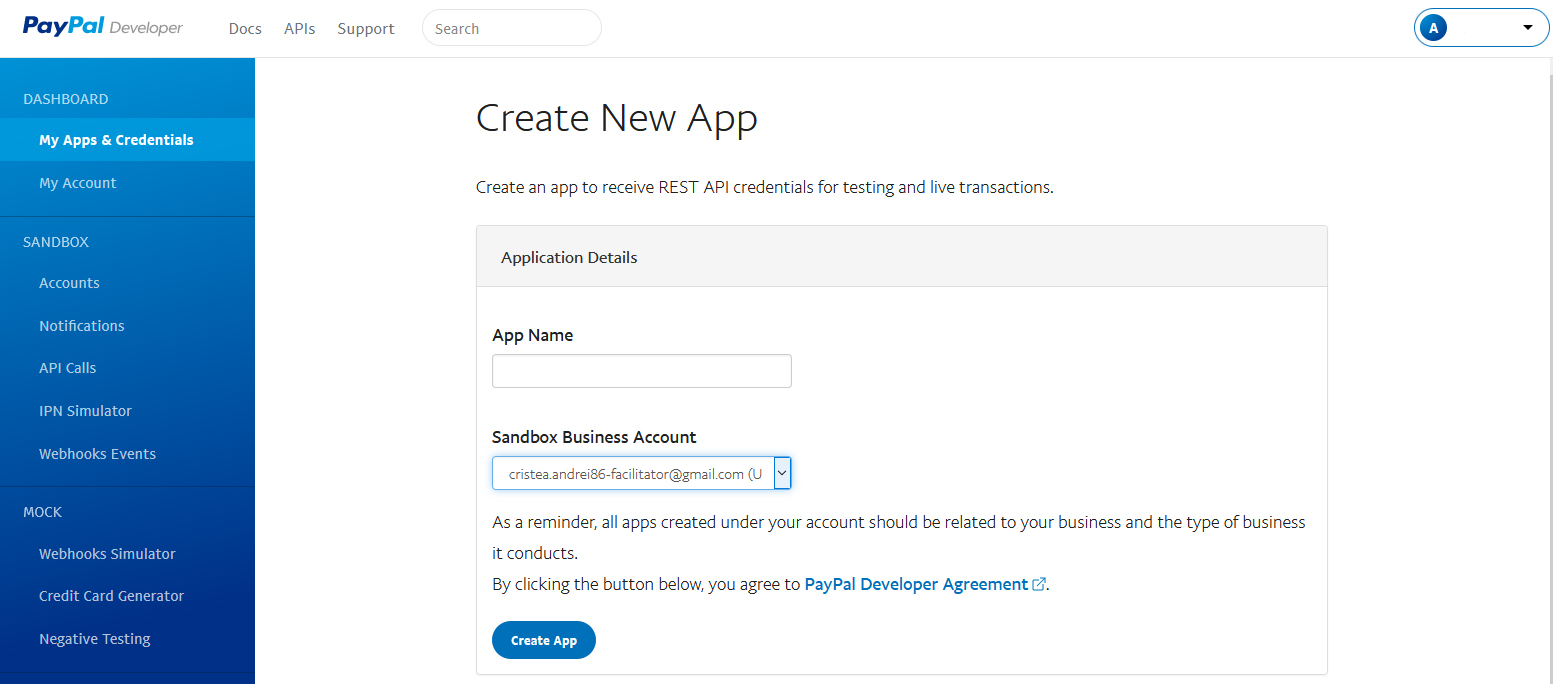
- the Client ID will be generated now and you can copy the sandbox or live ID based on your desired scenario

5. Now that we have all the information we need we can save the form and publish it in the front-end using the kaliform shortcode.
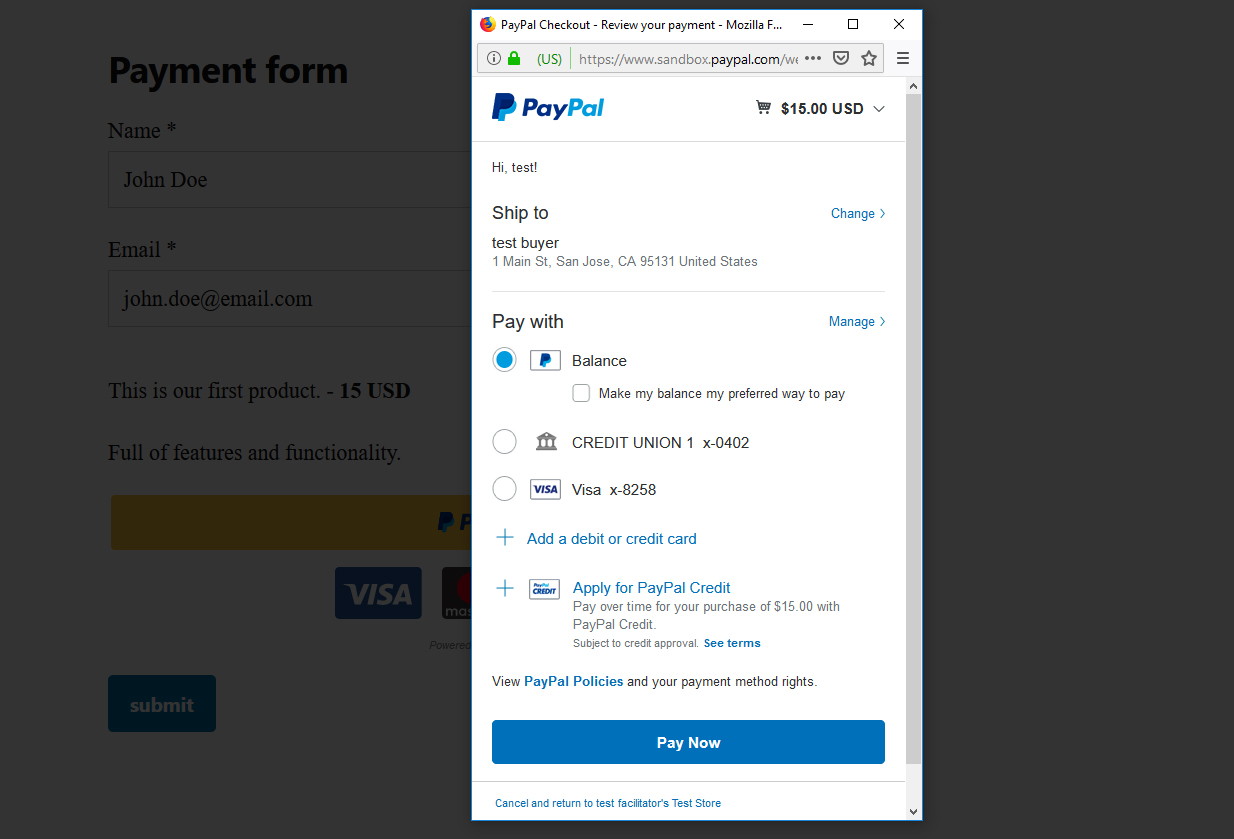
When the user clicks the PayPal Smart Button they will be prompted to log in using their PayPal account.
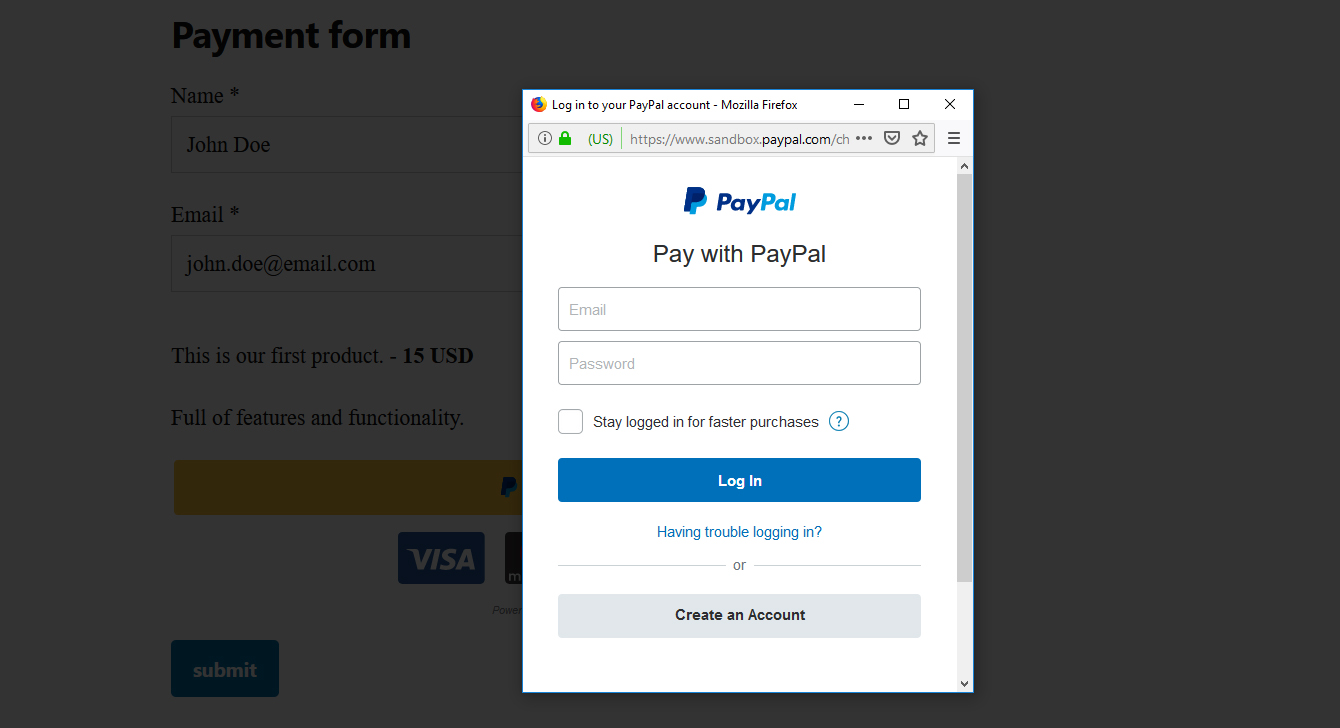
After logging in they will need to complete the payment using their desired payment method.