
With the Webhooks add-on you can easily submit the form data to a 3rd party service. This opens a lot of options for integrating Kali Forms with services that can help grow your business.
When configuring a webhook for your form, you can add a name for each hook. This is vital for displaying the result in the thank you message since the name will be used by the plugin to create a smart tag for displaying the result.

We will provide two cases for this functionality:
1. When the response is a simple string/message. This can be easily displayed in the thank you message by adding the name of the configured webhook between curly brackets in the thank you message. For exmaple if your webhook is named my-first-webhook, then the response from this can be displayed using {my-first-webhook}.
You can easily test this with the help of the webhook.site. Here you can simulate the functionality of a webhook request and also control the response type and details. To configure this you will need to:
- copy the Your unique URL value and use this in the webhook configuration Payload URL, this is to ensure that the form data is sent to the correct location;

- after configuring your Webhook you will need to edit the response received from the webhook site. This is done by clicking the Edit button located in the top right section of the webhook.site page;

- next we will need to add the smart tag for the webhook in the body of the thank you message displayed after the form is submitted;
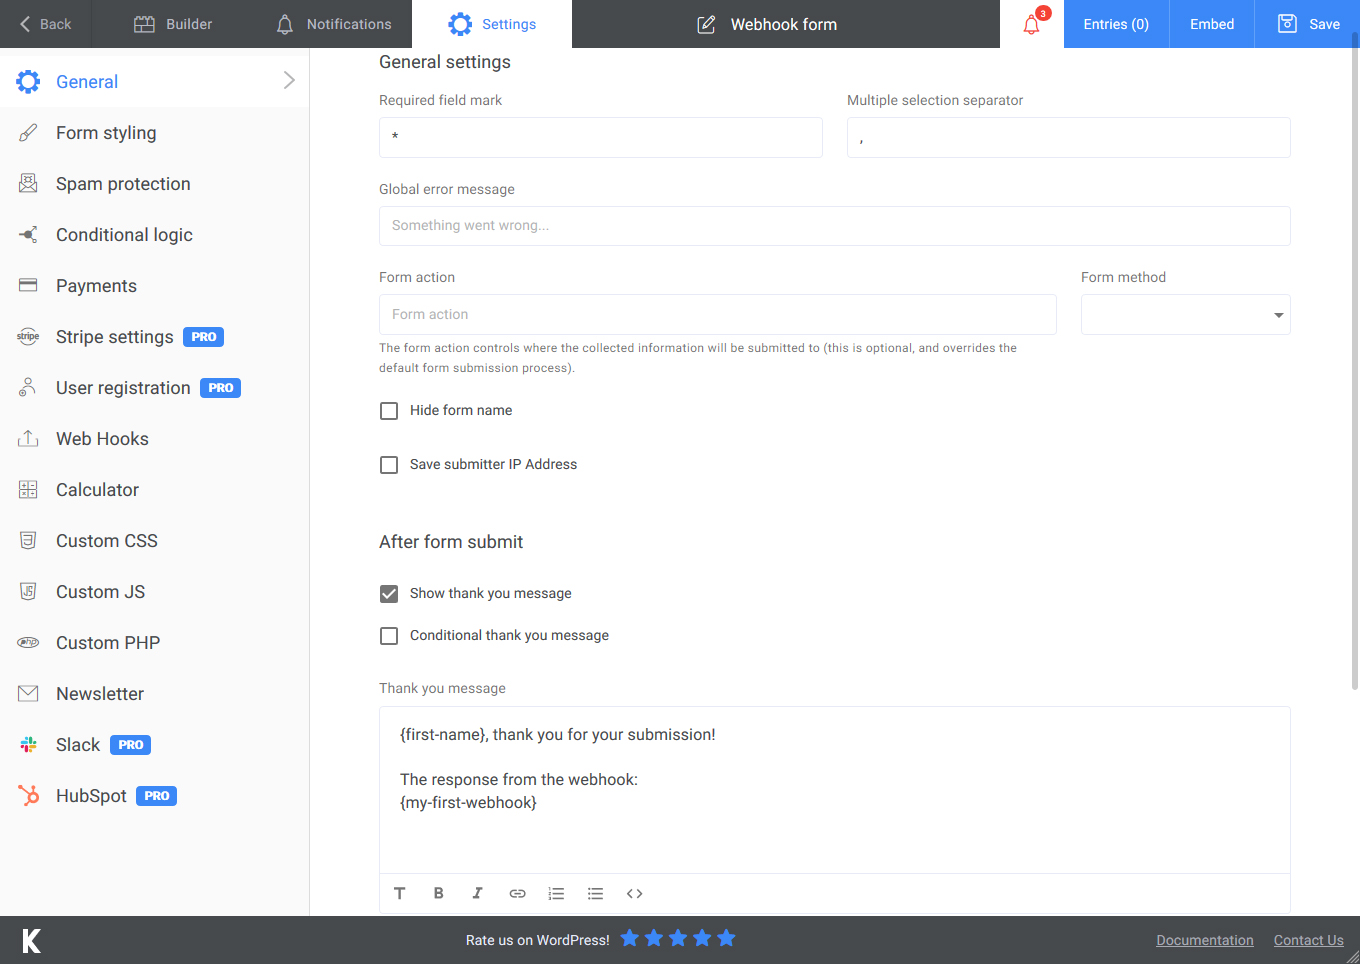
And we are done with the first example, if you have followed the above steps, when the form is submitted the webhook smart tag should be replaced with the custom message you have set for your response.
2. When the response is a JSON, due to the object structure of this response type there will be multiple smart tags generated for your webhook based on the object keys. The easiest way to understand this is through a hands-on example. Let’s say we have a JSON response that provides the following:
{“first-key”:”hello”,”second-key”:”world”}
Since we have two keys in our response, this will generate two separate tags:
- {my-first-webhook:first-key} : this will return the value of the first key = hello
- {my-first-webhook:second-key}: this will return the value of the second key = world
Using the same webhook configuration, on the webhook.site we will edit the response and set this as a JSON:

Then we will need to add the smart tags for each key in the body of the thank you message displayed after the form is submitted;
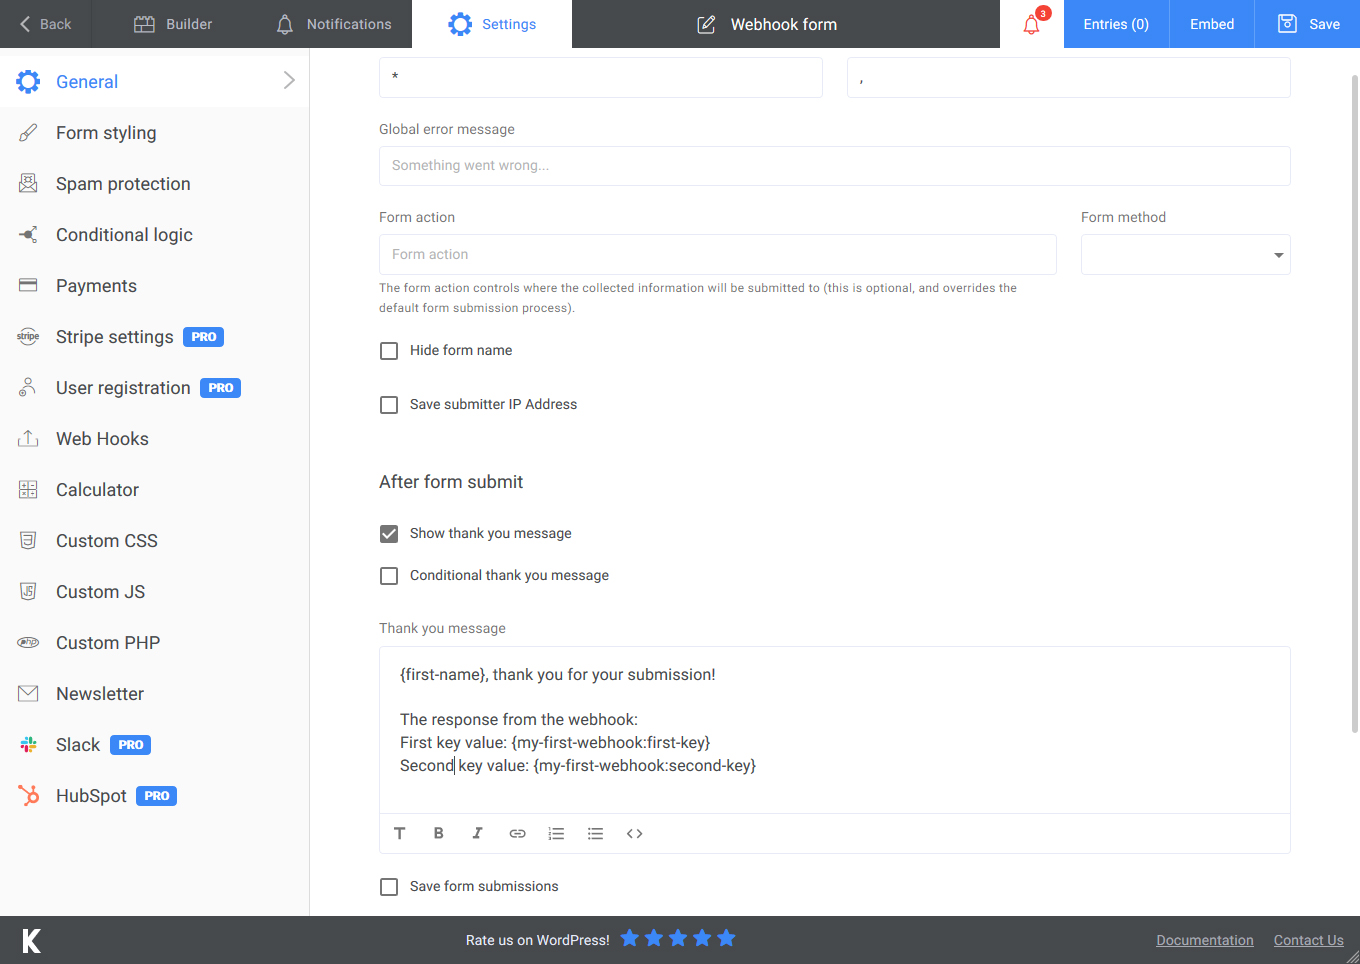
After the form is submitted each smart tag will be replaced with the value of the respective key.