
With the help of this add-on you can start mapping your form entries to the popular Google Sheets service.
This add-on is only available to Kali Forms Pro users.
In order to use this integration you will need to first establish a connection between your forms and your Google account, then map the inforamtion to your desired Google sheet.
- Access the Google Developers Console.
-
Start by creating a new project. Set a name and location, then save your settings.

-
After selecting this project you will need to enable the Google Sheets API. This can be done by searching for this API in the dashboard using the search bar at the top of the screen, then using the Enable button on the API page.

-
Next we will also need to enable the Google Drive API as well. This is needed in order to retrieve the list of sheets available in your account so that you can select where you wwant to map the form data to.

- Now click on Credentials from the left sidebar.
-
Click the Configure Consent Screen button.

-
Select the External type and click Create. On the next page add the name of the application: Kali Google, select the support email and also set the developer contact information. After this we can set the Scopes of our application (you can skip this step). In the Test Users step you will need to add your google user account. This is the last step, after adding your test user you can return to the Dashboard.

-
Now we return to Credentials section and use the Create Credentials button to generate the integration keys. In the create credentials window select the OAuth client ID option. Next we also need to set a name for this, along with the Authorized Javascript Origins (this is your website URL) and the Authorized redirect URIs (you can retrieve this from your WordPress dashboard – Kali Forms – Google Sheets section). Save your current settings.

-
Copy the Client ID and Client secret keys and paste them in your WordPress dashboard – Kali Forms – Google sheets section.
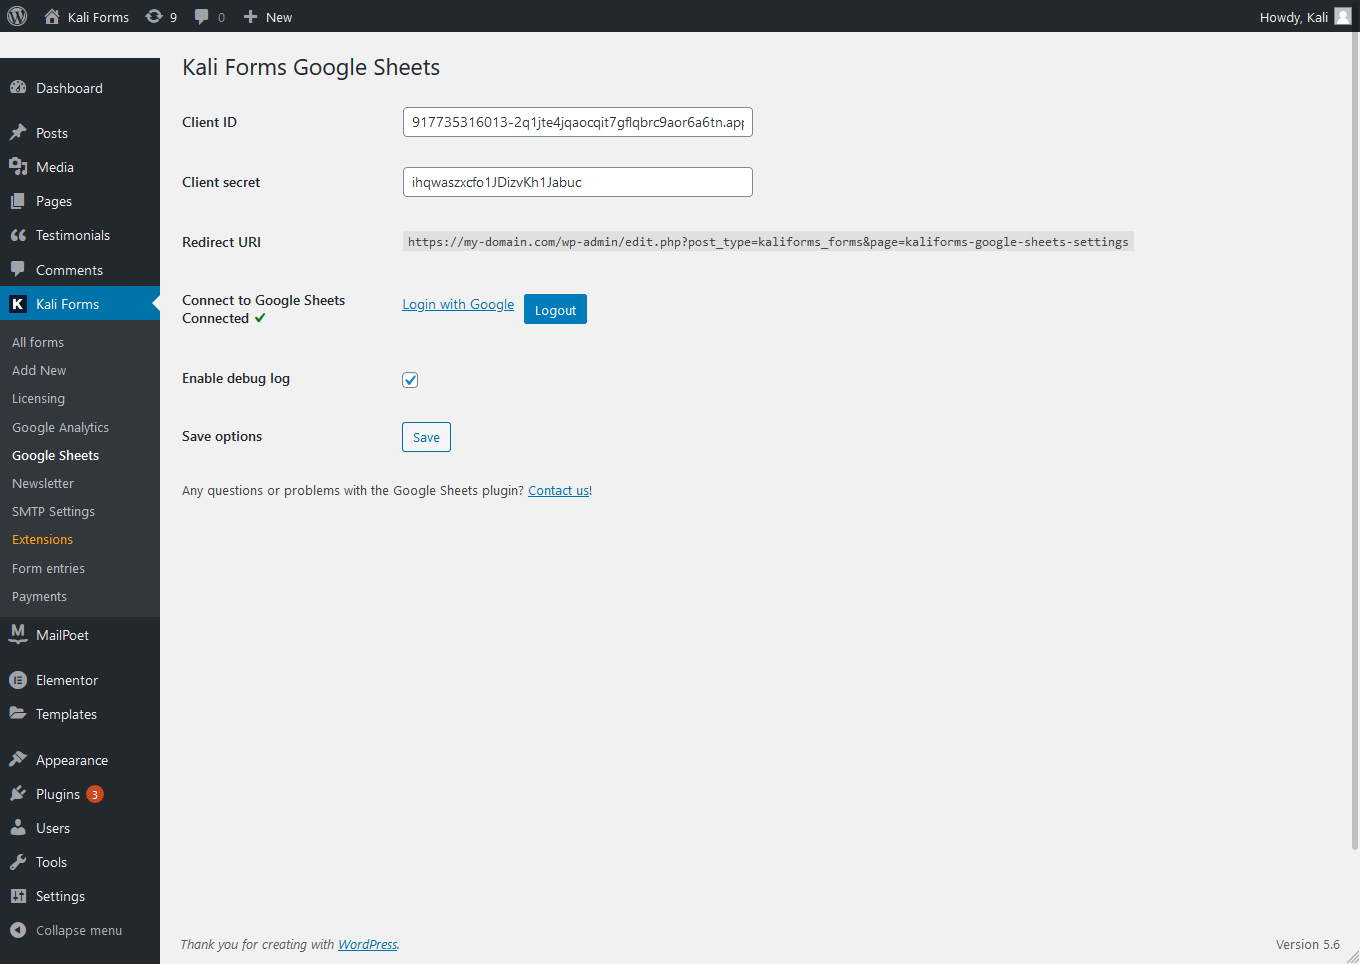
- Save the two keys using the Save options button.
- Next use the Login with Google link to set the permissions for this integration. Click Continue on the first window, the make sure to allow all the following required permissions for your account.
Now that the connection to our Google account is created, we just need to map the form fields to our desired Google sheet. This is done from Kali Forms – All forms – select your form – Settings – Google sheets.
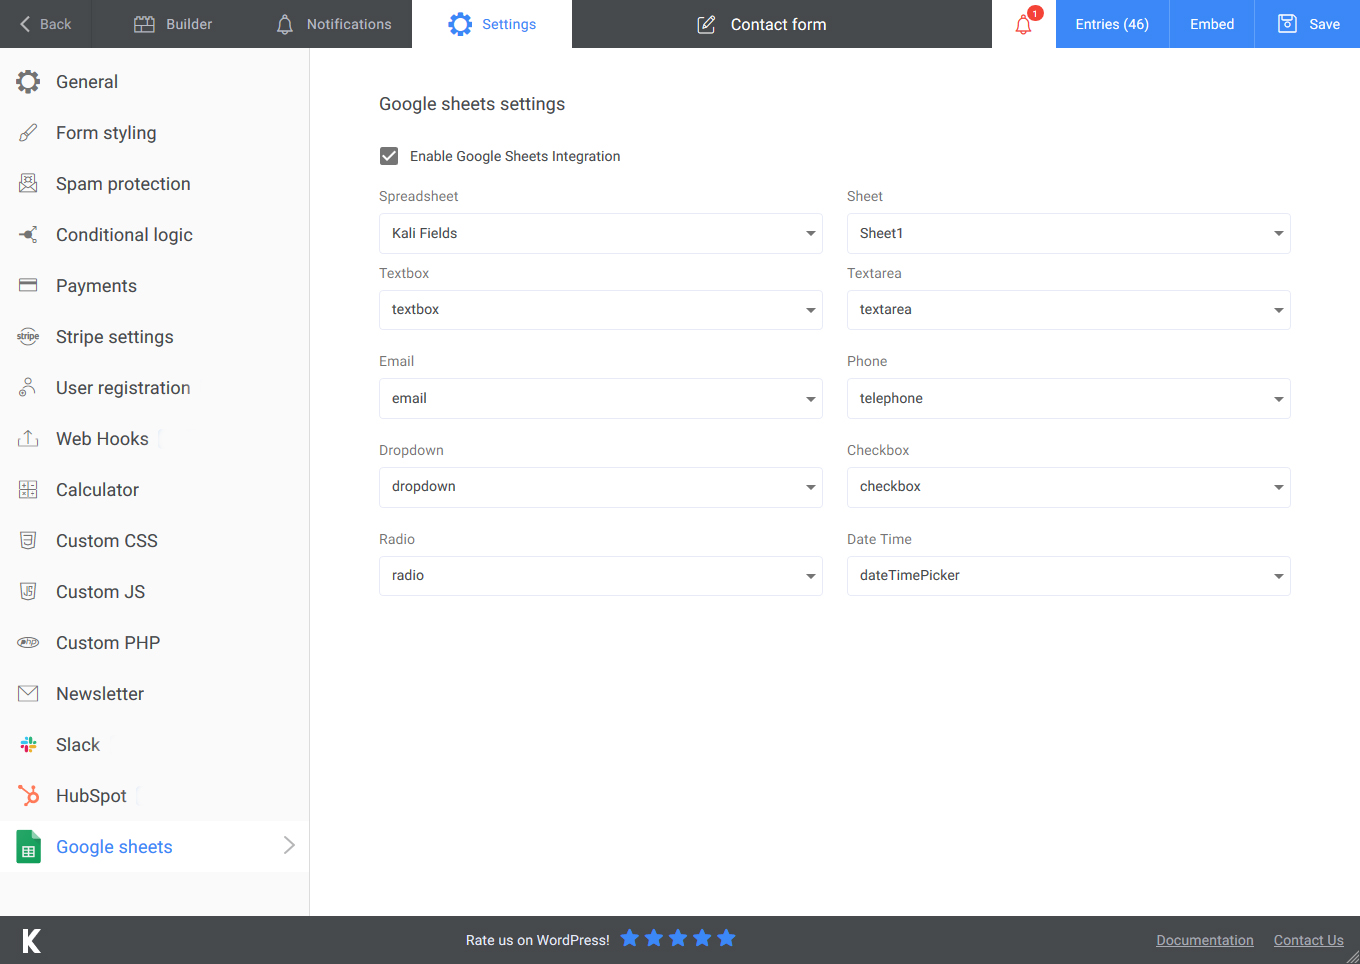
And we are done, your mapped fields will now also be stored in the Google sheet you have selected.