

Are you looking for a tool to help you split your long online form into pages? Look no further. We have everything you need.
When people see comprehensive forms with many fields to fill in, they tend to leave your website. But we’ve got a solution for you. Kali Forms, the most user-friendly form builder, comes with a PAGE BREAK field that split your form into pages. Dividing forms into pages will help you increase form conversion rates and not lose customers.
In this article, we will teach you how to create a WordPress multi-page form using a powerful tool called Kali Forms.
Table of contents
Why use a WordPress multi-page form on your website
As I said before, multi-page forms, also known as multi-step forms, help you increase your site’s form conversion rates.
- Better organization – When creating multi-step forms, you will split information into many areas. In this way, you will have your forms better organized into sections.
- Necessary information – A powerful form builder will provide features that hide and show fields in your forms based on the user selection. All you have to do is add conditional fields to your forms, and you will only collect what you need.
- More forms completed – If you create multi-page forms, you will undoubtedly reduce form abandonment. Your website visitors will be more likely to fill in a form divided into pages rather than a single page with a big bunch of fields.
How to create a WordPress multi-page form
Before we start creating our multi-step form, you will need a website up and running. Most agencies and businesses own a website for marketing purposes. If you don’t have one, you can follow this tutorial on how to create a WordPress website.
But why should you choose WordPress? Well, WordPress provides over 58,000 free plugins to make the user experience more straightforward and increase your workflow. With that in mind, you need to install a form builder plugin to help you create your multi-page form for your website.
I recommend using Kali Forms, the most user-friendly, intuitive, and responsive form builder that will make your work easier.
Install Kali Forms
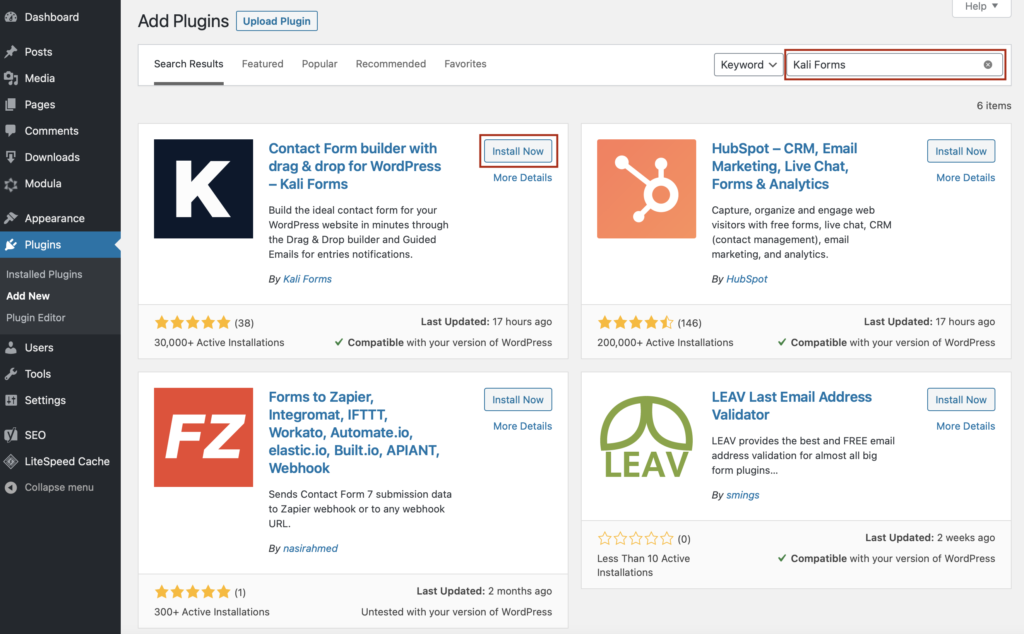
Now, I will show you how to install and activate a free WordPress plugin. Go to your WordPress dashboard > Plugins > Add New.

You will be redirected to a page with all WordPress plugins. In the search bar on the upper right corner, type Kalii Forms. Then, click Install Now.
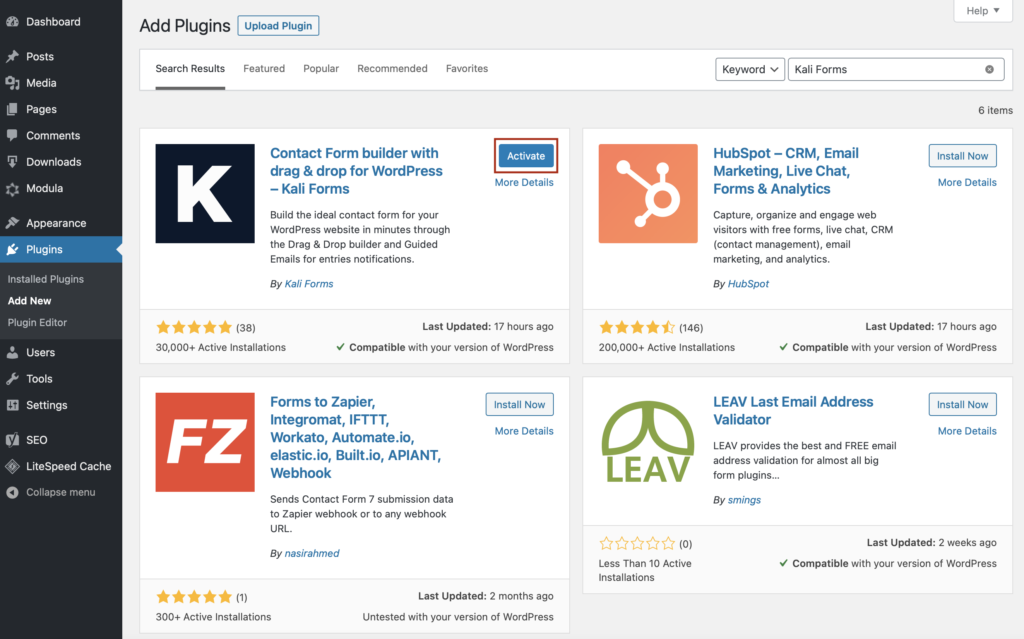
You will have to wait a couple of seconds and after that, click Activate. Now, the Kali Forms plugin will pop up in your WordPress menu.
Creating a new form
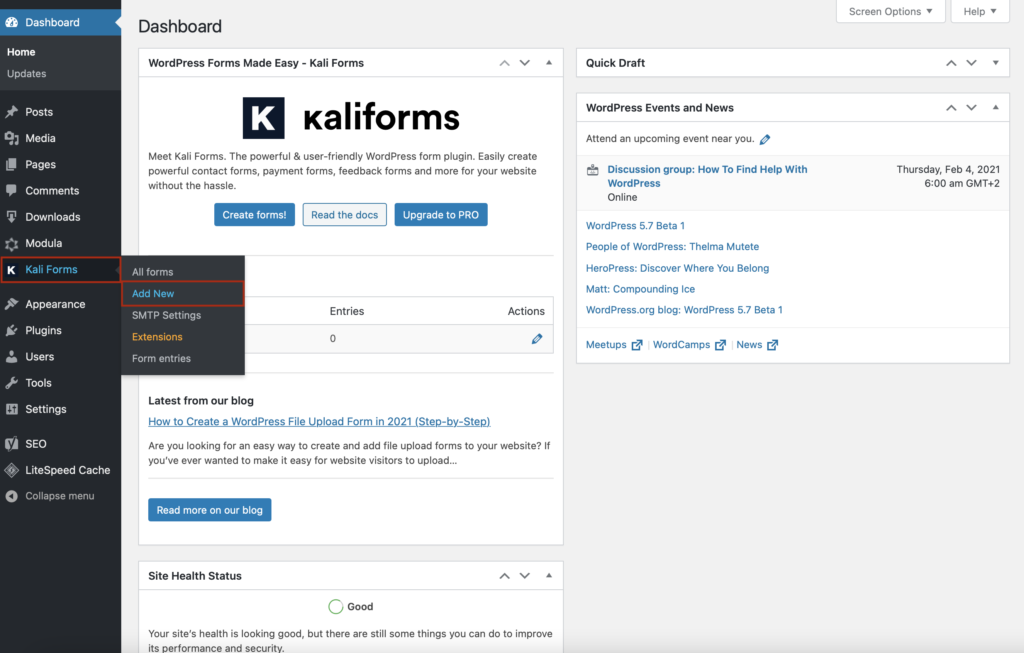
From now on, every time you want to create a form, go to your WordPress menu > Kali Forms > Add New.
You will find yourself redirected to a page with some pre-designed templates. You can use any of them or create one from scratch by pressing Create New on the blank page.

Most websites include a contact form to allow visitors to get in touch with you. But a simple contact form usually has a few fields, so you don’t need to break it into pages.
However, there will be times when you want to build forms with many fields, such as:
- Job application form;
- Customer satisfaction survey form;
- User registration form;
- Request form quote form;
- PayPal payment form;
These forms are much longer, and you’d better divide them into pages to be more organized. Let’s see how to do it.
Split your form into pages
Let’s choose the job application form template for our tutorial and split it into pages. Click on Get started, select a visual style, and press Import.

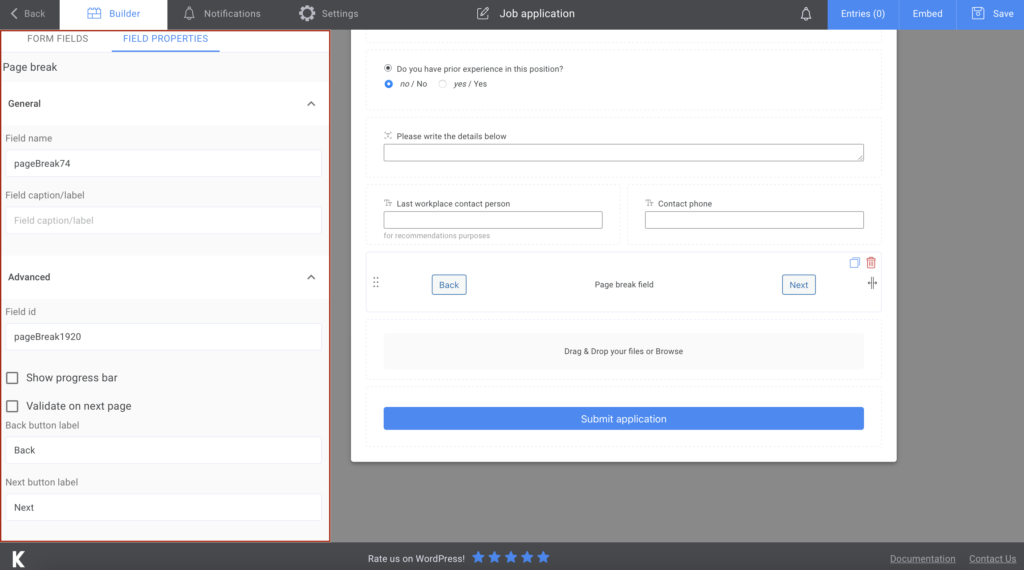
As you can see, our form is split into sections with the Divider field. The divider box online adds a line to your forms to separate the areas, but it doesn’t break it into pages. What will we do now? We are going to delete the Divider field and add Page Break.

You can create as many pages as you want but don’t overdo it. People may be overwhelmed and abandon your form.
Customize your WordPress multi-page form
I want to let you know that everything here is customizable – name your fields, add a description or placeholders, make the fields required to fill or not, and so on.
For the Page break field, you can:
- Name the field;
- Add a caption;
- Show progress bar – to indicate how many fields users have filled in and how many more they have to fill out;
- Include back and next buttons.
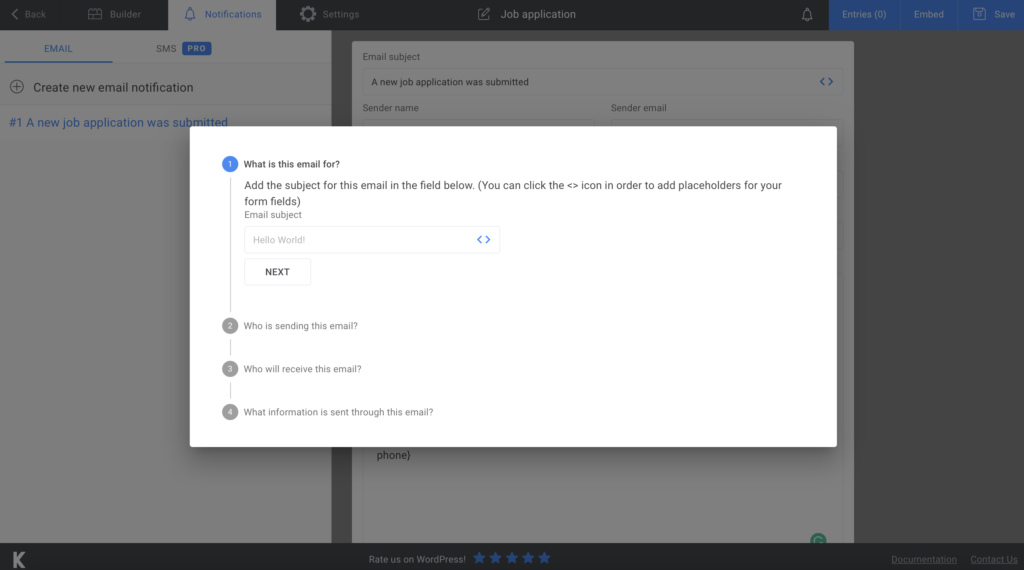
If you want to let your users know that you received their form, you can send them an email confirmation. Got to Notifications, and you will have all the steps presented there. You can also notify them via SMS if you upgrade to the premium version.
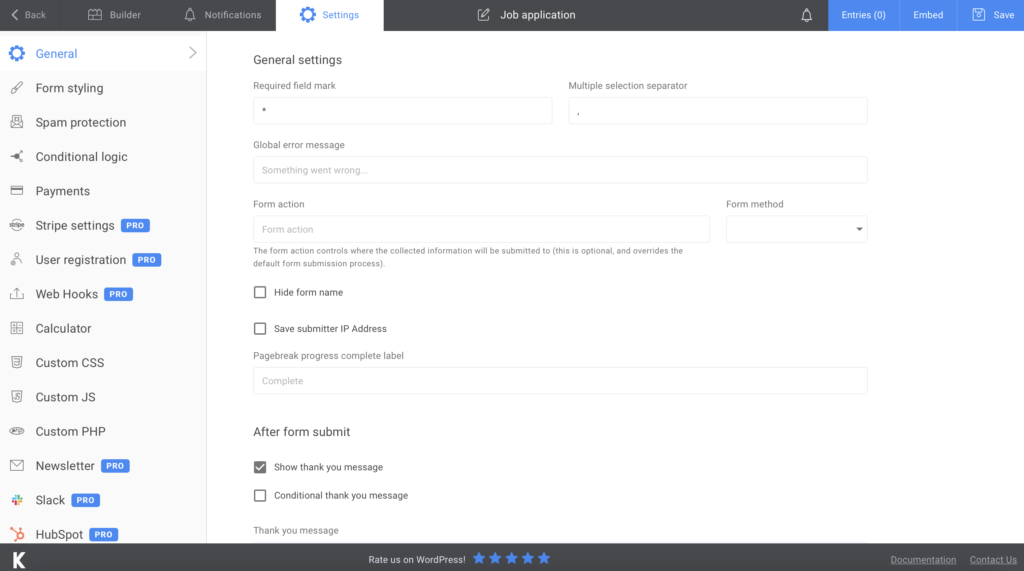
You can take advantage of more features in the Settings section. Go there and set up the final details of your WordPress multi-page form – choose its style or opt to display a ‘’thank you message’’ after they press submit. However, if you upgrade to the premium version, you can benefit from more functionalities.
Add the WordPress multi-page form to your website
The last step of this tutorial is to integrate the form into your website. To do so, press Save when you’re done creating it. Kali Forms will generate a shortcode, so copy and paste it into a page on your website. It can be an already existing page, or you can create one just for this form.
Remember that you can export all your data to CSV or Excel, in order to store it in a safe place.
Summary

Hopefully, everything is clear, and you’re now aware of how important, as well as easy it is to create a WordPress multi-page form. Now you can start improving the conversion rate and enhance your website. Remember that Kali Forms is by your side, and you can repurpose this plugin for as many things as you’d like.


