

Are you looking for an easy way to create and add file upload forms to your WordPress website?
If you’ve ever wanted to make it easy for website visitors to upload and send you files, this guide is for you because it will show you exactly how to add a file upload form to your website.
In this post, we’ll cover reasons why using a file upload form is useful and show you how to create one in WordPress with step-by-step instructions by taking advantage of a WordPress form plugin with file attachment.
Table of Contents
Why Use A File Upload Form
There are a number of reasons you may want to make it easy for people visiting your website to upload files – let’s take a brief look at some of the use cases of a file upload form:
Gather Information From Clients
A file upload form makes it easy to gather information from your clients and customers. This can include images, questionnaires, PDF files, and anything else you need to successfully complete your project.
Accept Guest Post Submissions
You can use the file upload form to accept guest post submissions without giving users access to your site. They can upload their post as a Microsoft Word document and they can even attach images for the post instead of doing this from the WordPress admin area which puts your site at risk.
Collect Content for Giveaways or Events
If you’re running a giveaway, a contest or planning an event, you can use the file upload form to gather content for it. Users can upload their written content or images and they can also submit audio or video files, documents, and more.
In general, the use of file upload forms just makes collecting files far easier than the messy email chains we’re all used to.
Next time someone needs to send you something, don’t just ask them for it, send them a link to a file upload form that lets them send it to you so it’s easier to keep track of.
Gather Resumes from Job Applicants
Another use case for file upload forms is the ability to gather resumes if you regularly post job openings on your site. Anyone who wants to apply can easily submit their resume as well as any other documents that are required.
How to Create a File Upload Form in WordPress
So now that we’ve seen why you would use a file upload form on your site, how do you go about creating one?
A form builder with file upload like Kali Forms makes it easy to create such a form on your WordPress website and gather everything you need from your clients, customers, potential contributors, and anyone else that needs to submit content to your site.
Let’s take a look at how you can use Kali Forms to create a form with the ability to upload multiple files to WordPress and walk you through the process step-by-step.
Step-by-Step Guide to Creating a WordPress File Upload Form
Kali Forms is a WordPress multiple file upload plugin that makes it simple to create easy contact forms with file upload, order forms with payments, and so much more. You can add a single field intended to gather multiple files or multiple fields, each for collecting specific files for different purposes.
To create your forms with file upload and start accepting user submissions, simply follow the steps below.
Step 1: Installing the Kali Forms Plugin
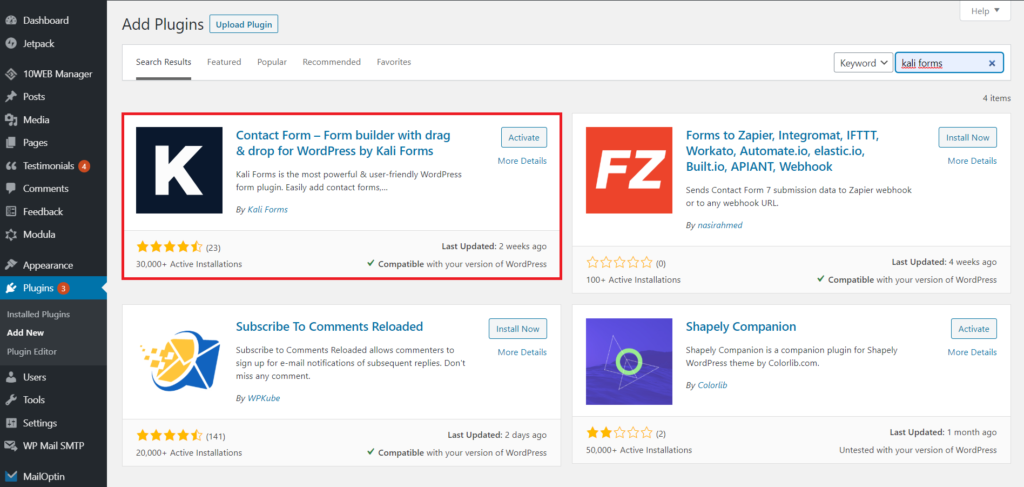
The first step is to install the Kali Forms plugin on your WordPress website. If you already have the plugin installed, skip this step and go to Step 2. If not, log in to your WordPress dashboard and go to Plugins > Add new. On that page, you’ll have a search bar in the right upper corner. Search for Kali Forms and then click Install.
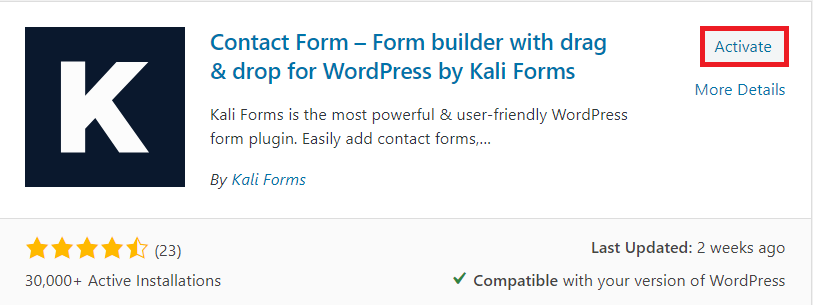
Once the plugin has been installed, click Activate.
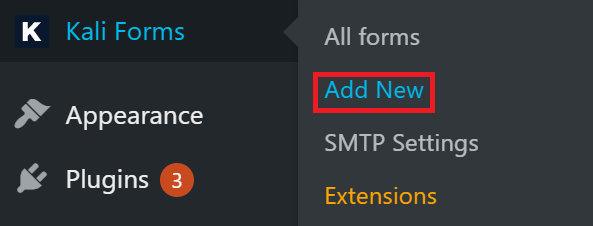
The only thing left before creating the online form with file upload is to check your WordPress menu for this plugin’s button. Once you find it, click on it and on Add New. You’re good to go now – see if you can find a template for the form you want or create one from scratch.
Step 2: Creating the New Form
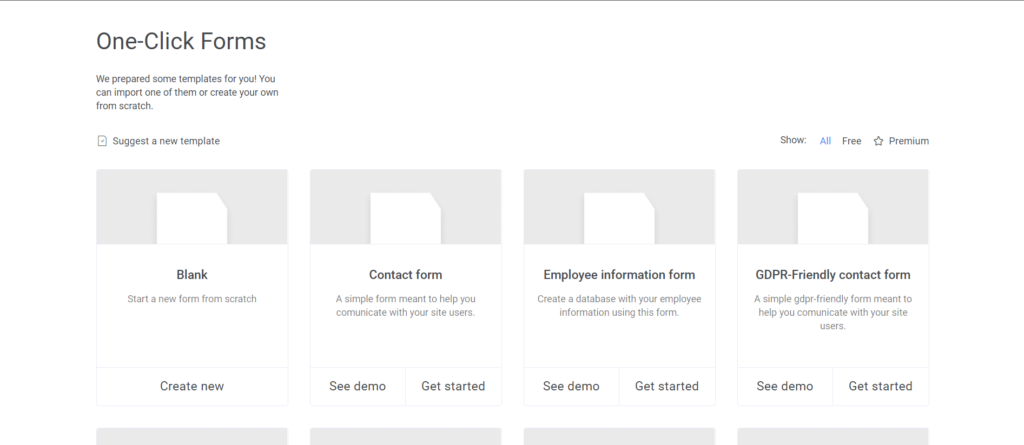
To start creating your WordPress file upload form, go to Kali Forms > Add new. You’ll notice that there are a couple of form templates in there but we’re going to make our form from scratch. Click the Create new button.
Once the form builder loads, give your form a name so you can easily recognize it and edit it later on. For the purposes of this tutorial, I’ve named the form “Demo File Upload Form” but you can name it according to the purposes you’re creating the form for. For example, if you’re creating a form to allow clients to submit their files, you could name it “Client File Upload Form”. Or, if you’re creating a form for a contest, you could name it “Contest Submissions Form”.
Step 3: Adding Form Fields
Now that our form has been named, it’s time to add fields to it. For this tutorial, I’ll be adding name fields, email field, a message field, and a field for our file upload. Let’s start with the most essential fields: name, email, and message.
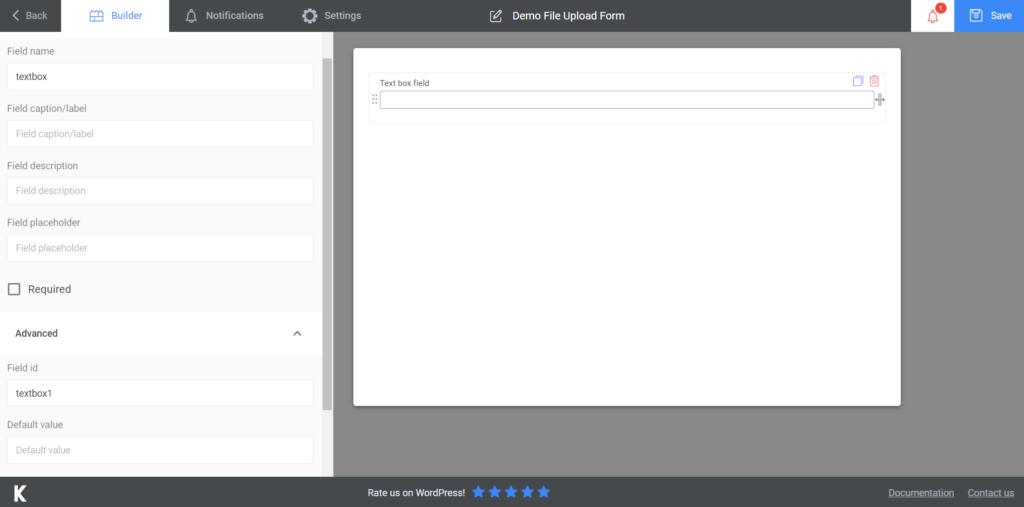
Click on the Textbox button, and after it is created, click the field. On the left, the settings of that particular box will appear there. As you can see from the screenshot below, you can customize the following:
| Field ID | This is the id of the textbox element. You can customize it if you want but this is mainly used for internal purposes and won’t be seen by anyone filling out the form. |
| Field Name | This is the name of that particular form field and it will appear in the thank you message and in the body of the form notification. |
| Field Caption/Label | This will display on the front end next to the input field so visitors know what information they’re supposed to enter. |
| Field Description | This will show up as additional descriptions on the frontend. You can leave this field blank. |
| Default Value | The default value is what will display in the input field when a visitor loads the page with the form for the first time. |
| Field Type | Here, you can choose the type of the field: text, number or email. I’ve left it as text. |
| Field Placeholder | This will display when the form loads if the field is empty. |
You can also decide if the field is required or if users can submit the form without filling out a particular field. To make the field required, toggle this option to on so it turns purple. The last option, read-only allows users to change the value of the field. Leave this toggled off.
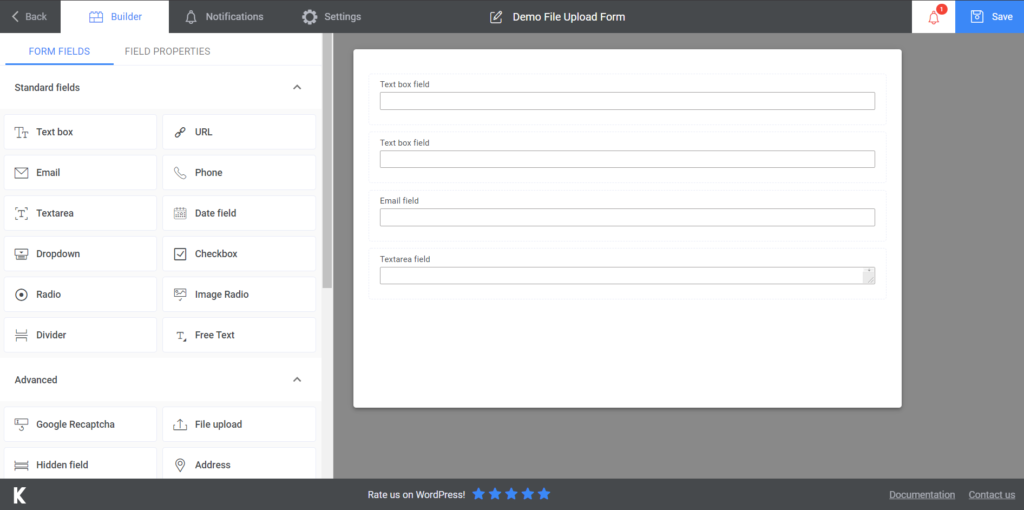
I will add two more fields, one text field for the last name and one e-mail field. I will also add a Textarea field so that users can leave a message. To customize and configure these additional fields, simply follow the same process as above, and use the appropriate names for the field caption and field name.
Step 4: Configuring File Upload Field
With the basic fields in place, it’s time to add our file upload field to the form. Click the File Upload sign and then click on the box that was created to configure the field settings.

Some of the field settings are the same as before. The two options you need to pay special attention to are the Max file size and the Accepted extensions.
The Max file size option controls the maximum allowed size for the uploaded files. It’s a good idea to set a limit for this field so that you don’t run out of disk space on your hosting server once submissions start pouring in. For now, let’s set this to 5mb.
The Accepted extensions field controls which type of files can be uploaded through the form. This will depend on your individual situation but you can set multiple file types here.
For example, you could add extensions for common image formats as well as for Word files, PDF files, and more.
Other options include the ability to instantly upload the file instead of waiting for the form to be submitted; the ability to preview images when they are uploaded, and the usual options of making the field required and/or read-only.
Once you have added and configured the file upload field, add the Submit button and then it’s time to configure the form settings.
Step 5: Configuring the Settings for The File Upload Form
To configure form settings, click on the Settings tab. Under General Settings you can customize the thank you message that appears when someone submits the form. You can also redirect users to a different page on your site using the Redirect URL option.
I’ve left the redirect option blank but I did customize the thank you message that will show up. It’s a good idea to customize this message based on the form’s purpose or the type of files users are uploading.
Under Notifications, you can customize email messages that are used as notifications to you and your visitors.
You can use this to get a notification whenever someone submits a form on your site as well as to notify your users that their files have been submitted and tell them what the next steps are.
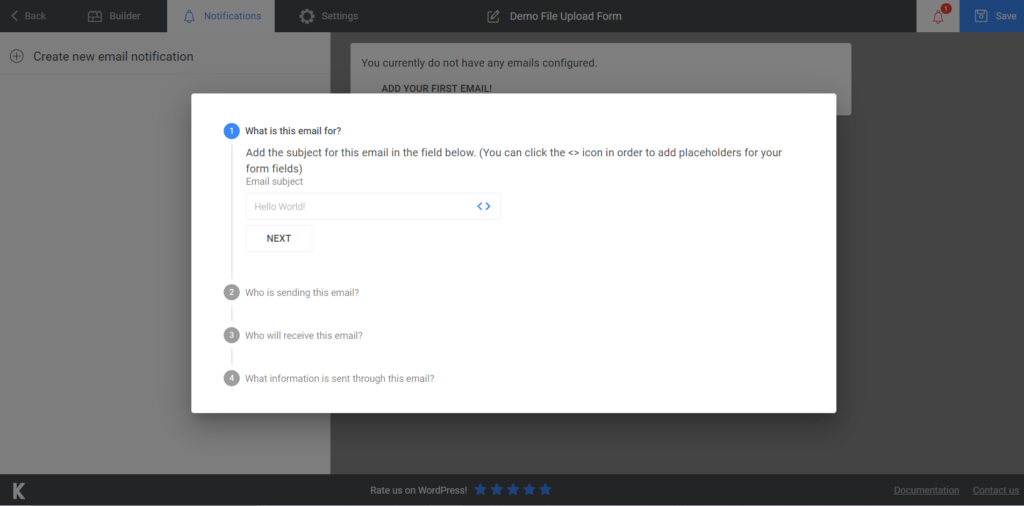
Let’s create a simple confirmation email that will go out to anyone who submits files on our site.
Click the Add email button and then click the down arrow to customize the email. There are several fields to customize here:
- Email subject – here, enter a subject line that will confirm their files have been received;
- From name and email fields – you can use your name and e-mail to make it easy to recognize who the email is from;
- CC email fields – here, enter the email addresses of anyone who needs to be notified of new submissions.
- Message – write the message you want to be sent out along with your e-mail. You can then customize the body of the message to include any relevant information.
When you’re done, click the Save icon at the top to publish your form.
Step 6: Adding The Demo File Upload Form to a Page
The last step is to publish your WordPress form with image uploading on the front end so visitors can submit their files and content. First, copy the shortcode in the Kali Forms dashboard for your newly created file upload form.
Then, create a new page on your site for file submissions and paste the shortcode in. You can also use an existing page or post. Then, publish or update the page and you’re done.
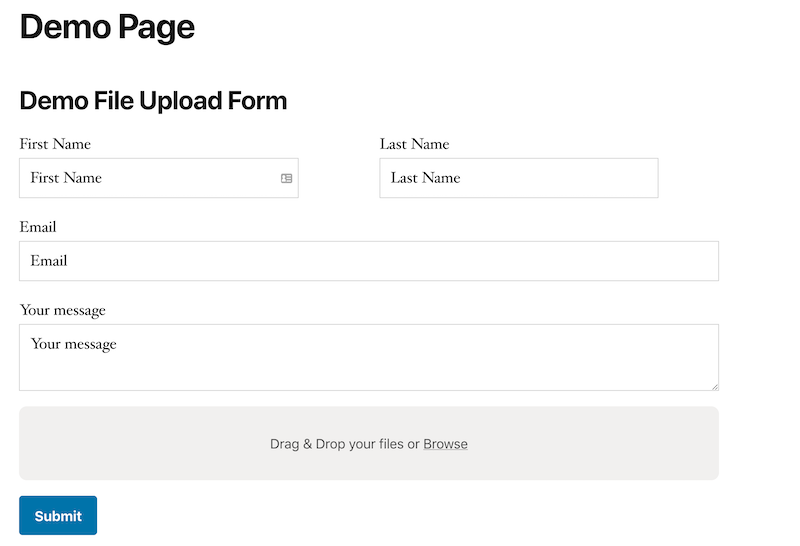
Congratulations, you can now allow users to send files to your form!
Worried about your website’s security? We are not surprised. You should be. Uploading files can be dangerous if you accept certain formats. This is why it’s essential that you only host your website with one of CPOThemes’ recommended WordPress hosting providers or over at Hostinger.
Summary: Creating a File Upload Form
Adding a file upload form to your site can help you get the necessary information from customers faster, in addition to streamlining processes that were once complex such as accepting guest post submissions. If you feel like your form isn’t customized enough, you can style your forms with CSS.
Better yet, with the right plugin – Kali Forms for WordPress – adding the best file upload forms to your website has never been easier.

Have you used a file upload form on your site before? Let us know in the comments below and don’t forget to tweet this article!
Did this guide help you add a file upload form to your own websites?
If you own a business, you might want to take a look at this complete guide on how to build an employee evaluation form.
Let us know in the comments below or Tweet @KaliForms – we can’t wait to hear from you! ????


