
Are you looking for a straightforward form to track any booking reservation, transportation planning, tours, and so on? Welcome aboard! We’re here to help!
Whether you provide booking or transportation services, you will need an online form to find out the information you need about your clients and make this process easier.
Table of contents
Why should you use an online booking form?
Using an online booking form instead of an offline form, email, or phone bookings will bring you several benefits.
- Save time – Having big groups of people calling or coming to your headquarters can be overwhelming. However, by creating an online booking form, you can handle them easier, keep track of the papers they filled, and organize them accordingly.
- Confidentiality – Since the GDPR, losing information about your clients can cause you troubles. So, by creating an online form, you can keep all the information safe on your computer and get rid of paperwork hassle. This way, you won’t have to worry about losing or misplacing one of the forms.
- Accuracy – One of the best things about online forms is that you can make the fields required to fill or not so that you won’t have to worry about missing information. You will have all the details you need about your clients.
How to create a booking form
In this tutorial, we will teach you how to create a booking form and take advantage of all the benefits mentioned above. All you need is the help of a powerful tool that will basically do half of the job for you – here come Kali Forms, the most user-friendly form builder.
Installing Kali Forms plugin
For this step, you will need an up and running website. Nowadays, most businesses own a website, but there’s no panic if you don’t have one. You can find a lot of tutorials by searching on Google “how to make a website”. This will take a while, but you can use it for various purposes – it is an essential marketing tool.
Now, let’s manage the installation process. Go to your WordPress dashboard > Plugins > Add New. In the search bar that appears in the upper right corner of your screen, type Kali Forms. Once you find it, click Install.
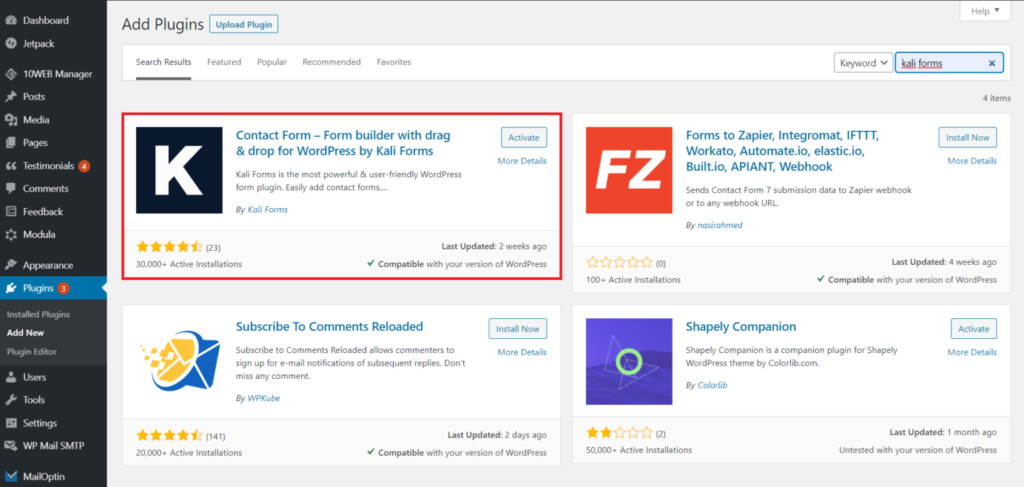
This process will take a couple of seconds. After the installation is done, just press Activate, as shown in the picture below.
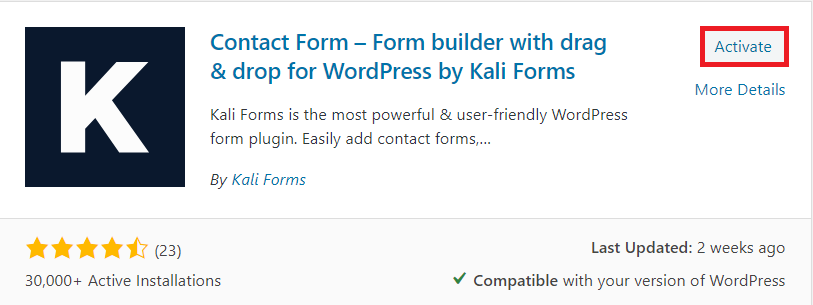
So far, so good! The Kali Forms plugin will pop up in your WordPress menu, so every time you want to create an online form, go to the plugin icon and click on Add new.

Creating a new form
After you click on Add new, you will find yourself redirected to a page with pre-designed form templates. We don’t need any of those for this kind of form because we will create one from scratch.
So, for now, click on Create new, and let’s get to it.

First of all, I started by naming my form “online booking form”. It is useful to name your form to distinguish it from the others.
Adding form fields
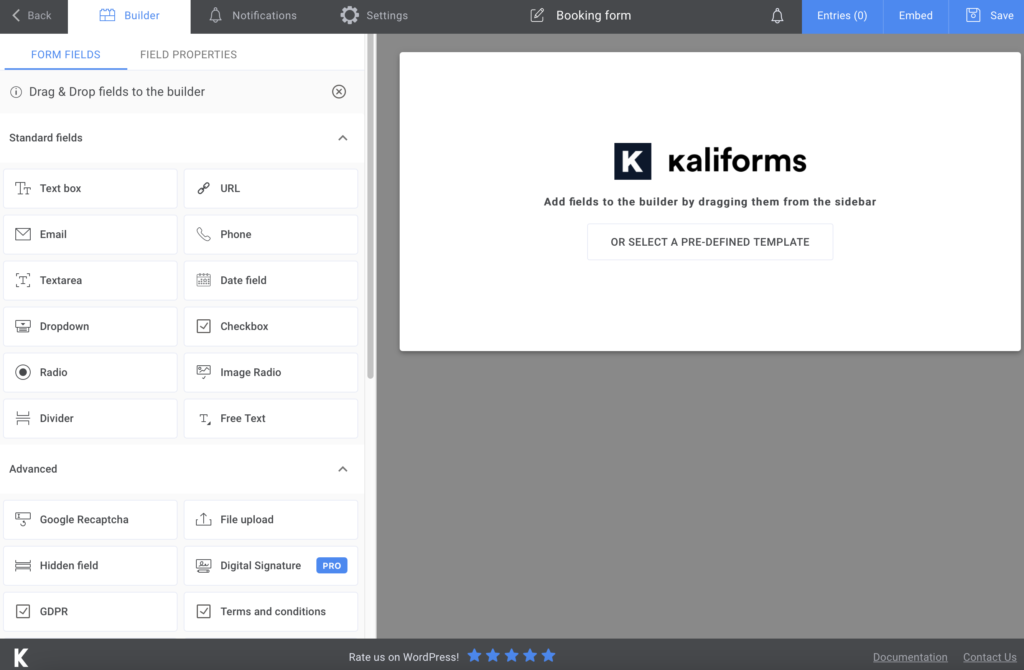
Now we will actually start to work on the online booking form. But before that, you need to be aware of a couple of functionalities. If you are at the naming the form part, you see that on the left is a menu with all the fields included in this document. Every single option is customizable.
Name it, add a description, so everything is more accurate. Use the placeholders, or make the fields required to fill. It’s not brain surgery. But it’s important to know since you can take advantage of everything this plugin offers.
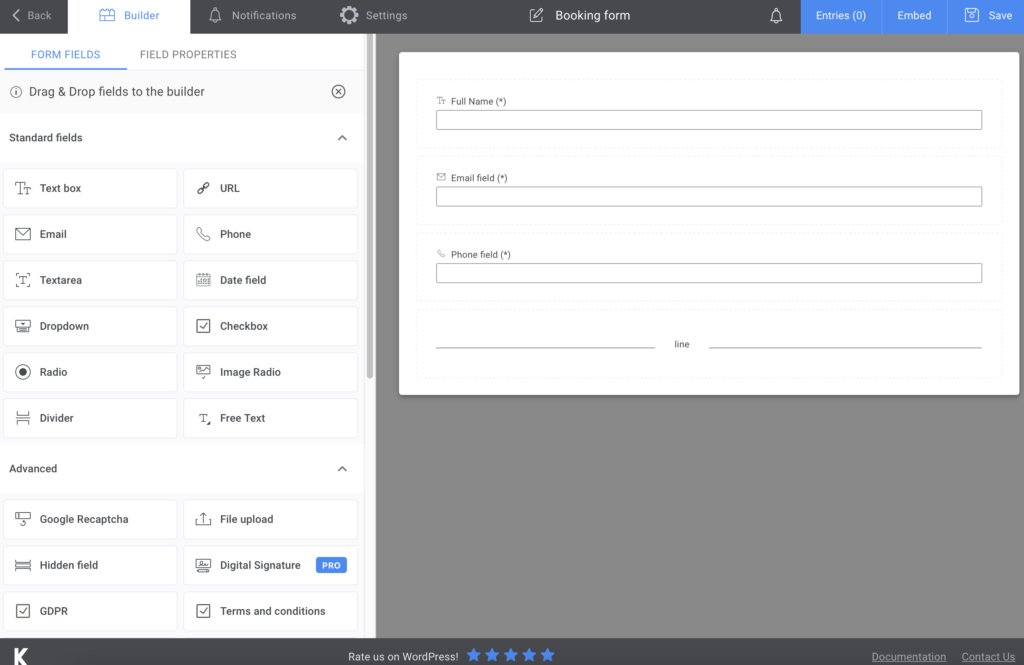
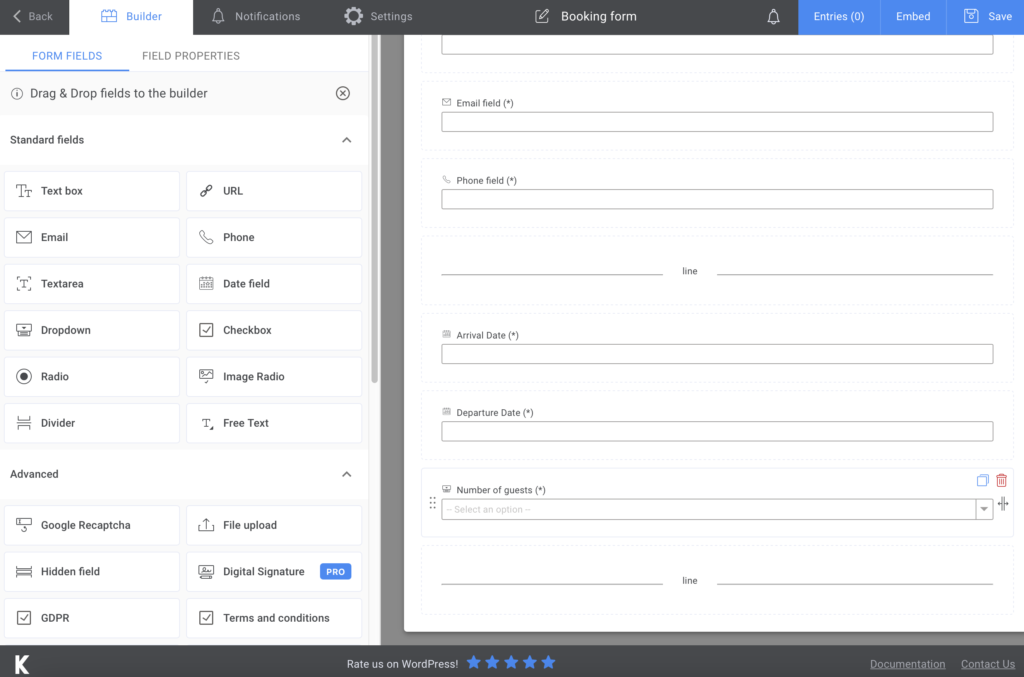
You will have to add a Text box for the client’s full name, Phone field, and Email field for any kind of booking form. After I have done with this section, I added a Divider.
If you want to create a hotel, motel, Airbnb or hostel booking, I advise you to add two Date fields for the arrival and departure date/time. I also drag and drop a Dropdown field for the number of guests. Next, I added a Divider to finish with this part.
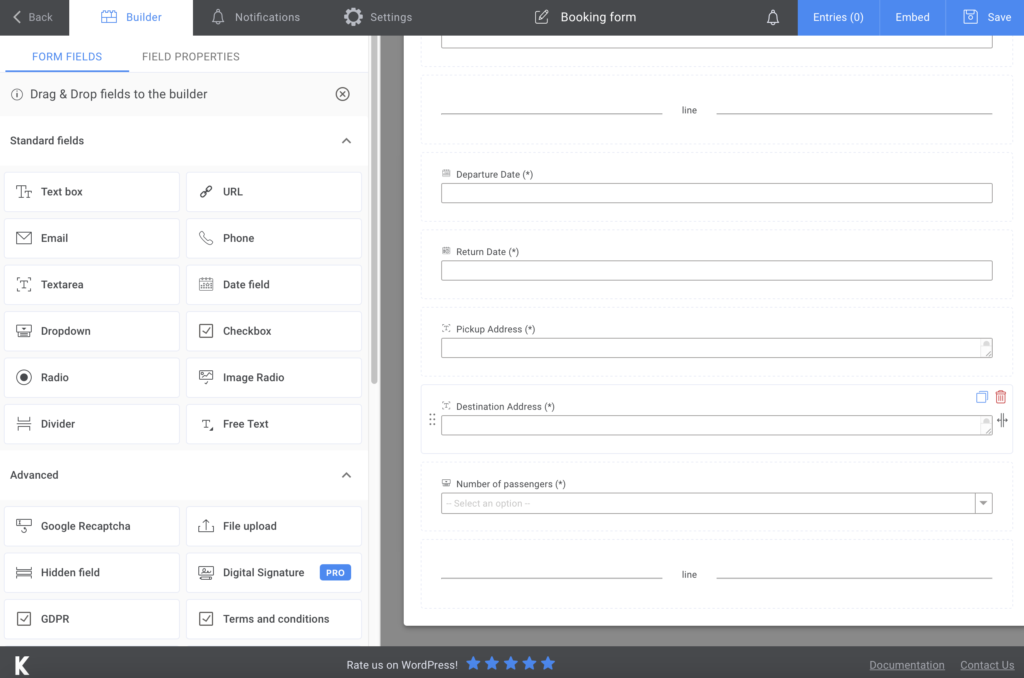
If you are providing transportation services, you can add to the online booking form two Date and time picker fields, two Textarea for the pickup and destination addresses, and a Dropdown for the number of passengers. And don’t forget the Divider.
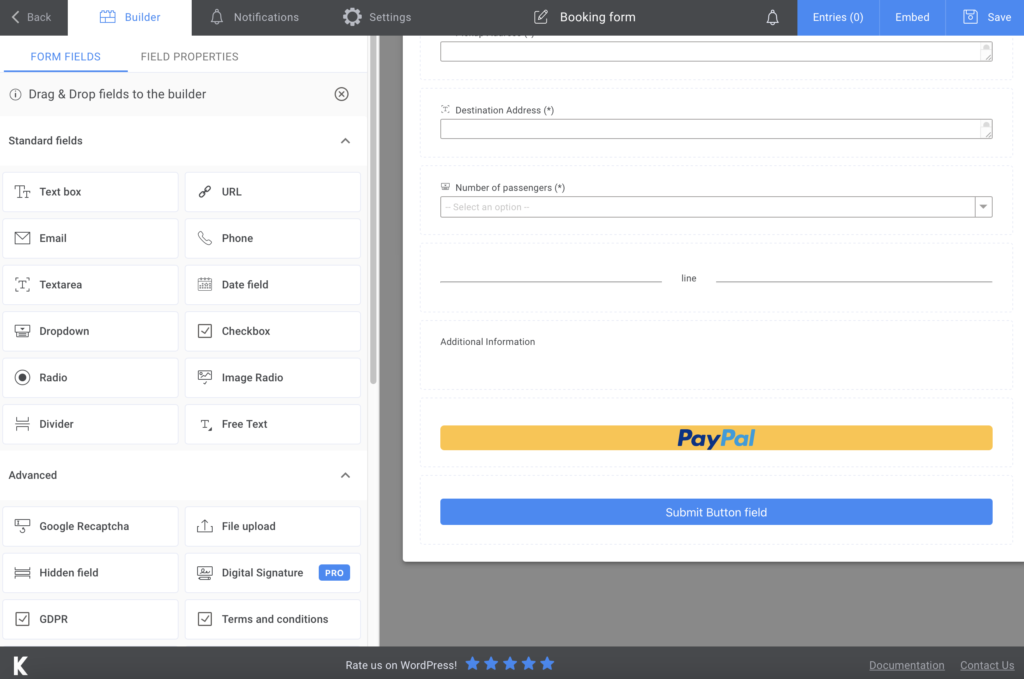
For the last section of our form, I added a Free Text, a PayPal field, and the Submit button.
Additional features
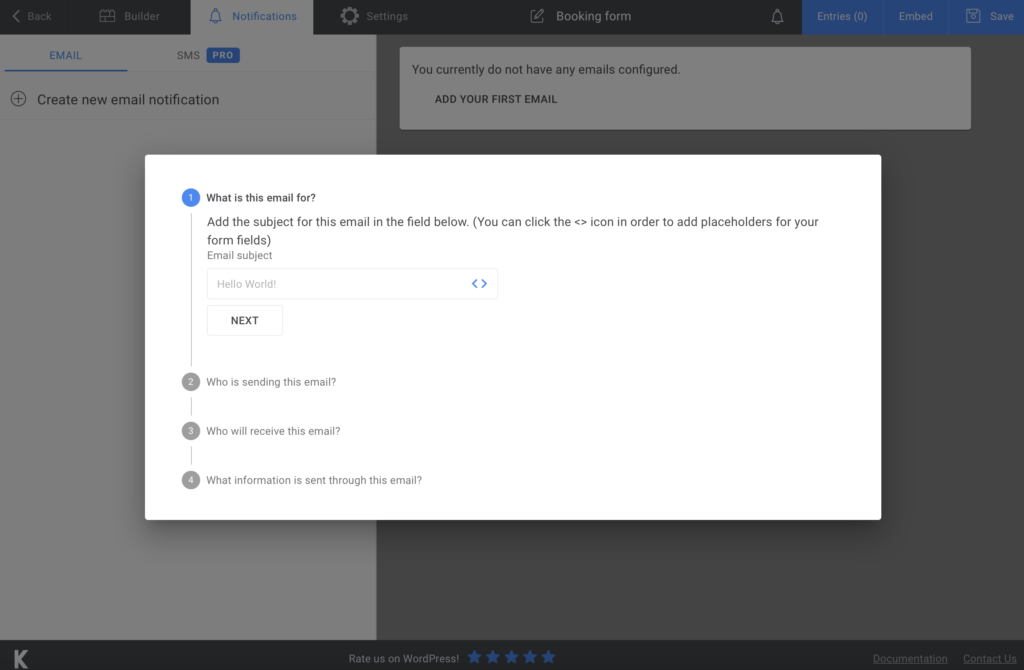
If you want your clients to know that their request got to you, you can send a confirmation e-mail. Go to Notifications, follow the steps that are explained there, and you’ll be able to configure this e-mail. The premium version also allows you to send SMS notifications if you’re looking for this option.
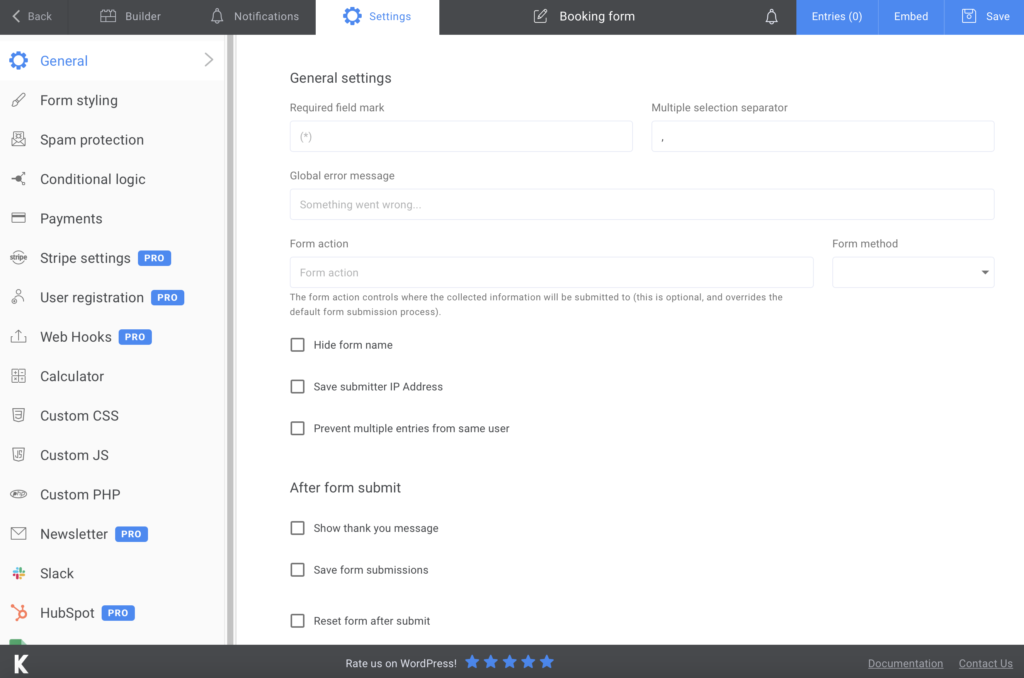
We are nearing the end of this process. If you feel like you want to give all the options this plugin provides to its users, the Settings section allows you to choose your Form style, display a ‘’thank you’’ message, and customize some other technical stuff.
Adding the online booking form to your website
The last step is to incorporate the form into your website. After editing everything in it, click on Save. A shortcode will generate, and you just have to copy and paste it on a new page or an already existing one.
You can also export your form submissions to CVS or Excel to store it somewhere safe – your computer or in the cloud.
Summary

All in all, this is everything you have to do when creating an online booking form. It’s a fast and straightforward way, which will save you a lot of time. Use Kali Forms to make sure you do it professionally. It is intuitive, user-friendly, and very efficient!