
Looking for a way to optimize your maintenance request process?
Being in this business can be very profitable, as long as you have a well-organized system that helps you keep track of everything. Receiving requests through phone or e-mail can make your job more difficult – missing information, losing people’s contacts, or misplacing them can make you look unprofessional. So skip all this trouble and start offering people your service by having them fill your online maintenance request form.
In this tutorial, we’re going to walk you through the whole process of creating such a form, as well as inform you of the benefits you’ll have by doing so.
| 1. Why should you use an online maintenance request form? |
| 2. How to create a maintenance request form |
| 3. Add the maintenance request form to your website |
| 3. Summary |
Why should you use an online maintenance request form?
Assuming that you’re not receiving physical requests, or the number of these is rather low, we’re going to tell you what are the strongest points of this online form. It’s true that your current system might be in place, but this is something that’s going to make it significantly easier.
Save time
Well, talking to people by phone or reading indecipherable e-mails can sometimes take up a lot of time. Having an online form means that you’ll request certain pieces of information that you’ll be able to better organize, due to the structure of the form. Sound amazing, right?
Make sure you have all the information you need
You know how a lot of people can forget to write certain things in their e-mail, such as the time they’re at home, so you can come and do your job, or forget to enter their phone number so the only contact you have is their e-mail. By having a form, you can make the fields that you know are very important required, so they will not be able to send the form without filling in everything you need.
Have a complete client database
Having all this information people give you, you can easily store it on a computer for future reference and make a database with your clients. It’s a very useful thing to have for those times when you miss a piece of information – you have something to go back to and check.
Keep better track of your orders
This is a very important one. If you opt for having a form as a way to receive maintenance requests, you can organize them the way you want. This is how you know what is a priority and how you can make time for everything. Getting requests from different channels can be very messy sometimes. So make sure you’re all set when it comes to this.
How to create a maintenance request form
In this tutorial, we’re going to teach you how to achieve all of the things mentioned above in a few easy steps. All you need is the help of one great plugin called Kali Forms that is basically do half of the job for you. Let’s see about that.
Installing Kali Forms plugin
For this step, you’re going to need a functional website. Nowadays, most of the businesses have one – it’s an essential marketing tool and can be helpful in many ways. If you don’t have one, don’t worry. Just follow this cool tutorial on how to build a website. It’s will take you a very small amount of time. And you’ll have something to use for other advertising purposes as well.
Now for the actual installation, you need to go to your WordPress dashboard. Look for the Plugins section on the menu. Click on Add New and type Kali Forms in the search bar that appeared in the upper right corner of your screen. Once you find it, click Install.

This shouldn’t take more than a couple of minutes. After the installation is done, just press Activate.

Now your plugin is up and running. So once you’re ready to start creating a new form, click on Add New.

Creating a new form
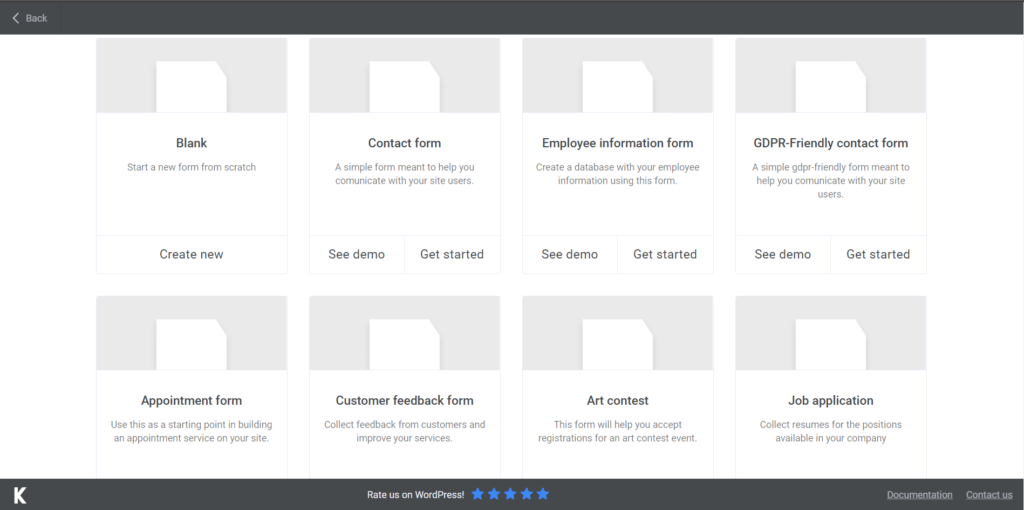
When you click on Add New, you’ll find yourself redirected on a page that has some pre-made form templates. We’re not going to need any of those right now, because we’re creating this form from scratch. So for now, press on Create New and let’s get to it.
I started by naming my form. I advise you to do the same at the beginning of creating it, so you don’t forget later.
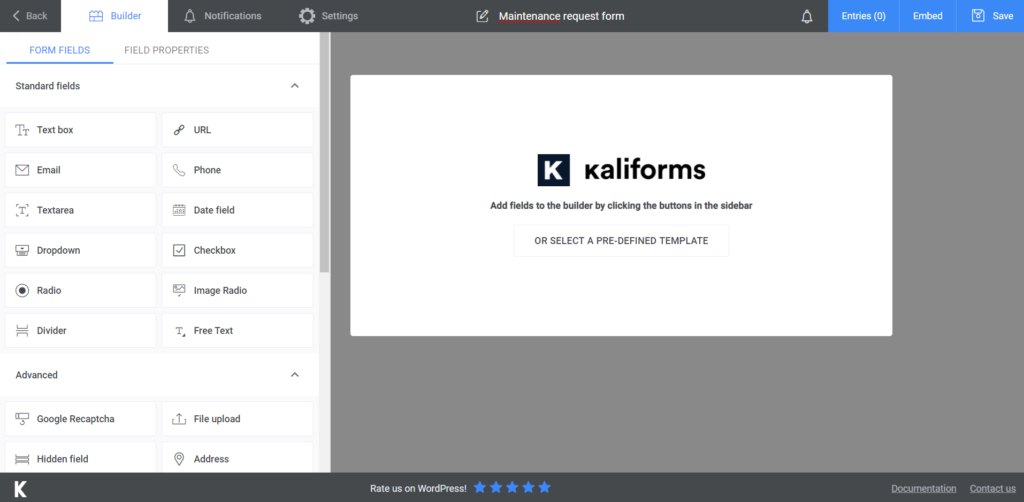
Adding form fields
Here comes the part where we’re actually starting to work on the maintenance request form. But before that, you need to be aware of a couple of details about this. If you are at the naming the form part, you see that on the left is a menu with all the fields that can be included in this document. Every single option is customizable. Name it, add a description so everything is more accurate. Use the placeholders, or make the fields required to fill. It’s not such a big deal. But it’s important to know since you can take advantage of everything this plugin offers.
Regarding our form, I started by adding a Text box, an E-mail, and Phone field, and an Address one, so we can have all the contact information of the person making the request. So far so good, as nothing’s very complicated with this process.
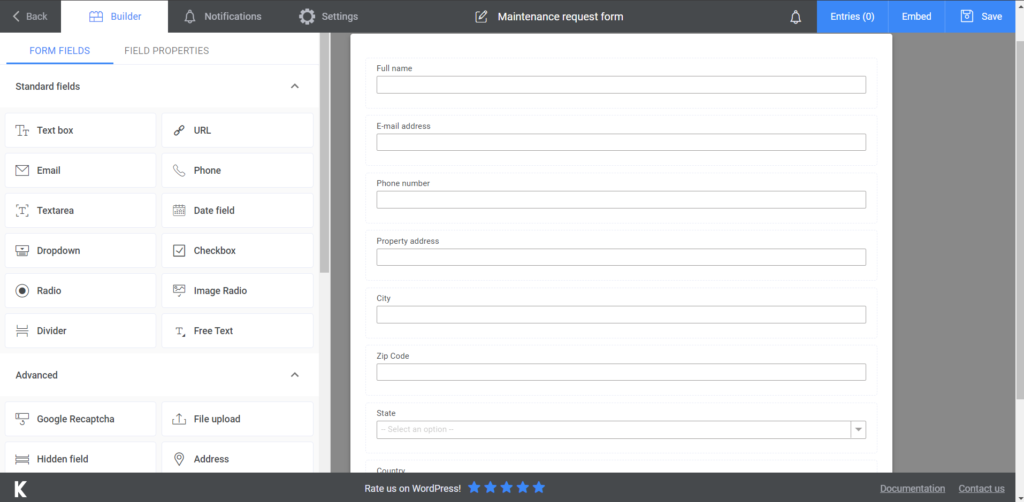
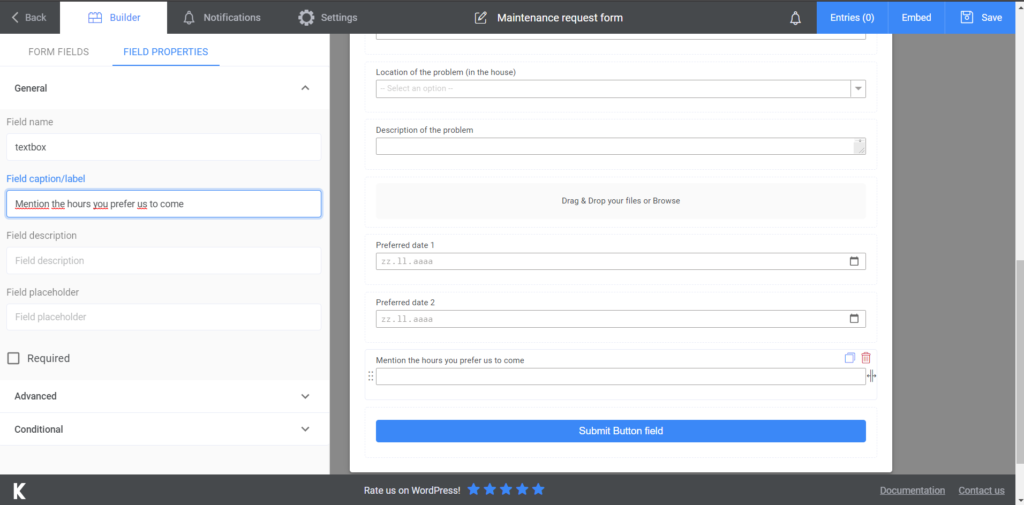
Next, I chose a Dropdown field where you can enter your options for the priority level of the issue – this part is important so you can organize the rest of the requests by these criteria. Next, another Text box was needed, so they can state the type of problem they’re having – for this part, if you’re only working on a few niches, you can opt for a Choices field where you state all your services and let them choose. Another thing that’s needed is another Dropdown field for the location of the problem. You need to know what you should be preparing for.
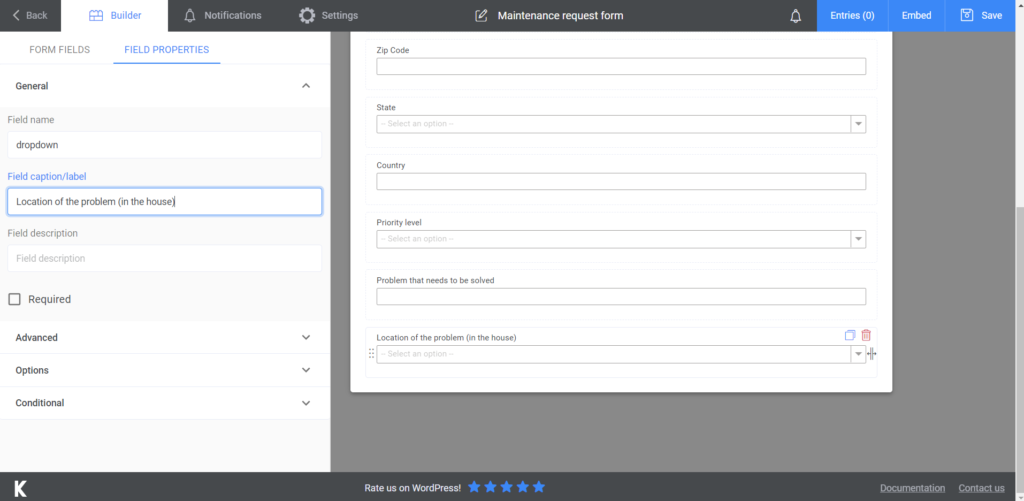
For the last part of the form, I added a Textarea, so they can clearly describe the issue, and I also opted for a File Upload field, in case they can send pictures, so you can see how bad the situation is. Lastly, add two Date fields and another Text box, so they can mention the dates and hours they prefer for this to take place. The last field we’re going to add is the Submit button and voila, here is your maintenance request form!
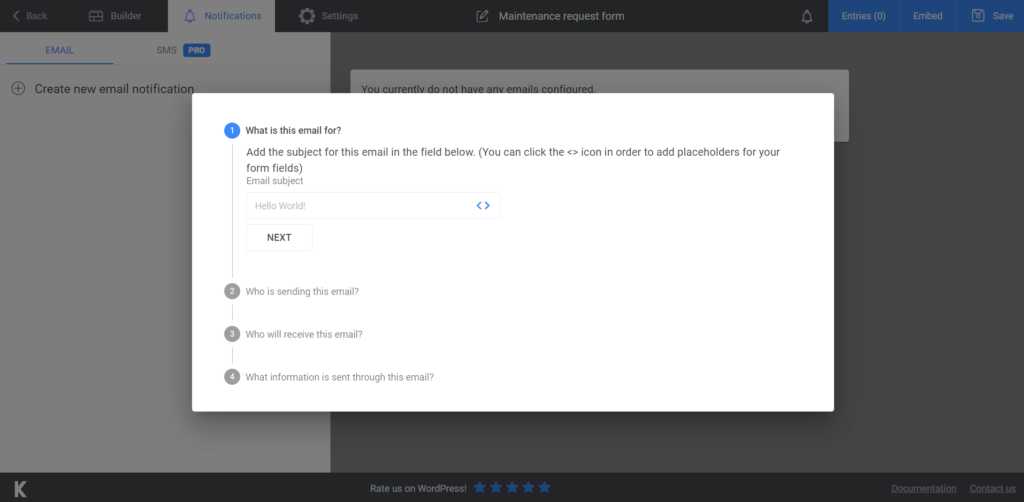
If you want your clients to know that their request got to you, send a confirmation e-mail. Go to Notifications, follow the steps that are explained there, and you’ll be able to configure this e-mail. The premium version also allows you to send SMS notifications if you’re looking for this option.
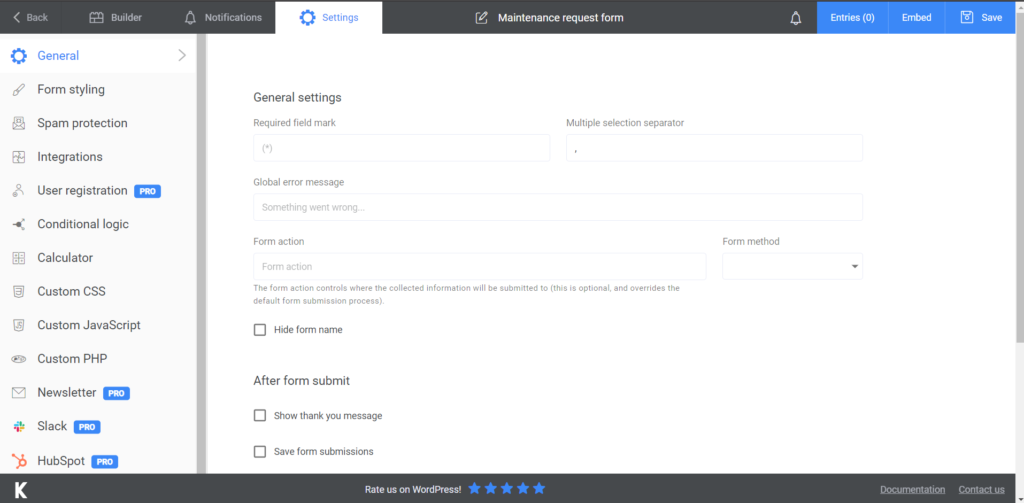
For the last part, if you feel like you want to give all the options this plugin offers a go, there’s the Settings section that allows you to choose your Form style, display a ‘’thank you’’ message, and lets you customize some other technical stuff.
Add the maintenance request form to your website
This is the actual last part of dealing with your form. Press Save and you’ll see that a shortcode is generated. Create a new page on your website or choose an already existing one, copy and paste the shortcode there and that’s it! You have a maintenance request form on your website!
Remember that I told you about the benefit of storing information – export all your data to CVS or Excel and have it stored in a safe place.
Summary
This is a super easy process, just as we promised it will be. There’s not much effort you have to put into it, and all of that thanks to Kali Forms, that’s such a great tool when it comes to digitalizing and optimizing some of your work processes. Forget about dull procedures and start making your life easier.