

Your business is running smoothly, but something is missing. So, what could you do to increase the profits and extend your client’s database? The answer is simple — you need an email marketing list. After reading this blog post, you’ll know how to add a MailChimp Form in WordPress.
But what is that? An email list it’s a collection of email addresses from people who have subscribed to your business’ newsletter. They chose to receive a free product or a specific series of emails or purchased from you and opted-in for future updates. Whatever the reason might be, these people allowed you to keep their email in a list to be contacted later.
So, in this article, we will show you how to embed the MailChimp form in a WordPress website, insert the Mailchimp form in a blog post, add fields to a Mailchimp form and what actually is a Mailchimp form.
Table of contents
Why adding a MailChimp form to your WordPress website
Maybe you are ready to maximize your profits, but you are still not convinced that an email list is the right move; that’s all right. Down below, I listed a few of the many reasons why you should add a MailChimp form to your WordPress website.
- Boost sales — According to a statistic from DMC (Direct Marketing Association), 66% of customers have made an online purchase due to an email marketing message. So, advertising your business through an email list encourages your audience to make a purchase right from their telephone or laptop.
- Stronger bonds with customers — With the help of an email list, you can create relationships with your customers by consistently giving them the information they want right into their inbox. When you make a change in your customer’s lives, whether you do it through a product or service, a “happy birthday” coupon gift, or just helpful tips, they are going to admire your interest and trust you.
- Start a discussion — Email marketing lets you start a conversation that will benefit both you and your audience. After every email, please encourage them to give their feedback through a poll or a survey. Don’t just push your ideas out there without trying to be a friend for your audience. By doing so, people will feel loved, and the chances of getting the wanted results are going to be higher.
- Increase traffic to your website — Emails are an excellent way to make customers visit your website. Attach related links to your website into emails to drive traffic. Also, you can use your email letters to make customers engage with other relevant content available on your website.
- Targeted and personalized content — Nobody wants to read an email that seems to have been sent to many individuals. There is no value in such emails, and no one is benefiting from them. Thanks to email marketing, you can divide your customers into different lists based on their preferences. By doing so, it helps you to send extremely personalized emails.
How to add MailChimp in WordPress
Next, I will provide you with a step-by-step process to guide you through all the necessary steps to add MailChimp to your website.
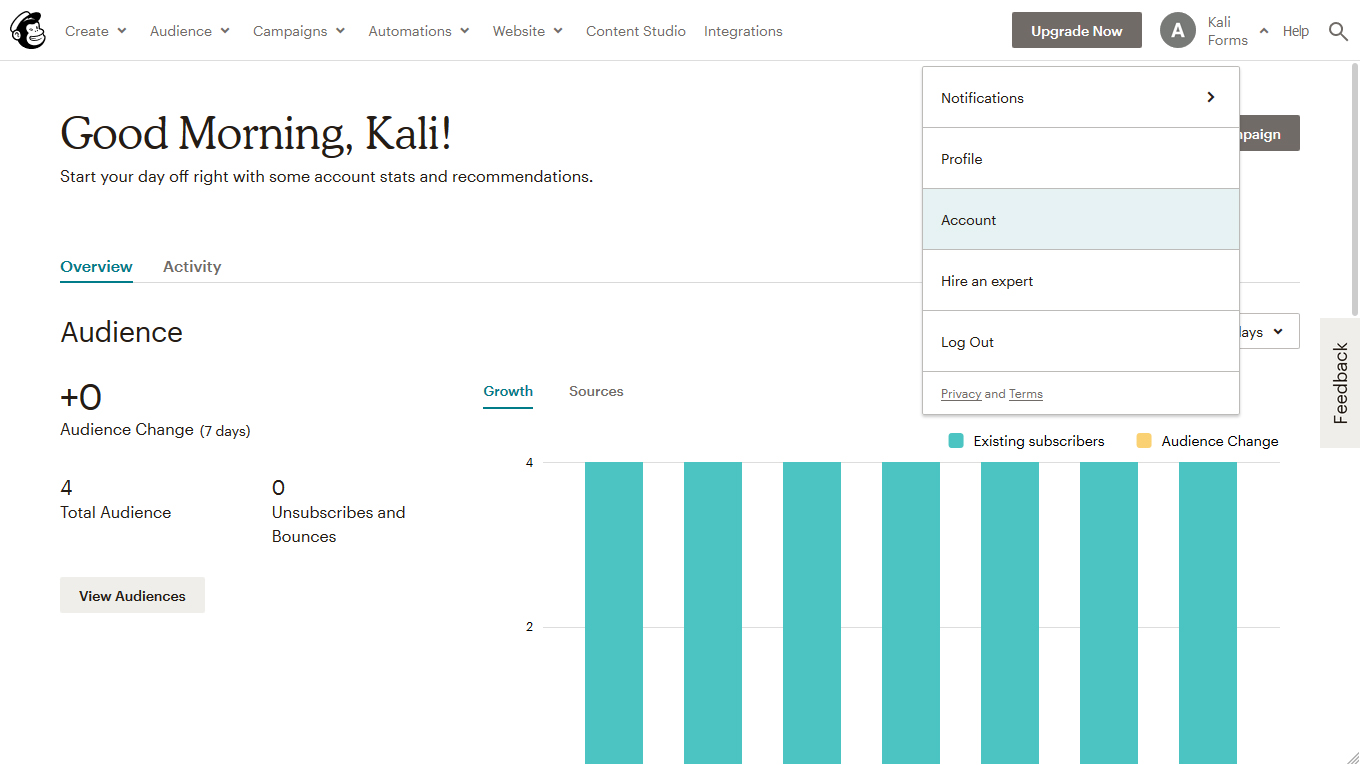
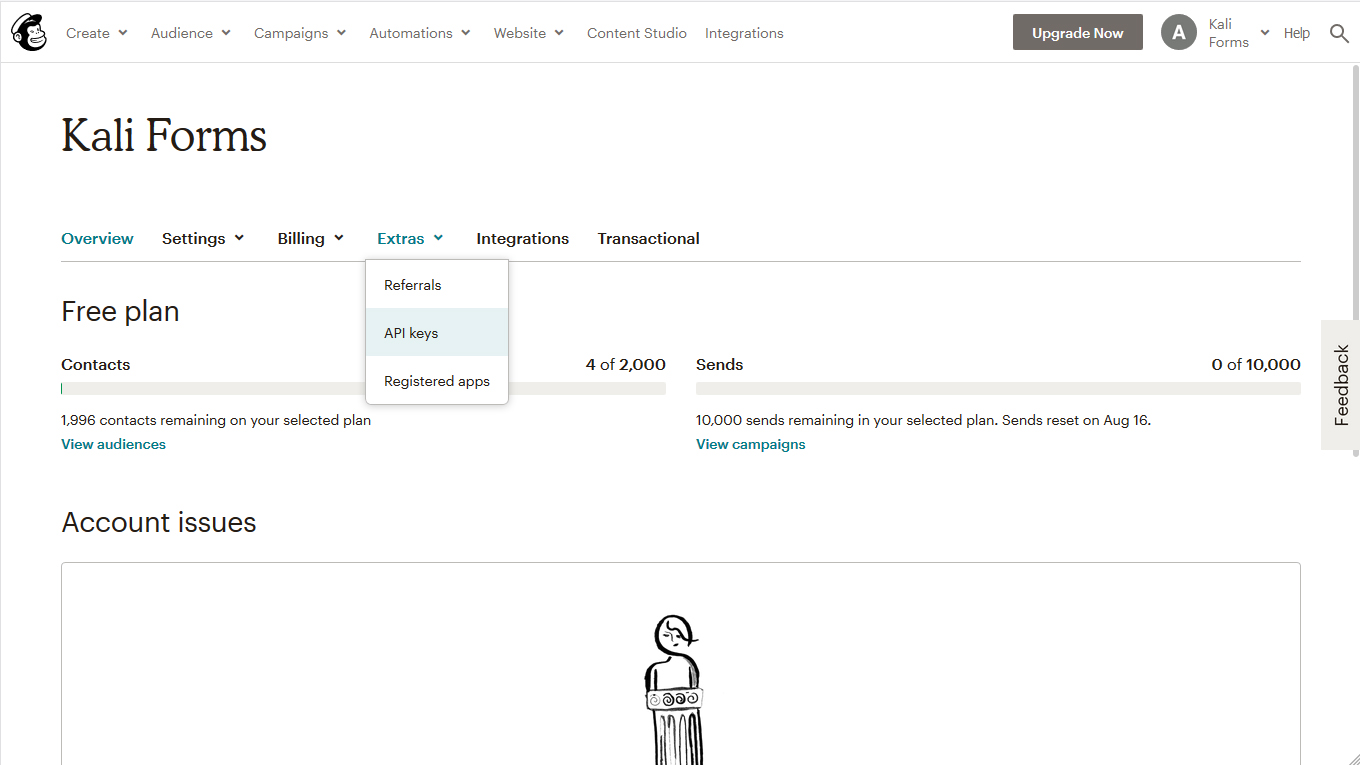
First, let’s see how to get the MailChimp API key so that you can integrate it with your WordPress plugins. Login in your Mailchimp account and navigate to Account > Extras > API Keys, then use the Create a key button to generate your API Key.
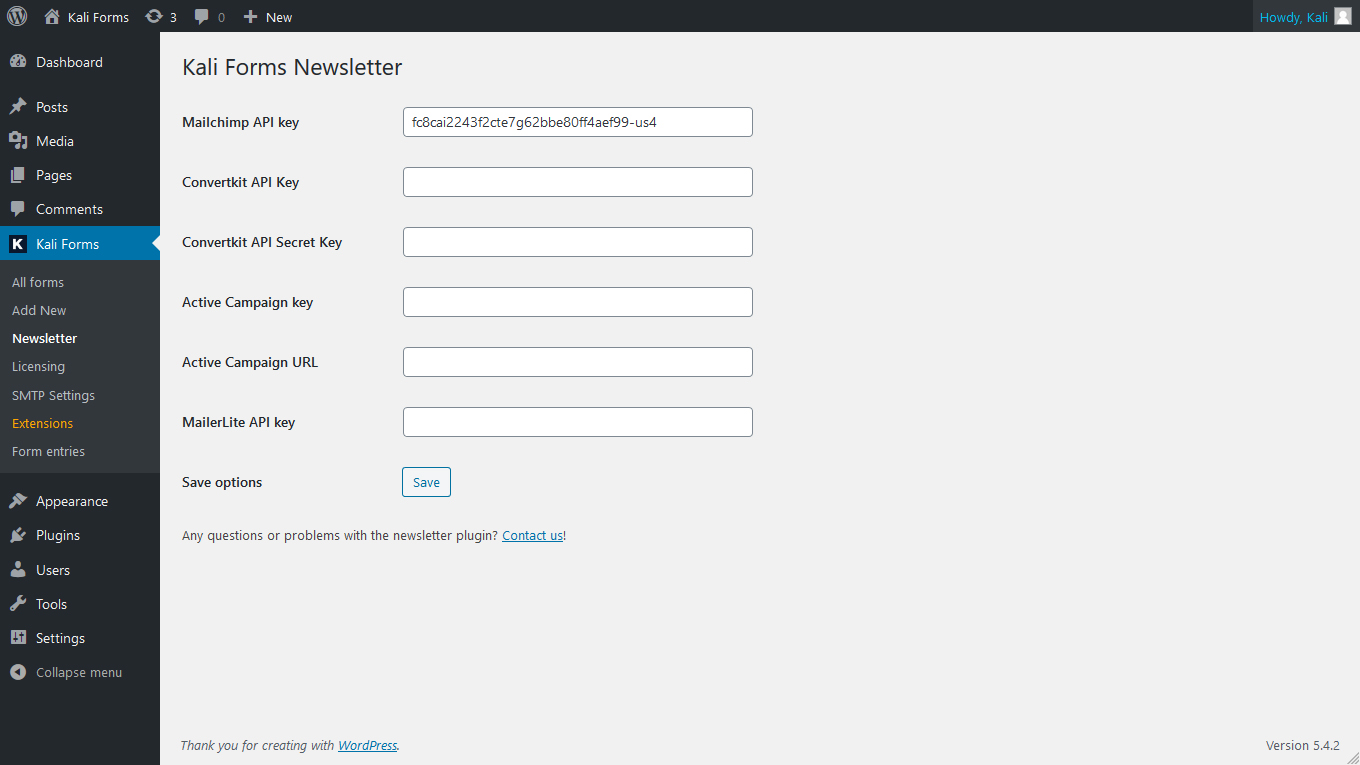
Access your WordPress admin panel with the newly generated API Key and add this in the Kali Forms > Newsletter > Mailchimp field.
Now that we established the connection with the MailChimp account, we need to set up the form. You can use one of our predesigned templates that our Mailchimp form builder offers, then adjust the form the way you want to meet your needs, or start a new form from the beginning. The Mailchimp configuration is available in the Settings > Newsletter tab of your form configuration.
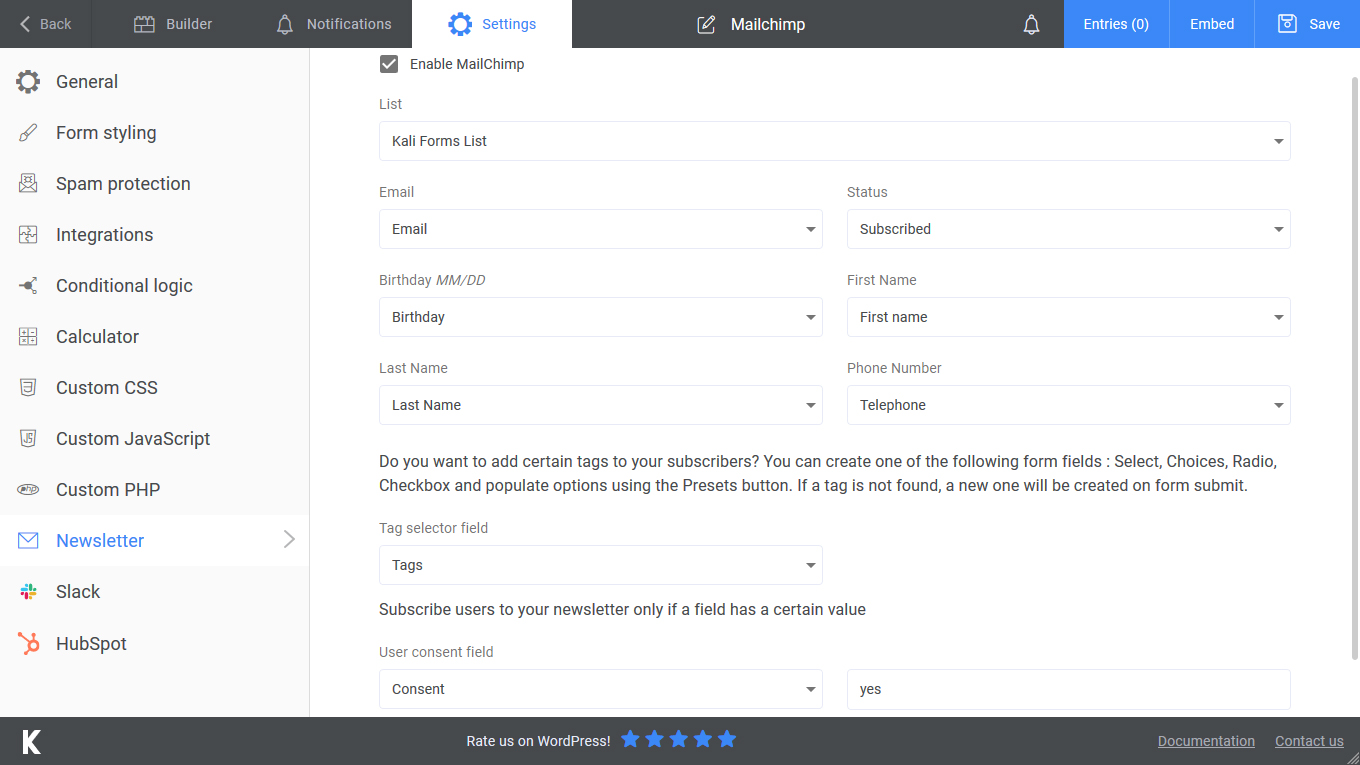
The fields you add for your audience in the MailChimp configuration determine the information sent to MailChimp. For our example, we added the following fields: Email, Birthday, First Name, Last Name, and Phone Number.
Setting up the MailChimp form
The process is not complicated, and you will be taken through all the necessary steps to accomplish what you need. Creating a MailChimp form — as I already said — is extremely important for multiple reasons. With the help of our Mailchimp form creator, you will get the job done in a matter of time. So, give it a try to Kali Forms, and you won’t be disappointed.
Installing Kali Forms
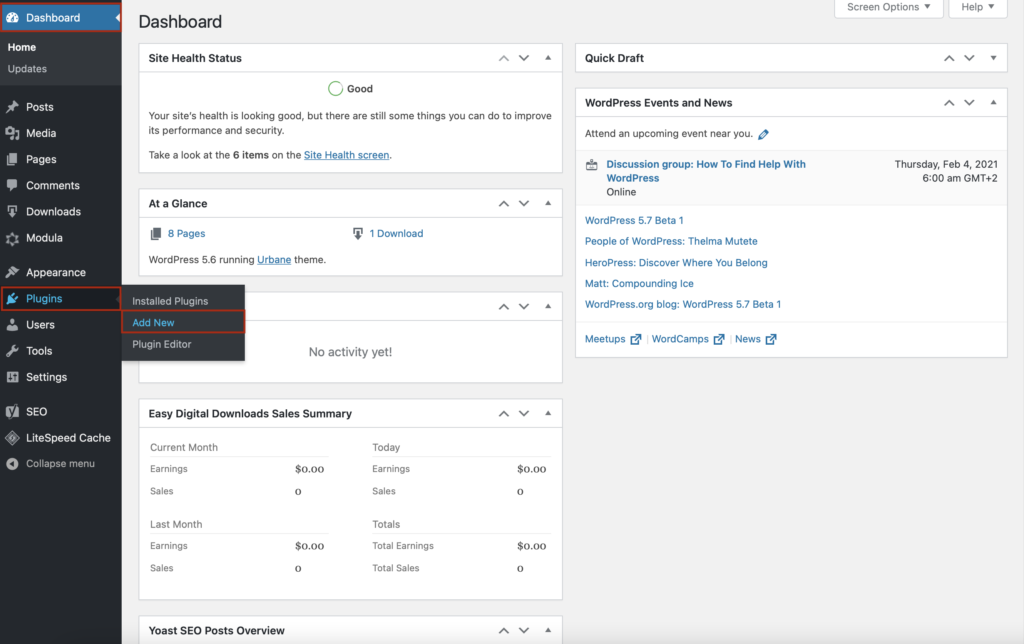
Firstly, to install Kali Forms, you will need a functional website. If you don’t have one, don’t worry. Follow this tutorial on how to create a WordPress website. After you create the website, go to WordPress dashboard > Plugins > Add New.
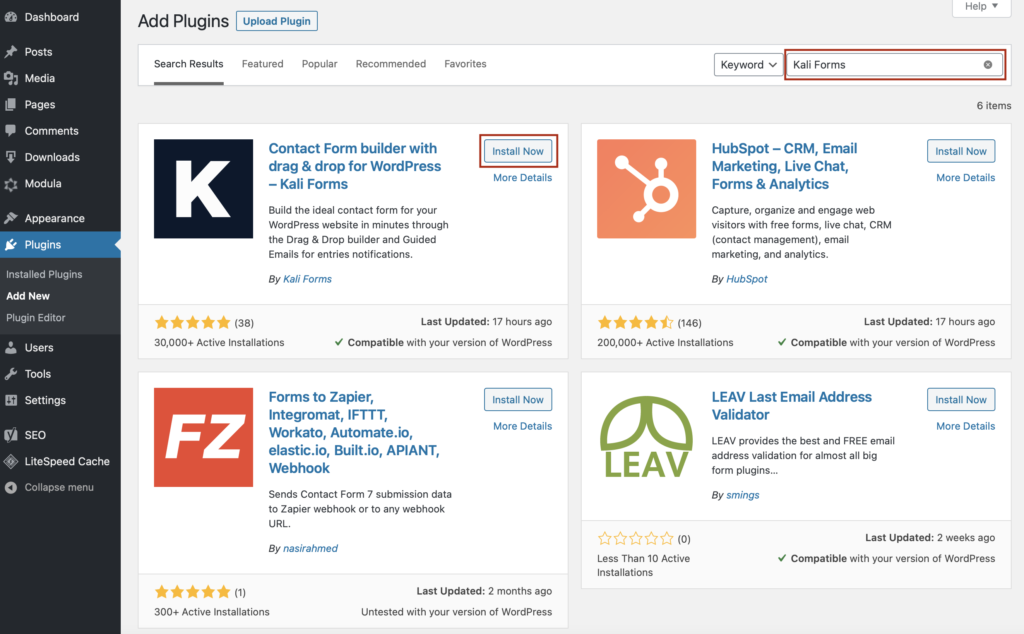
After you click Add New, you will be redirected to a page with all the available WordPress plugins. In the top right corner, you will find the search bar. Type Kali Forms, and once you find it, click on Install Now.
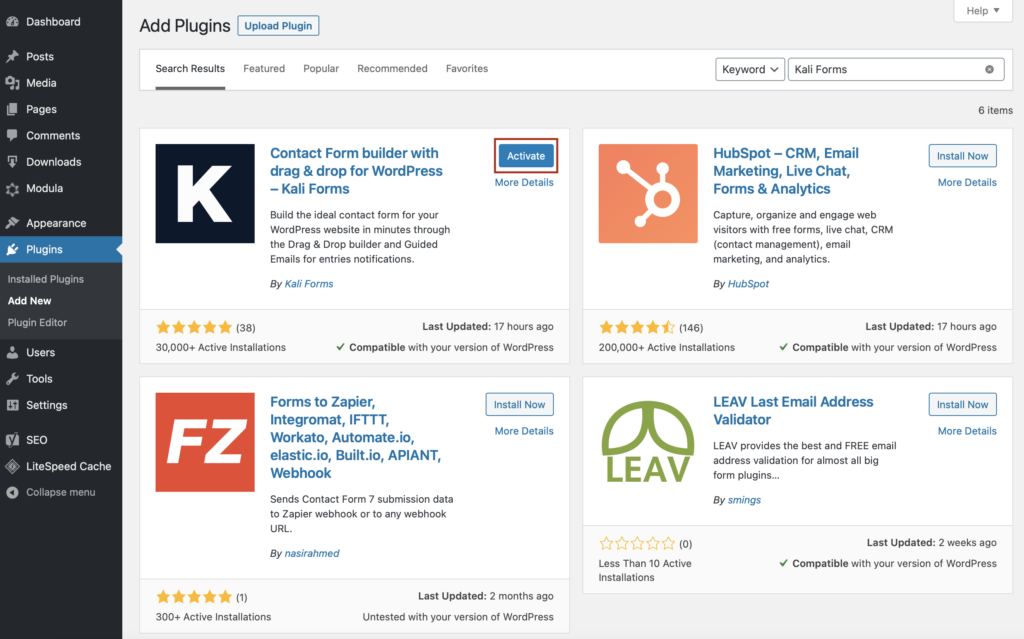
After the installation process is done, click on Activate.
You will find the Kali Forms plugin in the WordPress menu located on the left side.
Creating a new form
From now, any time you want to create a new form, go to the WordPress menu > Kali Forms > Add New.
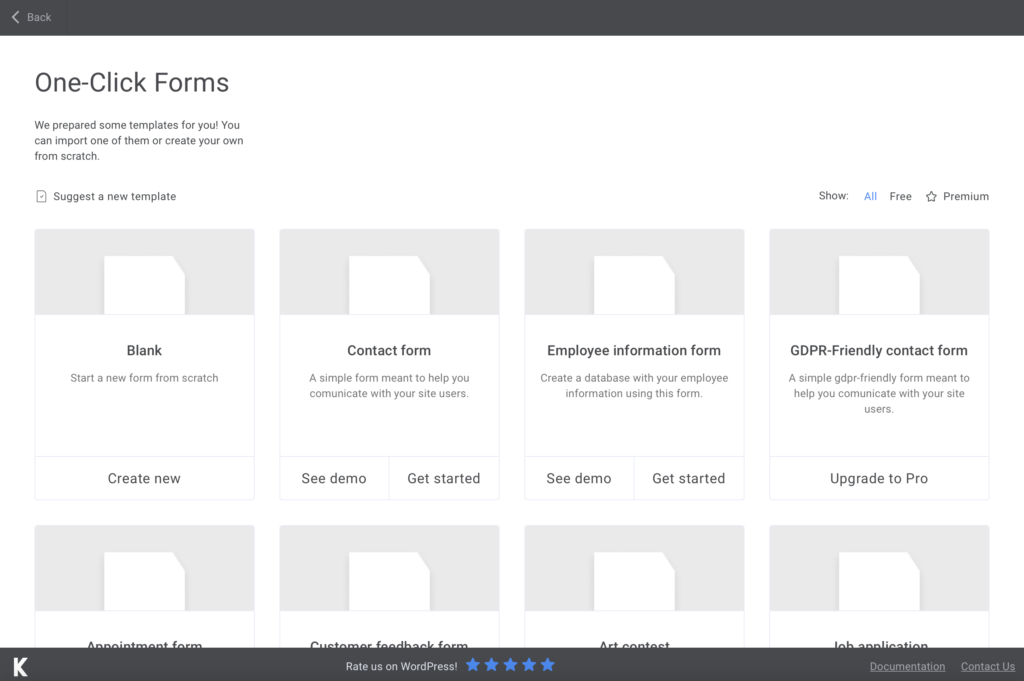
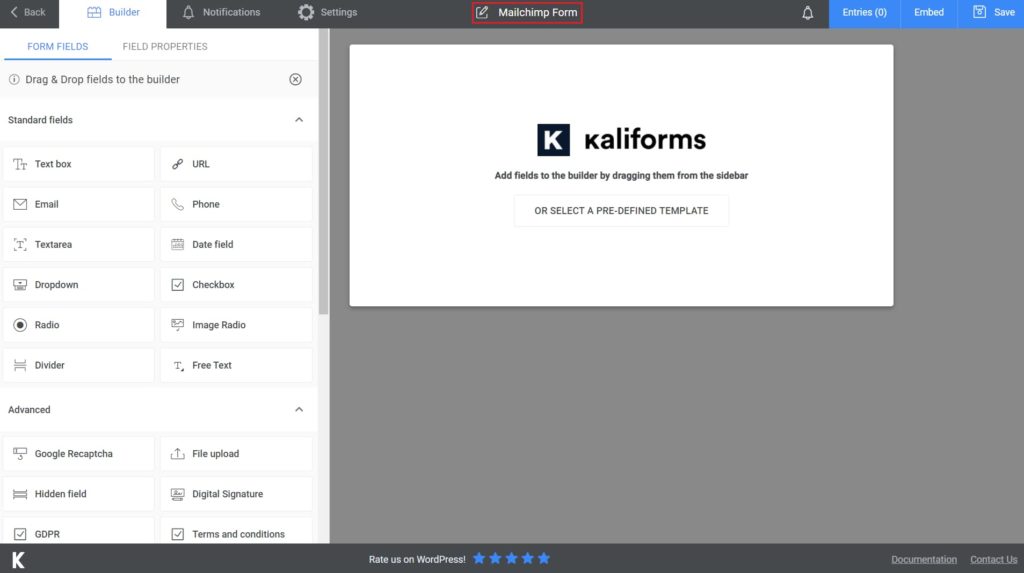
You will be redirected to a page with all the predesigned templates that Kali Forms offers. Since there isn’t a MailChimp registration form template, we will create one from scratch to see how the plugin works. So, let’s start by clicking on Create New.
Start by naming your form so people know where they are enrolling and help you distinguish this form from the others.
Adding the form fields
To begin with, you should know that all the fields are customizable! Drag and drop all the fields you need, then click on each of them to start configuring it. Instead of the fields menu, a customization menu will appear for the specific field you clicked on. From there, you can modify its name, caption, description, and many more.
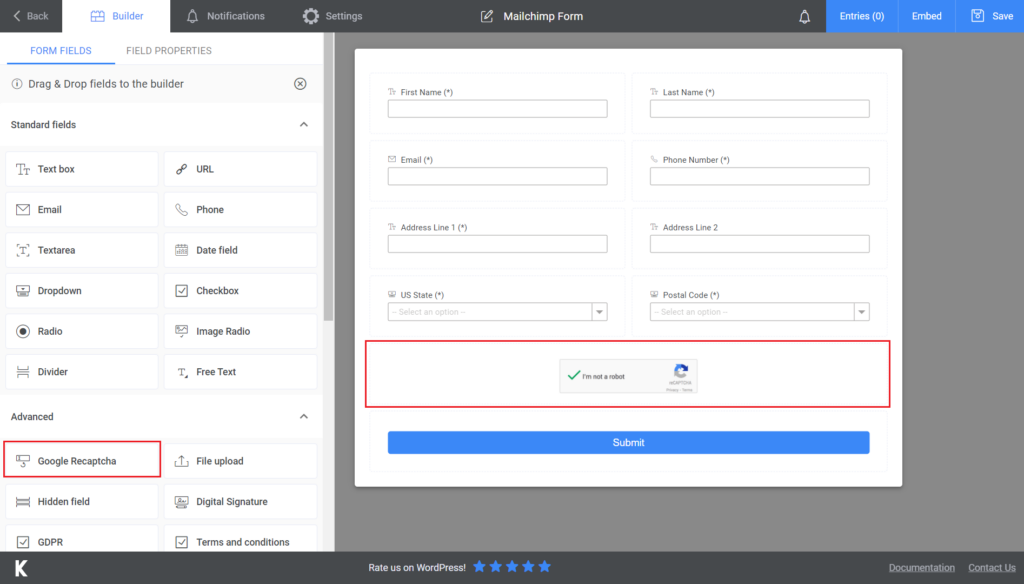
I started by adding two Text box fields for the full name, an Email field, and a Phone field for our form. After that, I added two Textbox fields for the address and two Dropdown fields for the US States and the postal code. In the end, I added a Submit button. I made all the fields required to fill by selecting the Required checkbox from the configuration menu of each field.

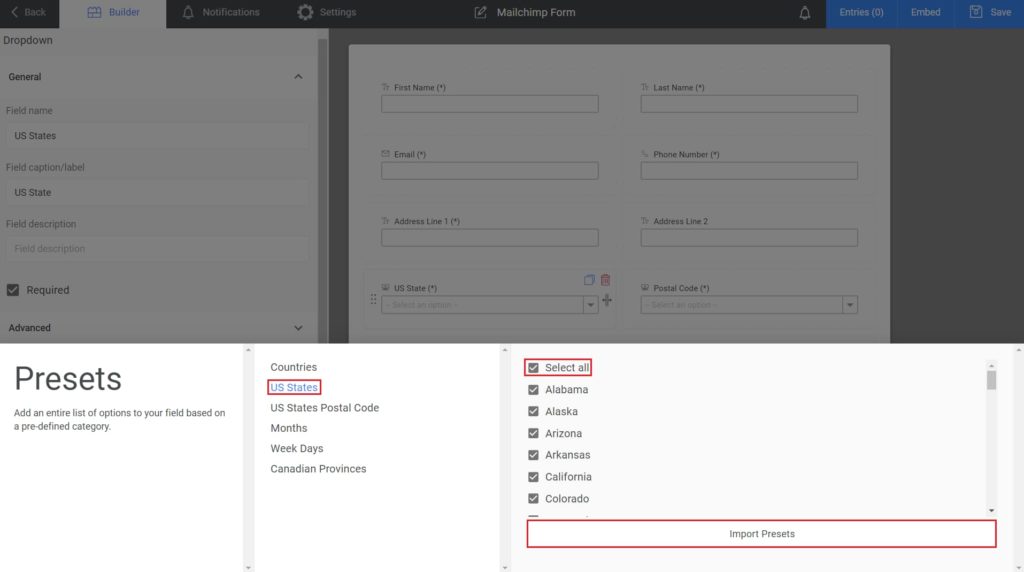
To automatically add all the US States, click on the Dropdown and scroll down to Options > Presets > the Us States > Select All > Import Preset. The same process is for the postal code as well.
Before finishing the form, it is also recommended to add a Google Recaptcha to protect your website from spam and abuse. It’s a test that is easy to solve for humans but hard for bots. It’s as easy as 1-2-3. This is how you add google Recaptcha to Mailchimp form for WordPress.
Additional features
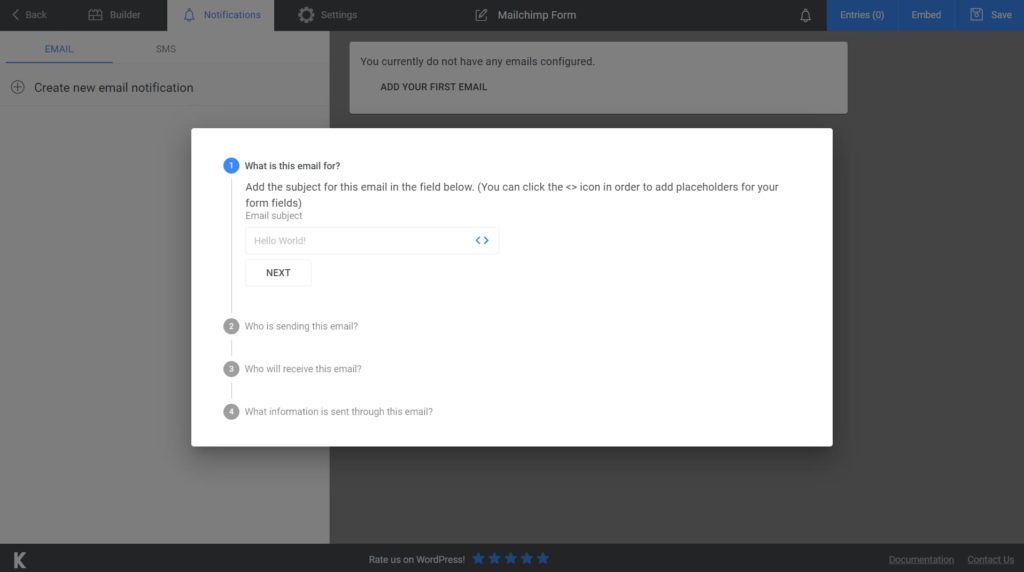
So, this is how you embed the MailChimp form in WordPress and create a MailChimp registration form. If you want to send a confirmation email to your audience after signing in, go to Notifications and follow the steps presented there. Moreover, if you choose the premium version, you can send an SMS notification as well.
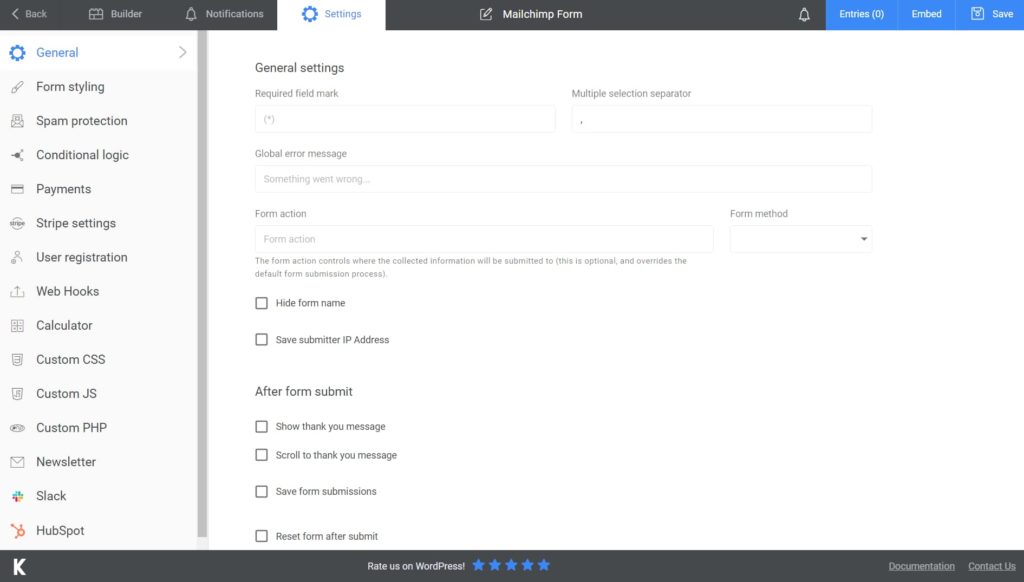
Further on, if you want to take advantage of all Kali Forms’ futures, go to Settings. You will find many customization settings, such as displaying a “Thank you for signing up” note or choosing the form style. You can also add your form to Slack or HubSpot if you upgrade to the premium version.
Add the MailChimp registration form to your website
After that, click on Save. A shortcode will be generated, and you can copy and paste it into your website.
If you consider that the information gathered is confidential, export it to CSV or Excel for any safety reasons.
Summary
Creating a Mailchimp form to start a newsletter or promote your brand is crucial — as we have seen, this should be a priority. Thanks to Kali Forms, the whole process has been simplified, so you can get the job done fast. Play with all Kali Forms functions to learn them so you can step up your registration form game.


