

Do you need volunteers to help run your projects?
We all know that behind every successful event is a group of devoted volunteers who work hard for community development. Whether you need volunteers to organize an event or a specific project, online volunteer sign up forms can help you gather the people you need. The bigger the event, the more volunteers are needed. Speed up your workflow, and find the most dedicated volunteers by creating forms with Kali Forms.
| 1. Why should you use an online volunteer sign up form? |
| 2. How to create a volunteer sign up form |
| 3. Add the volunteer sign up form to your website |
| 4. Summary |
Why should you use an online volunteer sign up form?
To be honest, you may already be thinking about some of the reasons why you should take this whole process online, but let’s see what we can come up with.
Time saver
Online sign-up forms are more straightforward and easy-to-fill. Printing the forms and waiting for your volunteers to come and fill them out can be demanding and a waste of time as well. Also, they would prefer to complete the forms on the Internet rather than coming to your headquarters. It is easier for them to fill in the boxes on an online form than on the paper. Online sign-up volunteer forms are very simple and save time.
Better accuracy
Sometimes, volunteers can be quite in a hurry and omit by mistake to fill in certain fills. Therefore, if they forgot to fill in a box, online applications can be coded such that they can’t be submitted until completion. Well, this way you will have all the information you need.
Database
Once you have chosen your volunteers and want to get started the good work, you will need to create a database with all the information about them. It will be easier for you to collect all data online and gather all contact details with these online forms. Take advantage of these benefits of online applications and get excited by creating sign up volunteer forms.
How to create a volunteer sign up form
You can create an online form without needing coding skills in just a few minutes. To do that, you only need Kali Forms, the most user-friendly plugin, that will give you the best of him due to its features like: multi-page forms, predesigned templates, email notifications, and many more. Let’s see how you can create a volunteer sign up form by walking through a few simple steps.
Install Kali Forms plugin
Do you already have a website? If not, you can follow this tutorial on how to create a WordPress website – it’s easy as a piece of cake. Once you are done building your website and venturing among the features, jump to the WordPress dashboard, and find the Plugin item. After that, click on Add New, and you will see a search bar in the corner right. Type Kali Forms in the box, press Install, and wait for the good stuff to load.

Once the process is over, and the plugin installed, all you have to do is to activate it. So, click on Activate.

Now you are ready to create your volunteer sign up form. Kali Forms will pop up in your WordPress menu. Go to the plugin item, click on Add New and let the fun part begin.

Creating a new form
By clicking on Add new, will appear a new page with a bunch of predesigned templates. If there is one of your interests, access it. But now, we will find out how to build a form from the beginning. Lead your mouse cursor and click on Create new.
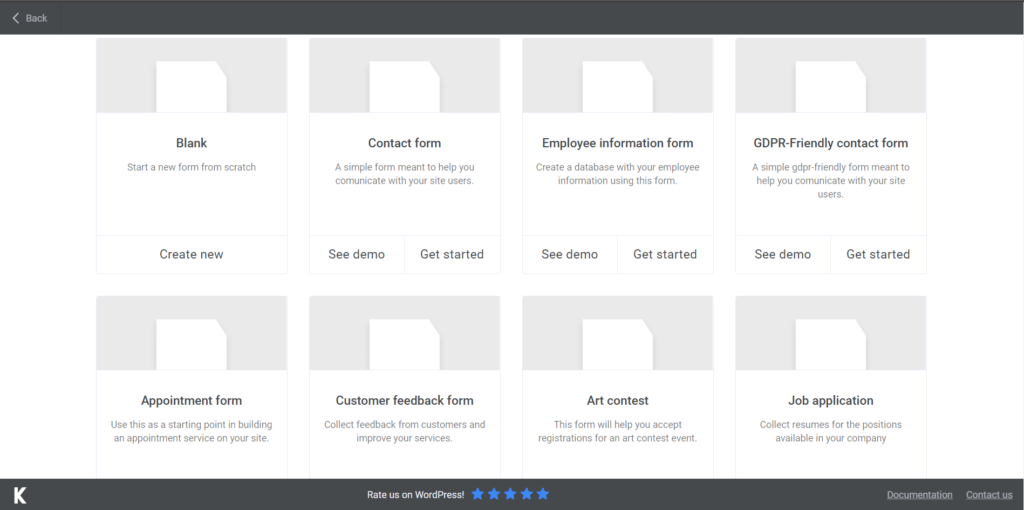
The next step is to name your form. You will create multiple forms, and people will need to know which one is the volunteer sign up form.
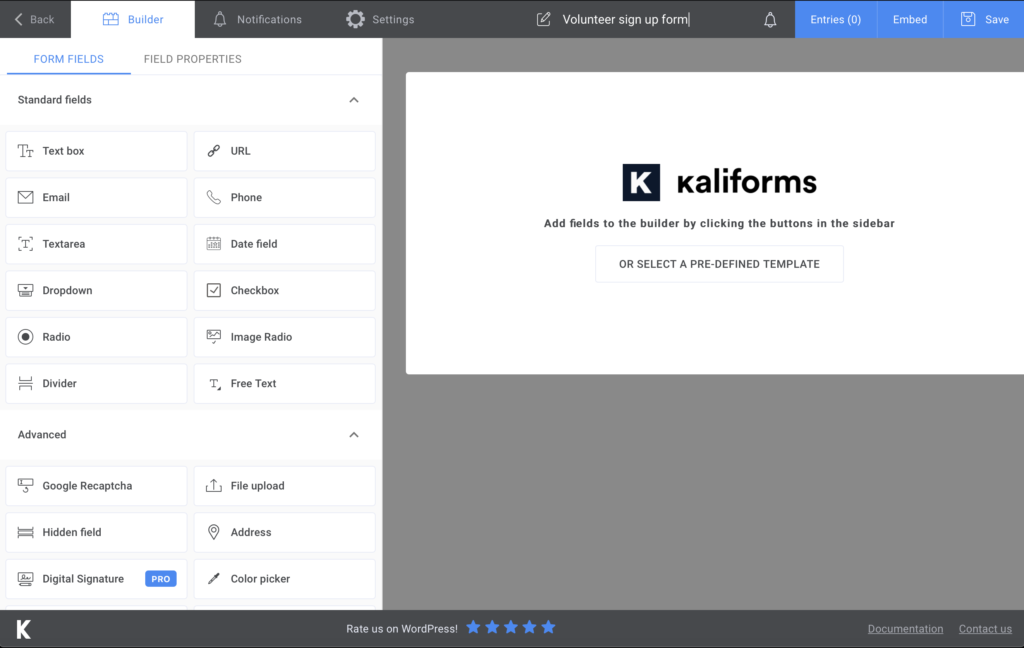
Adding form fields
Before we start adding the fields, I want to let you know that everything you add here is customizable. On the left of your page will appear a list with all the features that you can include in your form. Once you made your mind up and chose a couple, click on them. Instead of the menu, the customization options will show on the left. You can name your fields, make them required fill, and add a description for every area, so people know what to do.
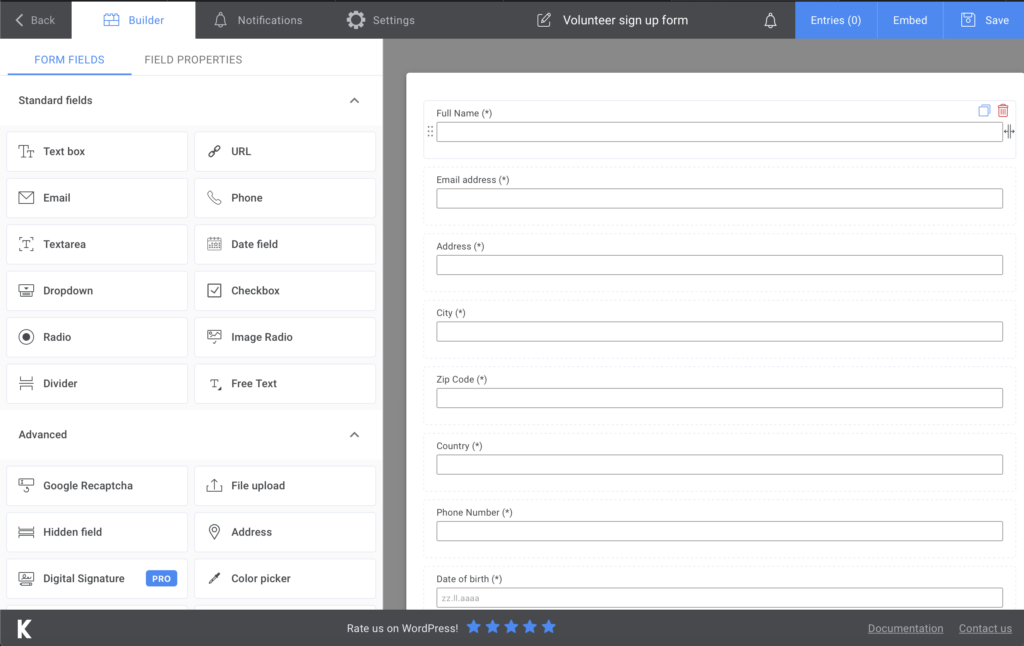
Now, let’s start adding fields. We are going to create a basic volunteer sign up form with the personal information of those who sign up. You can begin by adding a Text Field for the full name of the person, the Email address, the Address where they live, and a field with the Phone number to contact them.
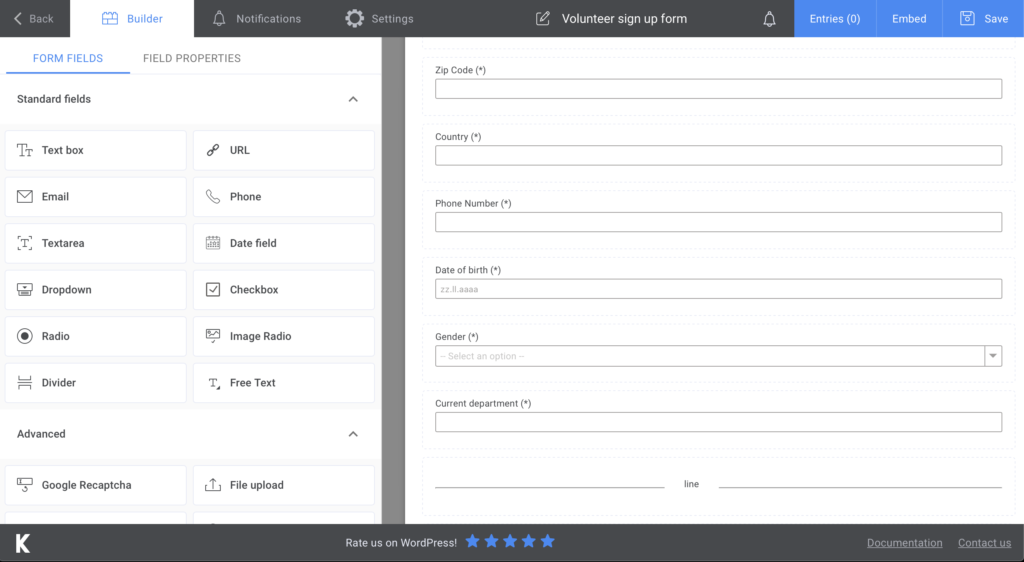
I added more fields for additional information, in order to have a complete profile of the candidate. You need to know their birthday, so I added a Date field, a Text box to find out their gender, and another one with their current department in which they carry out their volunteer activity. Once you have finished adding the personal data, add a Divider to separate this section from the others.
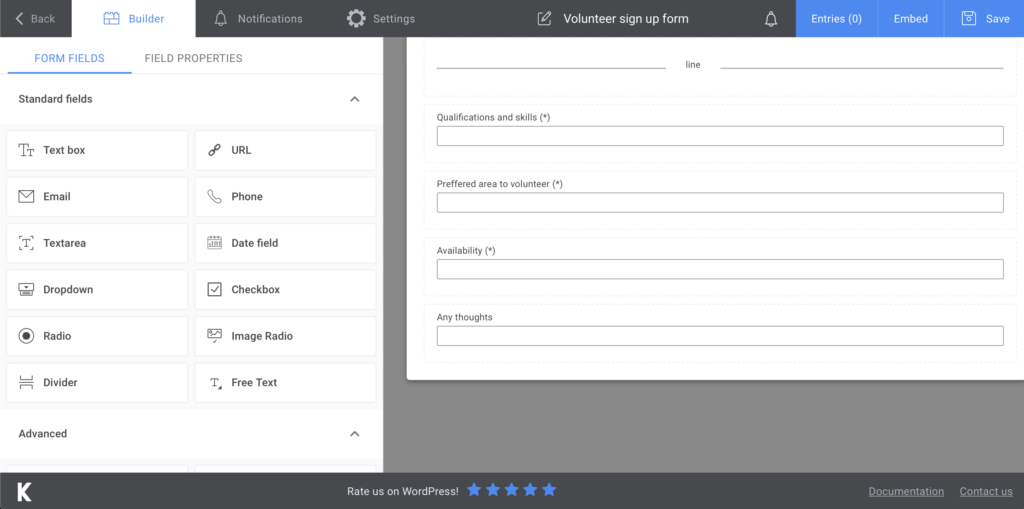
In the last part of the form, I added two Text Boxes to find out their qualifications and skills in volunteering, and the positions they would most like to have in the project. Add additional information for every specific department to structure your crew of volunteers and inform them about the field that they will volunteer. Moreover, I added two more Text Boxes to see their availability, and if they have any special message for you.
Additional features
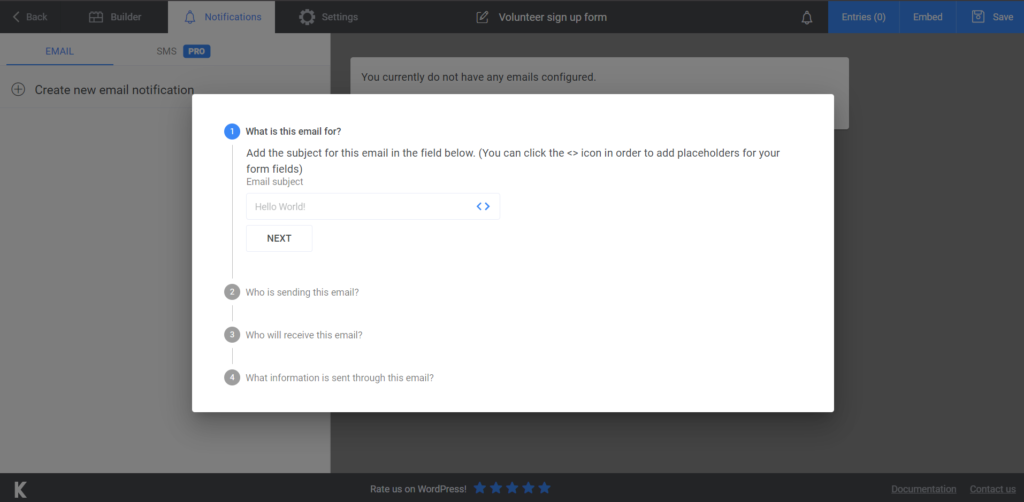
Next, you can send volunteers a confirmation email to assure them that the form has been completed and received by you. Go to Notifications, and you will see a page like the one shown above. Though, if you encounter difficulties, you can follow this tutorial of how to send the submitted data in the form notifications. Send SMS notifications by upgrading to premium!
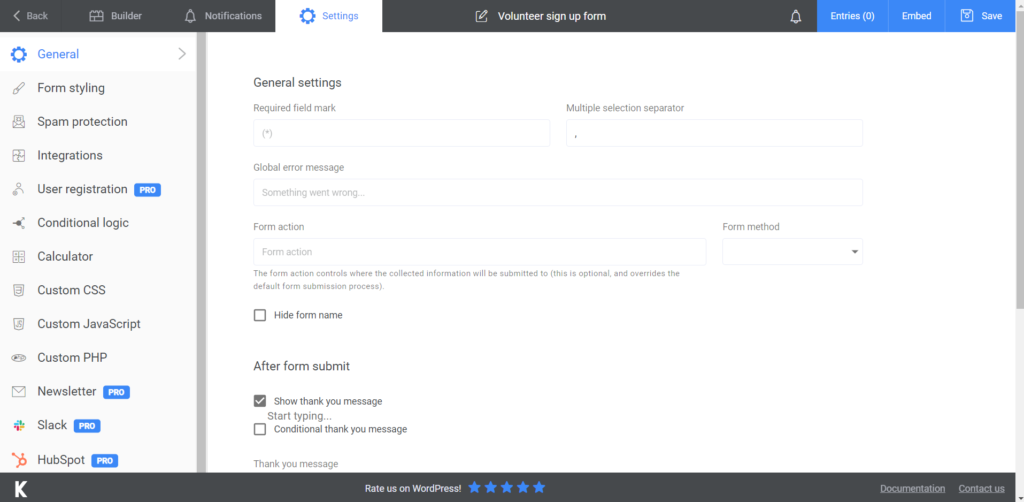
For the last part, go to Settings section and customize your form according to your preferences. Be polite and show a thank you message for the candidates. You can start typing a personalized message and have fun with all the features displayed here.
Add the volunteer sign up form to your website
When you are happy with all the options, click the Save button. Once you saved the choices, a shortcode will be generated. Copy the shortcode and paste it wherever you want it to be displayed. Moreover, I advise you to test your volunteer sign up form. Complete it and send your information to see that all the setups are good to go.
After the sign-up deadline is over, don’t forget that you can export your data to CVS or Excel. Now you will have a database with all the volunteers’ information. Store it somewhere safe and start organizing your volunteers.
Summary

Follow all these steps to have the most stunning forms for choosing the most hardworking volunteers for your event. Besides the fact that it is super easy-to-use, it has a lot of features as well. Start by installing Kali Forms, and get crazy with all the fields and text boxes. Stop thinking and start creating amazing, intuitive forms!


