

Are you looking for an online solution to speed up the volunteer recruitment process?
Having people volunteer for different events or causes is a great thing – you get to involve the community in a powerful action without them expecting any rewards. There are also a lot of organizations that handle volunteers for such things. But how do you keep track of everyone involved? Even if it’s volunteering, it doesn’t mean that anyone can come and go as they please. And this is because most of the time, they are needed as part of the organizing team for events and so on.
This is why you need to have volunteer application forms. Maybe you want to make a selection of people who have previous experience, or you want to just keep track of everyone who’s signing up. But how easy can this be if a lot of paperwork is involved?
| 1. Why should you use an online volunteer application form? |
| 2. How to create a volunteer application form |
| 3. Add the volunteer application form to your website |
| 4. Summary |
Why should you use an online volunteer application form?
Well, the benefits are pretty obvious, but we’ll state a few of the most important ones.
Diversity in your community
Volunteering is something people really enjoy doing, so they might be up to coming to a different state or sign up to be volunteers for an organization and do stuff for their community through them. So having an online form means that you can involve people from everywhere in your project.
Easier process
Some people have a hard time coming to your headquarters just to fill a form. Since everything is online, they usually look at these opportunities on the internet first – so if your form is online as well, there might be a chance you get more volunteers in less time.
Additional documents
There are projects that require some experience from the volunteers, depending on the purpose of it. People can apply to be volunteers for anything, or maybe you offer certain positions as well, such as a social media manager or financial coordinator. For these things, you might want your future volunteers to submit pieces of their work. An online form takes away the pain of handling a lot of paperwork.
Keep track of everything
This is one of the greatest benefits of digitalizing your process. You can have a database of everyone who is involved in your event or organization. Keep track of old and new volunteers and all the data they shared regarding their experience.
How to create a volunteer application form
This is a very easy process. You just need the help of one tool – Kali Forms, an amazing plugin that basically does the job for you. After you install it, you can start creating your first form right away. The great thing is that you can create as many forms as you want, depending on your needs – so take advantage of this and multipurpose your plugin.
Install Kali Forms plugin
If you already own a website, you can just skip this paragraph and go straight to the tutorial. However, if you don’t have one, don’t worry – it’s super easy to create one. You can follow this step by step guide on how to do it. The great thing is that you’ll be able to use your website afterward for any other purposes, so let’s get to it.
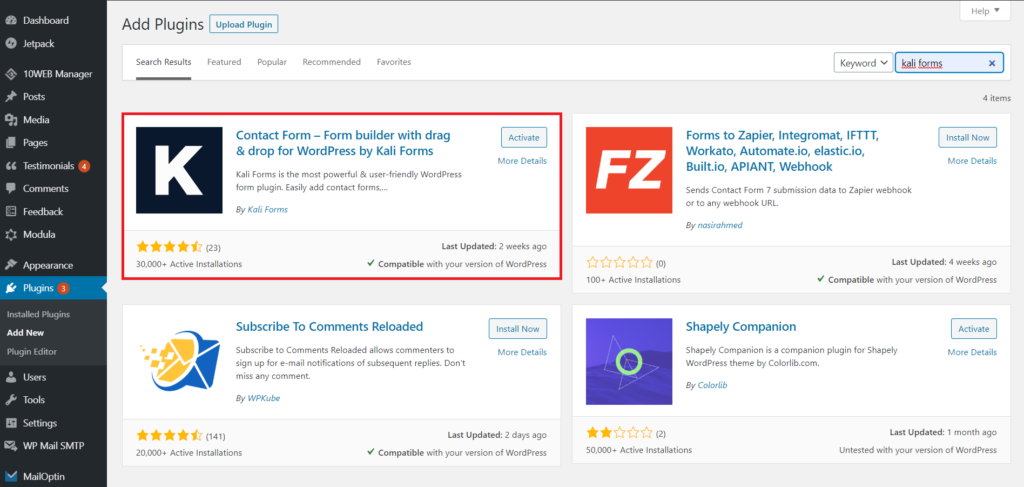
First of all, go to your WordPress dashboard and find the Plugins section. Click on Add New – a search bar will appear in the corner right. Type the name of the plugin and after you’ve found it, press Install.
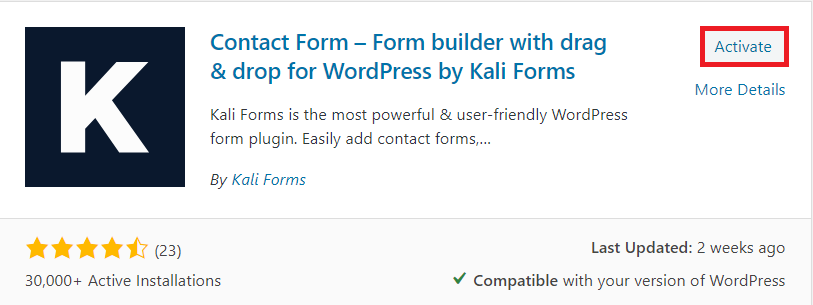
Wait a couple of minutes. After the plugin is installed and click on Activate.
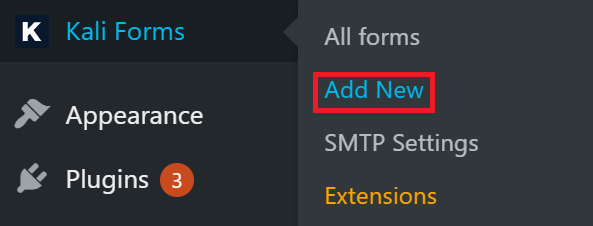
Now you’re good to go. Kali Forms will appear in your WordPress menu, so just click on Add New and start creating your first form!
Creating a new form
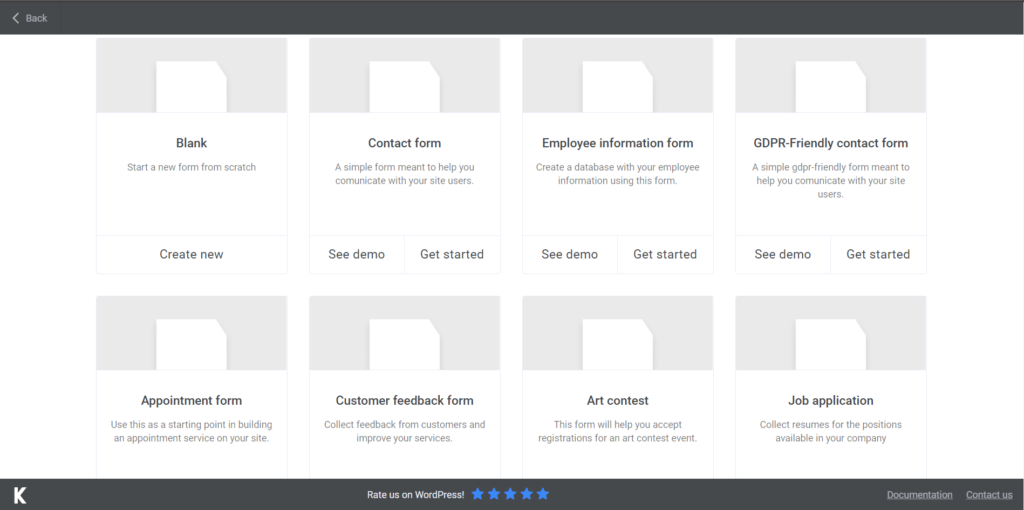
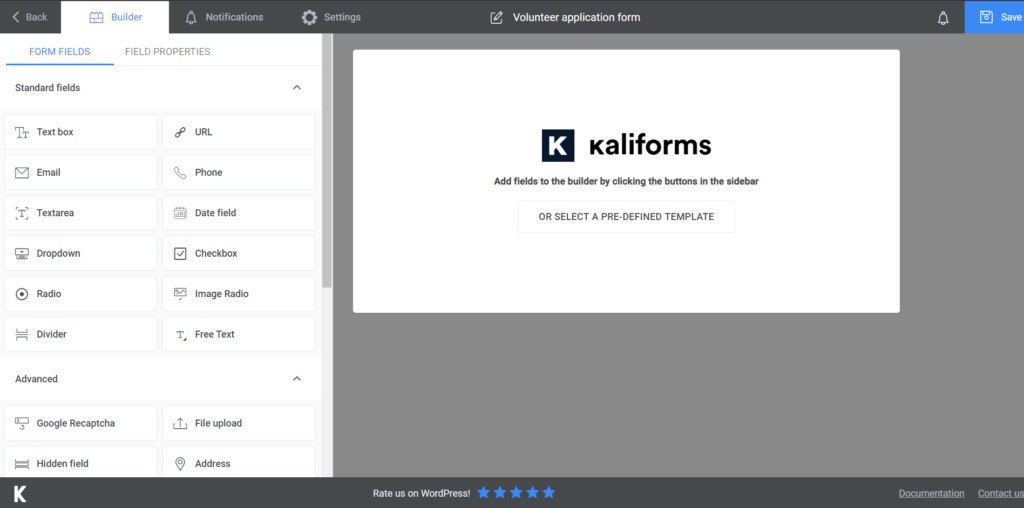
Once you’ve clicked on Add New, you’ll find yourself sitting in front of a page with a bunch of templates. If you find any use for them, make it happen. But for now, we’re going to create one from scratch, so click on Create New.
Name your form – if you’re planning on creating multiple ones, you want people to know which is the one they should fill in.
Adding form fields
We want to start by letting you know that everything you add here is customizable. A complete list of the features you can include in your form will appear in the shape of a menu on the left. Once you choose a couple, click on them and instead of the features’ menu, the customization options will appear on the left. Choose the name of your fields, make them required to fill or not, or add a description so people know what to do.
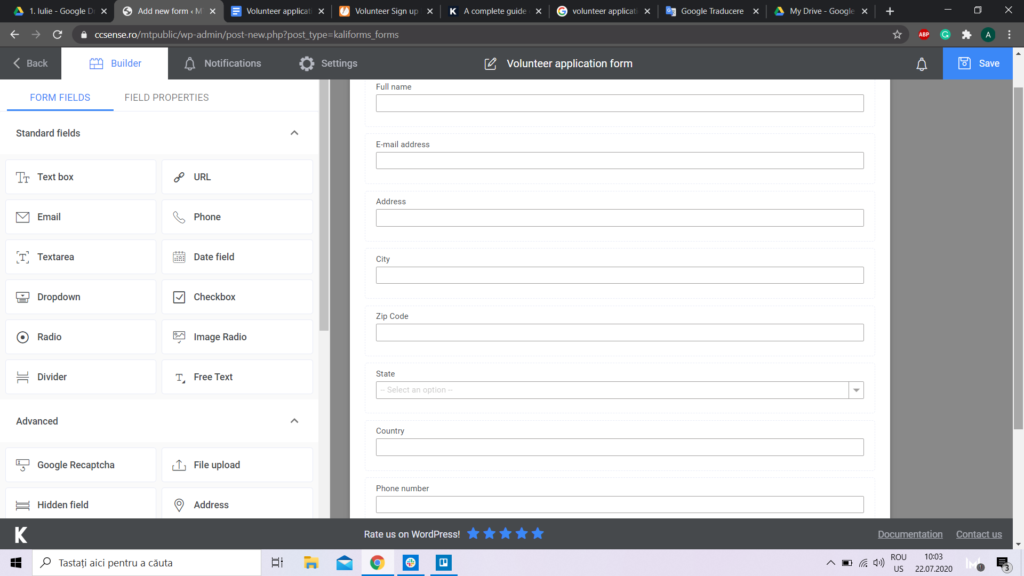
We will be creating a basic volunteer application form with the most common pieces of information that are required for such a thing. Start by adding a Text field, for the name of the person, an E-mail box, an Address one, and another field for their Phone number.
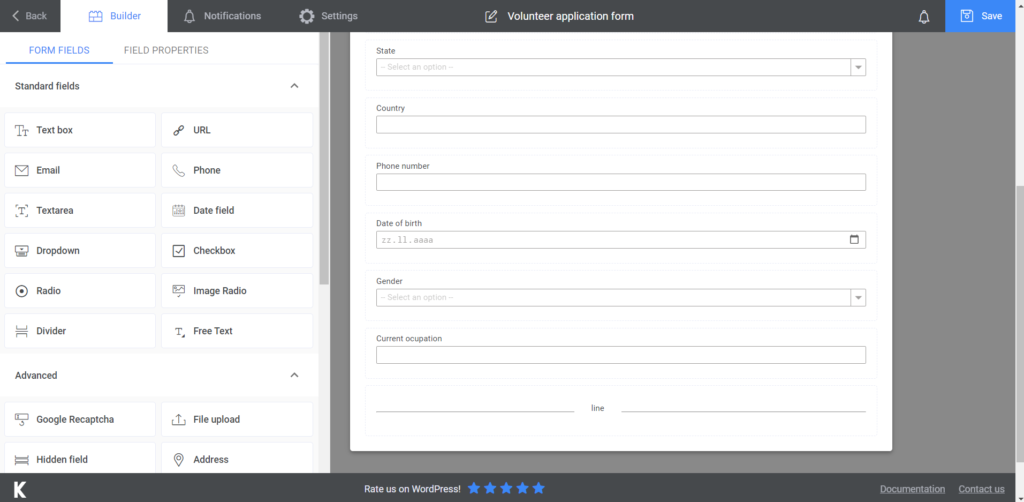
Another bunch of fields was added, to have a complete picture of the candidate. A Date field was added, so they can write their birth date, a Dropdown field for the gender, and another Text box so they can state their current occupation. Next, I added a Divider, to separate the personal data and the rest of the information needed.

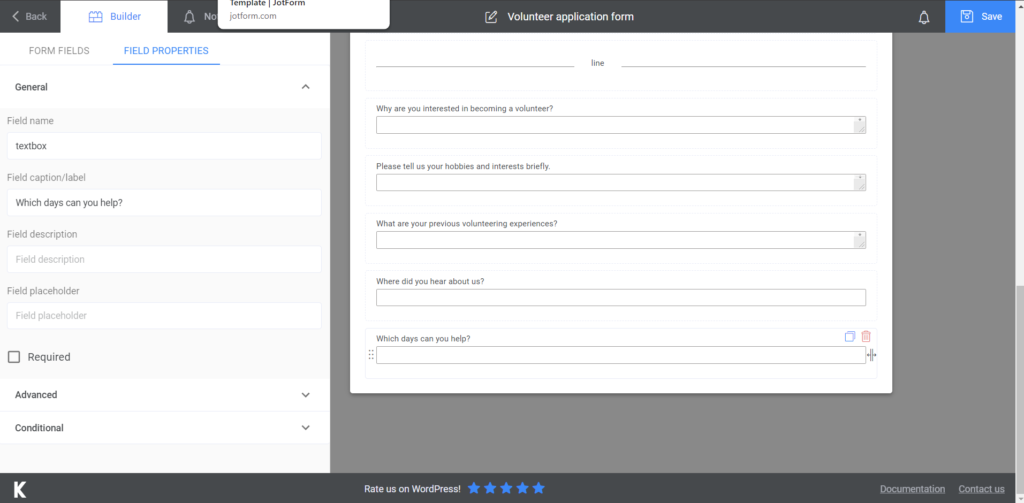
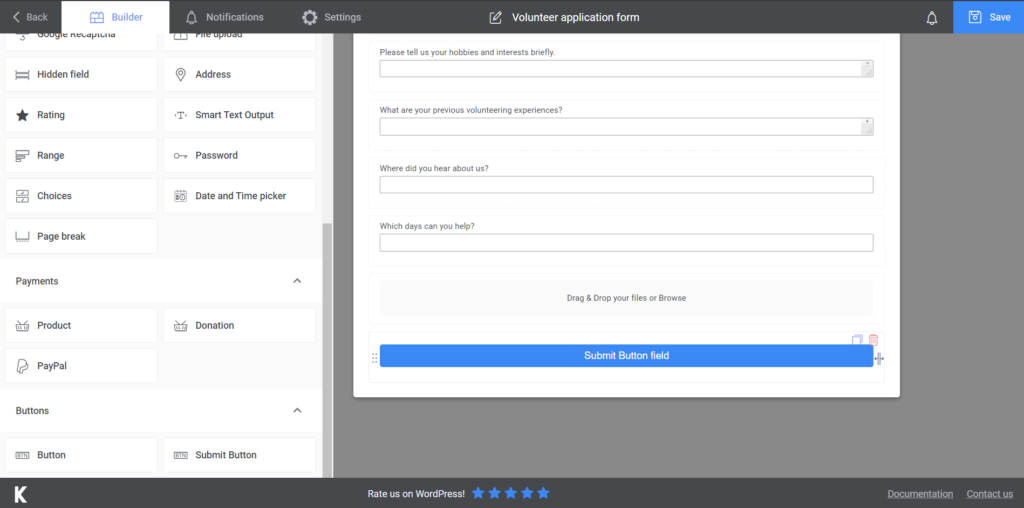
For the last part of the form, we added three Textarea fields to find out why are they interested in becoming volunteers, some of their passions and hobbies, and if they have any other volunteering experiences. Two more Text fields were added, to see where they found out about the project/ organization and what days are they available to take part in this.
The last part may include a File Upload field, if you require any specific documents on the volunteers’ part and a Submit Button.
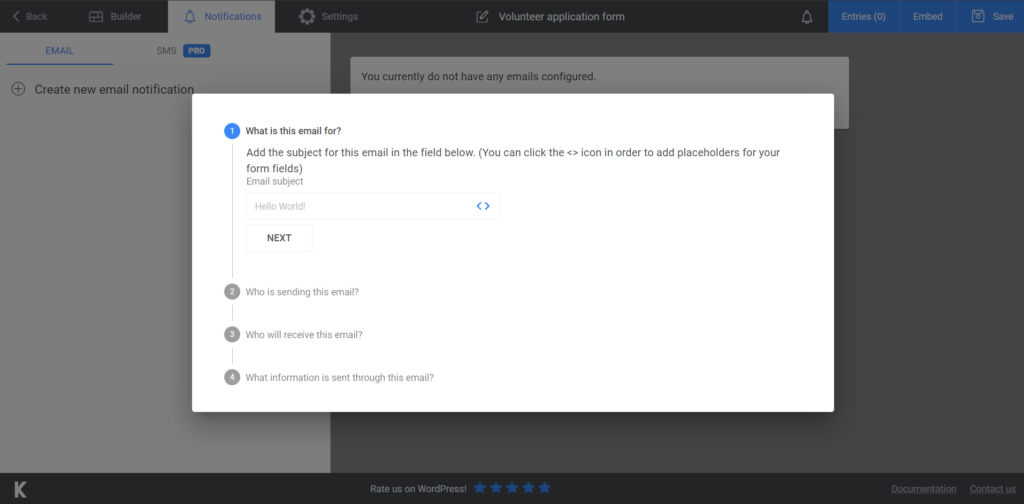
You can send people a confirmation e-mail that you received their application. Go to the Notifications section and you’ll see the step by step process of doing it there. If you don’t feel like you handle everything, here’s a complete tutorial on how to do it. Opt for the premium version and you’ll be able to send SMS notifications as well.
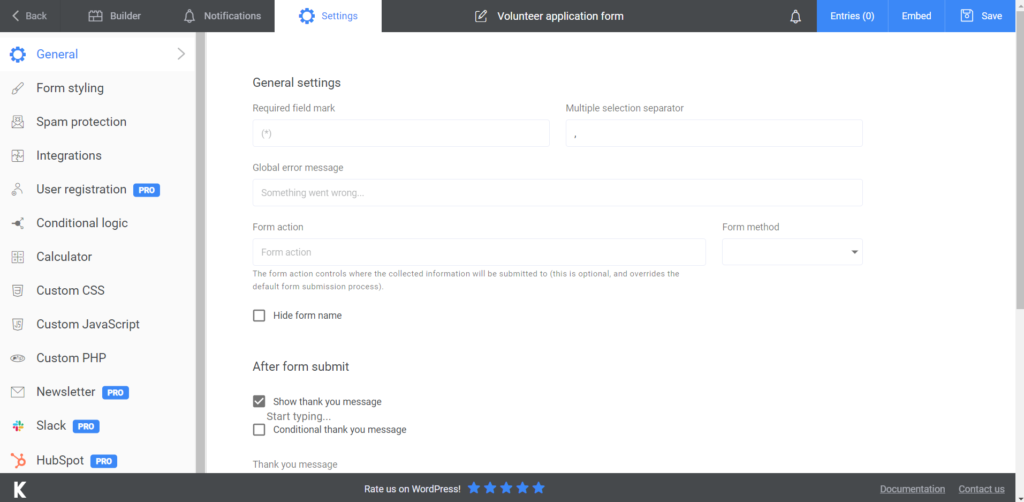
The last part of creating your form is customizing your Settings section as well. Display a Thank you message at the end of the form or choose its style. You can play around will all the options offered there. Go premium and send your future volunteers newsletters with updates on how everything is going!
Add the volunteer application form to your website
Insert it in an already existing page or create a separate one for it – whatever your choice is, it’s perfect. After you press Save, a shortcode will be generated. Copy and paste it to the page you want it to appear in and you’re good to go. You now have a volunteer application form up and running!
After everyone signs up, you can export your data to CVS or Excel to keep track of everything and everyone, if you wish to. Store it in the cloud or on your computer and easily find it whenever you need it.
Summary

You now have everything you need to start your recruitment process. This tutorial is super easy and the tool we offer, Kali Forms, is so useful – you can get the job done in less than half an hour. Give it a try and see how it works for you. Digitalizing this process can bring you a lot of benefits you weren’t even expecting.


