Do you need help with digitalizing your vehicle inspection procedures?
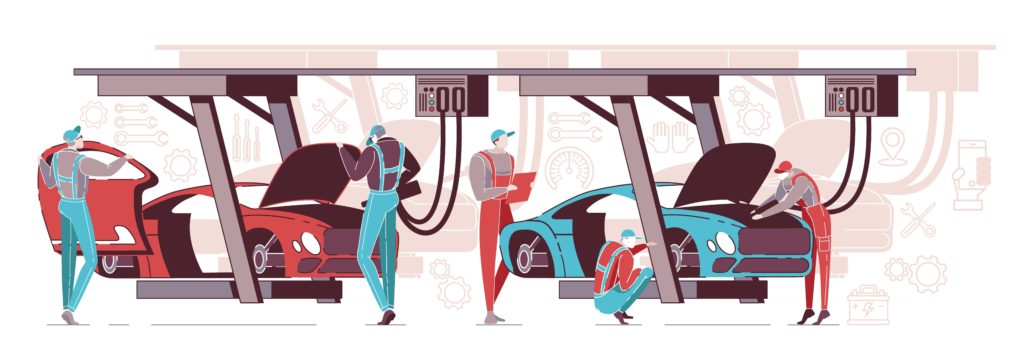
Everyone who drives a car knows that a vehicle inspection is a requirement because you need to be safe in your own car – as well as the ones that drive along with you. You can have your car inspected by any auto service, but usually, this is a legal demand and has to be done by an authorized mechanic. In both cases, using a digital vehicle inspection form should be the way to go for a number of reasons that we’ll further explain.
This article will serve as a complete guide on how to build an effective, time-saving vehicle inspection form that will save you a lot of trouble.
| 1. Why should you use an online inspection form |
| 2. How to create a vehicle inspection form |
| 3. Add the vehicle inspection form to your website |
| 4. Summary |
Why should you use an online inspection form
Besides the whole story with the digitalization era, there are some things that business owners and workers in this industry can directly benefit from. It’s true that the internet has made everything easier for us, so there’s no need not to take advantage of it as much as we can.
Save time
The most intuitive one, but also the most important one. We’re in a constant rush, so people need their cars as soon as possible. Conducting a thorough inspection with less paperwork sounds like a dream. The mechanic just needs to fill a few fields and with a few clicks, your revision is done.
Enhance communication
Having your vehicle inspection form online means that you can directly send it to the driver after it’s completed. This is an easier way of communicating and knowing if something is wrong and the car needs some repairing and so on.
No need to use and store paper
If you’re going online, you get rid of the buy and waste paper ritual. You can just have everything backed-up on your computer. And the drivers that need your services will have their share of the documents in their inbox.
How to create a vehicle inspection form
We talked a lot about making some of the daily procedures simpler and more efficient. The only thing you’ll need is a little bit of motivation and a great plugin that can help you with your work.
Our recommendation is Kali Forms. It’s a user-friendly, easy to grasp plugin that will help you create forms in just minutes after installing it. You can customize your forms and make them as comprehensive as you wish.
Install Kali Forms plugin
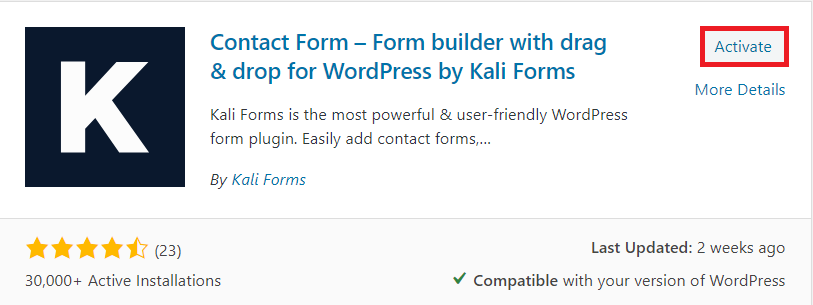
If you already have a website for your business, you can install the plugin there. Or you can create a new one that has the sole purpose of hosting this form. If you don’t know how to create a WordPress website, here is a complete guide on how to do it. After this step, go to your WordPress menu and click on Plugins < Add New. You’ll see a search bar in the upper right corner of the page where you can type the name of the plugin.

After you find it, click on Install. This process should be ready in a couple of minutes, so just Activate your plugin and you’re good to go.
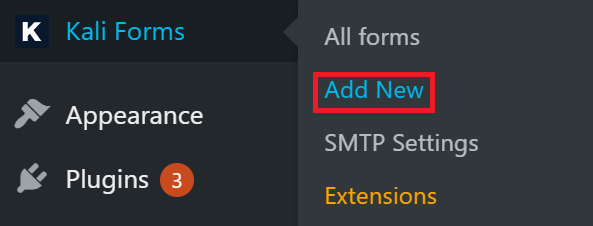
The last step you have to make is going again to your WordPress menu, find Kali Forms and click on Add New. You’re now ready to start working on your first vehicle inspection form.
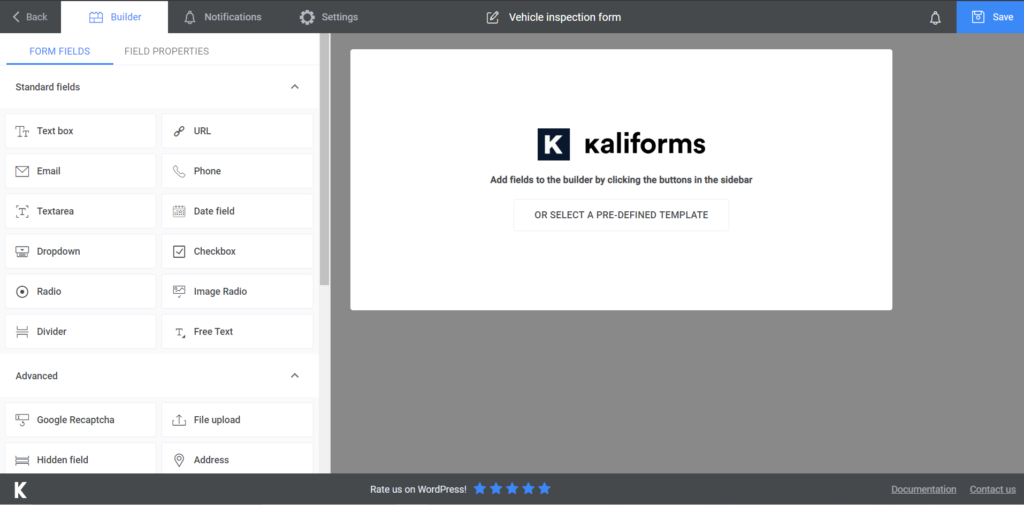
Creating a new form
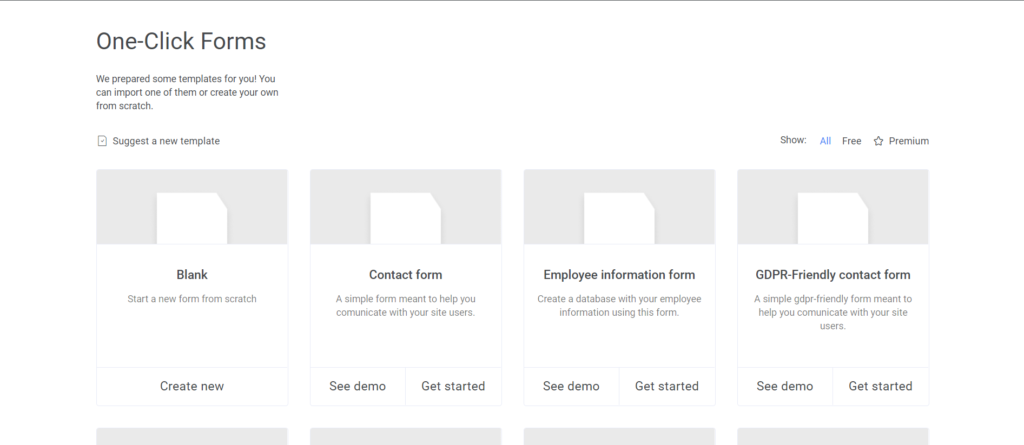
After you click on Add New, you’ll find yourself on a page that suggests some templates you can use. For this specific task that we’re following, we will create the form from scratch, so click on Create New. Of course, you can digitalize many more of the forms your clients have to fill in, so feel free to use this plugin to the maximum.
Start by naming your form, so everything makes sense from the beginning. If you’re planning on making multiple documents, this step is crucial so everyone knows what they’re working with.
Adding form fields
First of all, grab one of your old vehicle inspection forms and see what information you need to transfer into the digitalized version of it. The great thing about these online forms is the fact that you can adjust them anytime you want – add, remove, or even change anything you’d like.
On the left, you’ll see a menu with all the options you have to choose from. You can add them to your form by clicking on them. They will appear in the body of the form afterward. If you want to customize any of them, you just have to click on the box that represents that option in the form. Customization options will appear instead of the menu.
You can also add descriptions or placeholders, as well as make them required to fill in. These options will save you the trouble of sending an incomplete report.
Start by adding a couple of text boxes for the name of the inspector and the location where this procedure is taking place, as well as a date field for the date of the inspection. The next step I took was to add a divider, in order for the form to have a flow. It’s not a requirement, but you can add some fields if you want the information from the vehicle owner to be in your form.

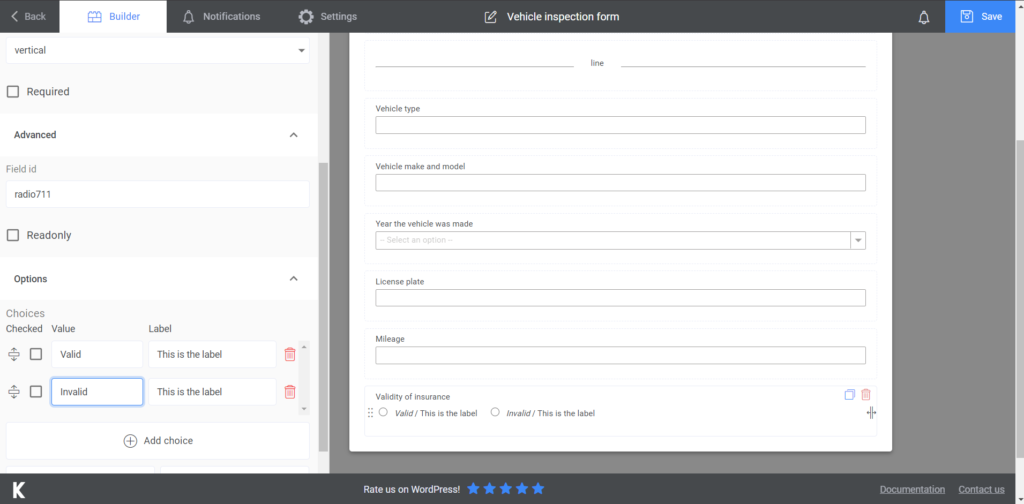
Next, you’ll have to add a few fields that will cover details about the vehicle itself. These can be vehicle type, make and model, the year it was made (here you can add a dropdown field, where you list all the years), license plate, and mileage. Do these things so you can have everything clear from the beginning. Along these, you may want another field to check if the insurance of the vehicle is valid – a radio field for these options can be very useful. You can also you the image radio field if you feel like there’s a need for that.
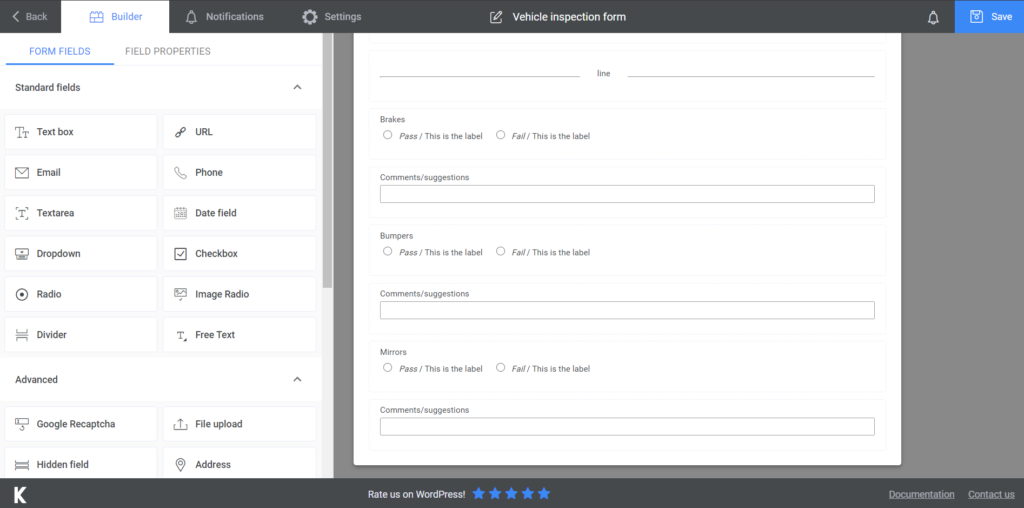
Now we’re getting to the part where you have to check the functionalities of the vehicle. I will list them all, but I will add only a few in my form, to have them as an example. You have to look at a lot of things, but you can make the process easier. You can choose a radio box and a text field for each of the things you check. In the radio box, you can have the option of pass/fail. In case one of the functionalities fails the inspection, you can add a comment about what’s to be done or anything you consider necessary in the text field.
Here is a list of the things you have to make sure you insert in your vehicle inspection form: brakes, bumpers, interior (horn, seatbelts, defrosters, heating, emergency equipment), lights, mirrors, tires, everything that’s under the hood (battery, brake fluid, engine oil, etc.), and windshield and accessories.
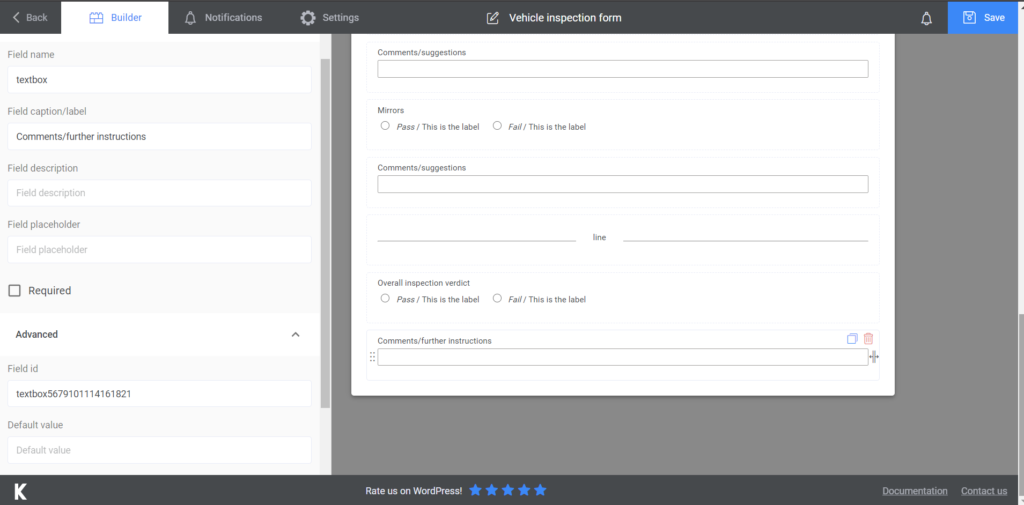
Last but not least, make a separate section where you pass the final verdict of your inspection. You can choose a radio field again, for the pass/fail options or choose a text box where you explain what’s to be done further.
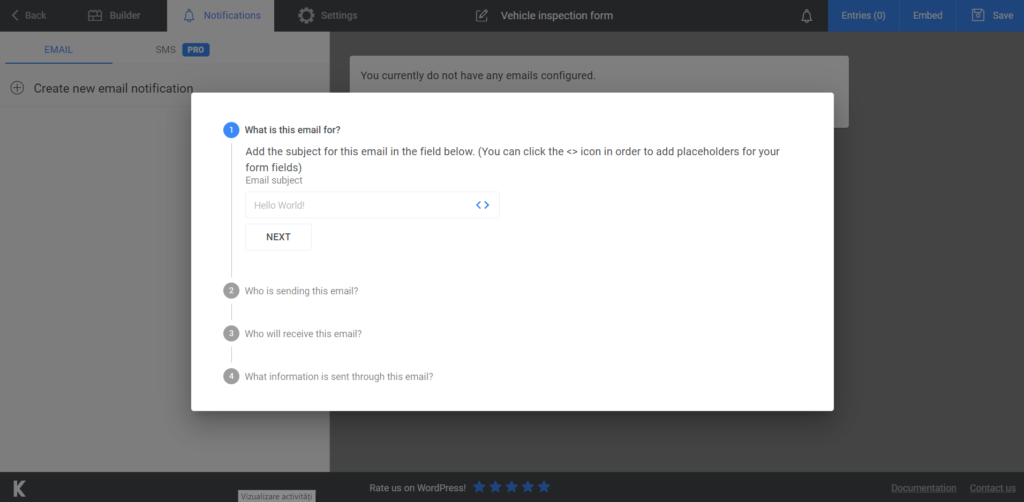
Another great thing about this plugin is the fact that you can automatically send an e-mail to the vehicle driver to notify them about the report. They can find out if their car failed or if they can come to pick it up. In the Notifications section, you can find the step-by-step process of sending such e-mails. If you’re not sure of how to do it, here’s another helpful article on this subject. If you’re thinking about going for the premium version, then you’ll be able to also send SMS notifications.
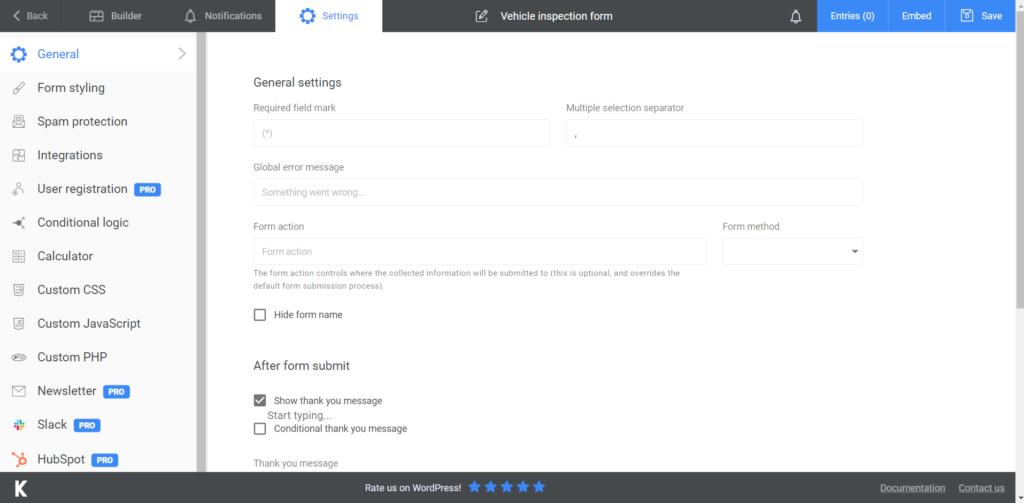
After this, the only thing left is to go to the Settings section where you can customize a couple of other aspects, such as the Form Style you want your document to have. If you don’t need these things for your form, you can just skip this part. Go premium and you’ll also be able to send your customers newsletters and have them benefit from user registration and other cool features.
Add the vehicle inspection form to your website
As we mentioned before, you can incorporate it directly into your existing website, if you also want to make it available to the public. Or you can just create a separate WordPress website to only have it there. The process is simple. After you’re done creating your form, press Save. A shortcode will be generated. You just have to copy and paste it on an already existing page or create a new one for it.
If you also need to export your data somewhere, we are proud to announce to you that you can. Export your form submissions to CVS or Excel to make comparisons or store them somewhere safe.
Summary
As you may have already noticed, there’s no simpler way of creating an online vehicle inspection form. Using Kali Forms will ease the process of inspecting the vehicles. Its options make it more efficient and help you save a lot of time.
Choose the most user-friendly, intuitive plugin to help you get the job done in minutes!