

Do you want to create a tour reservation form and don’t know how to start? We’re here to help.
If you own a travel agency, a tour reservation form will be necessary for your clients. Online reservations are more efficient than the paperwork process.
In this tutorial, we will show you the whole process of creating such a form, with all the required steps and some extra tips. Without further ado, let’s dive right in!
Table of contents
Why should you use an online tour reservation form?
Digitizing this process will bring you a large number of benefits, but let’s see some of them accompanied by an extensive explanation.
- Save time – An online form builder will allow you to use multiple fields and customize your form according to your preferences more easily than designing it manually. This will undoubtedly save you a lot of time.
- 24/7 accessibility – online docs are accessible any time of the day, and your customers will be able to fill in the form whenever they want. Also, you can create the survey anytime and post it at any moment.
- Accurate data – form builders integrate a function that allows you to make fields required to fill or not. With that in mind, you can gather all the information by making the fields required to fill.
- Keep track of everything – having all the data in one place, you won’t have to worry about losing any information. Online forms will help you reduce the paperwork and increase the security of your documents.
How to create a tour reservation form
To begin with, you need a running website. Most agencies and businesses own websites for marketing purposes. But if you don’t have one, you can follow this tutorial on how to build a WordPress website in a few easy steps.
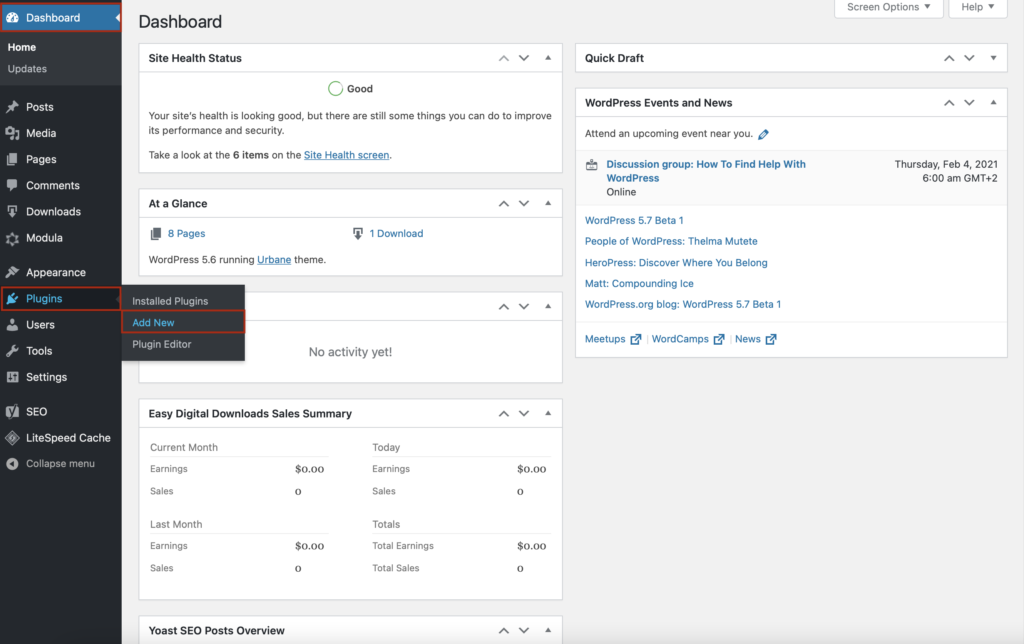
Next, you need a powerful tool to help you create the most intuitive online forms. Thanks to its many features, we recommend Kali Forms, the most user-friendly WordPress form builder. Go to your WordPress dashboard > Plugins > Add New.
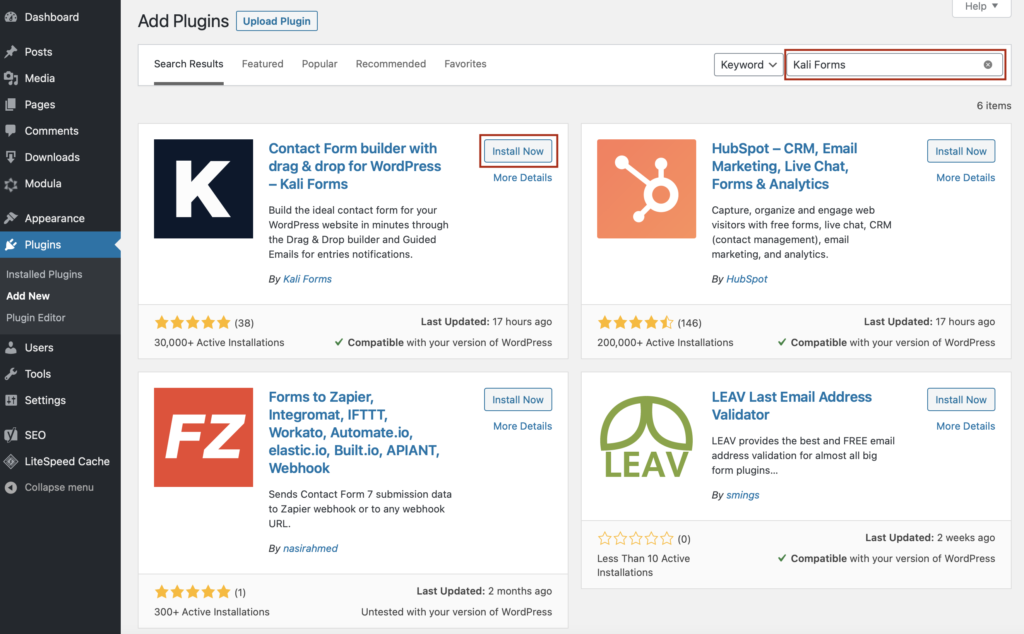
You will be redirected to a page where you’ll find a search bar in the upper right corner. Type Kali Forms, and then press Install Now.
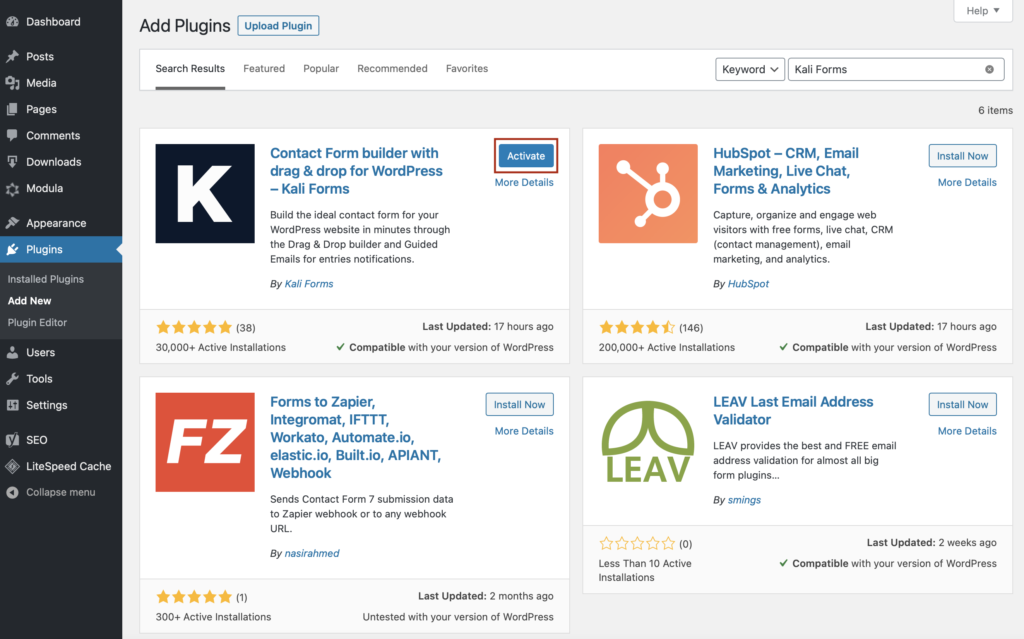
The installation process shouldn’t take more than a couple of minutes. Next, click Activate.
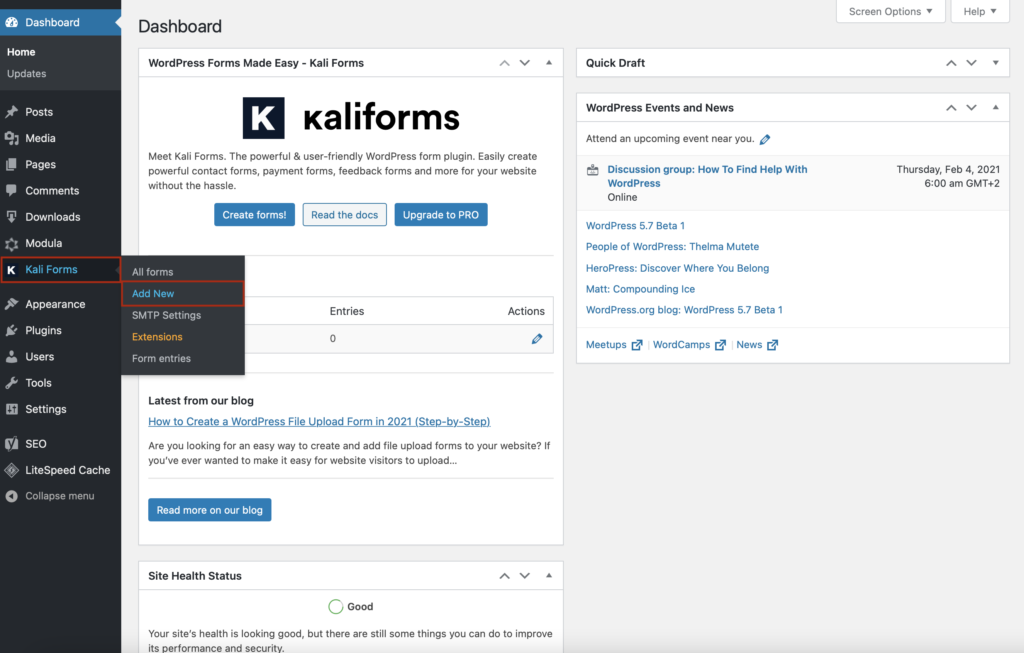
Now, you will find the Kali Forms plugin in your WordPress menu. So, every time you want to create a form, go to Kali Forms and click Add New.
Creating a new form
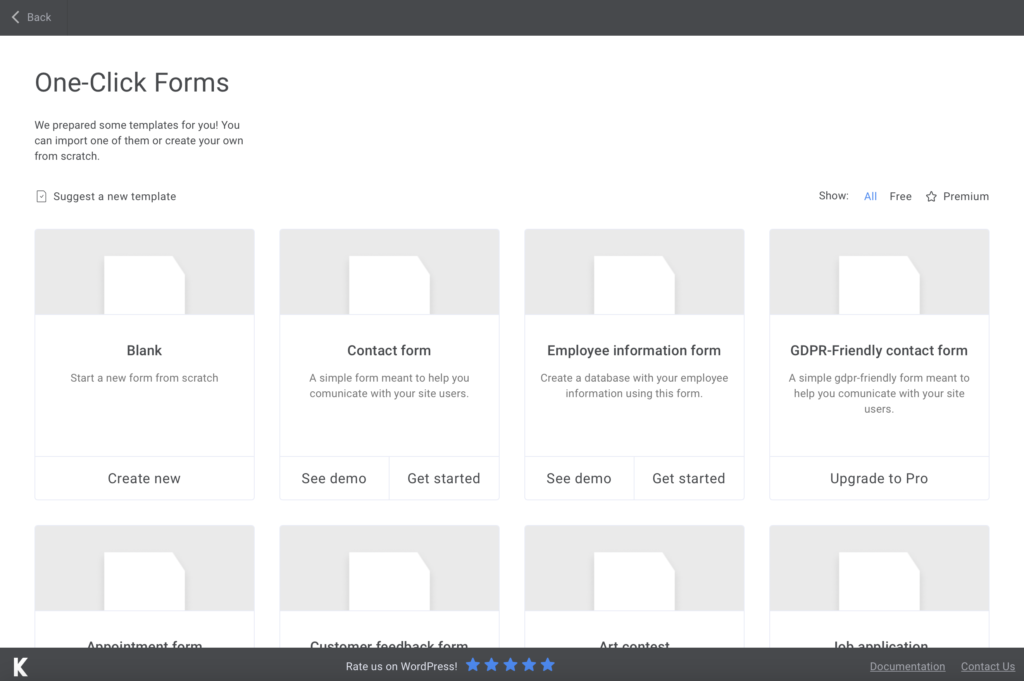
Kali Forms provides some predesigned templates such as: contact form, employee information form, GDPR-friendly contact form, etc. If will need one of them, feel free to use any. But for now, go to the blank form, and click Create New.
Start by giving your form a descriptive name, especially if you think about creating multiple forms for your website.
Adding form fields
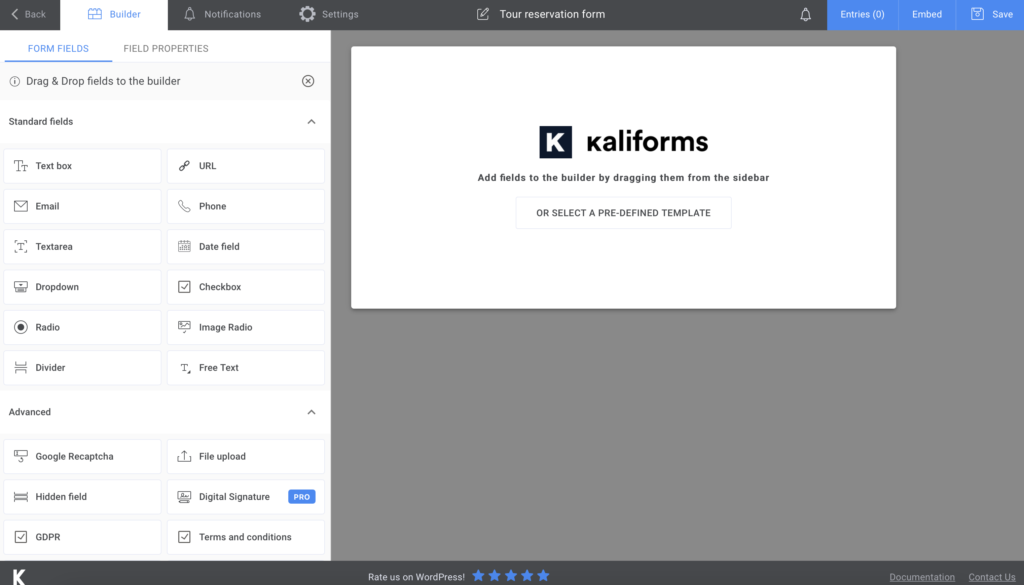
Firstly, I want to let you know that every feature included in this plugin is customizable. Once you start creating your form, you will find the menu with all the options you can include in your tour reservation form on the left.
You can change the field’s name, add a description or placeholder to it, and make fields required to fill.
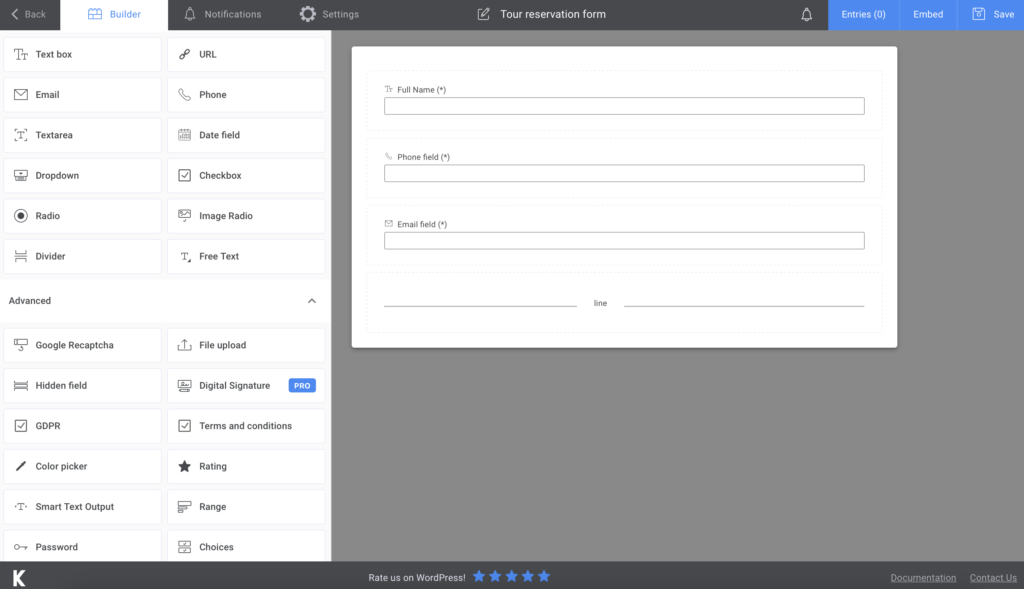
For this form, I started by adding a Text Box for the customer’s full name, Phone, and Email fields for the contact details. Once you are done with this section, you can add a Divider to separate it from the others.
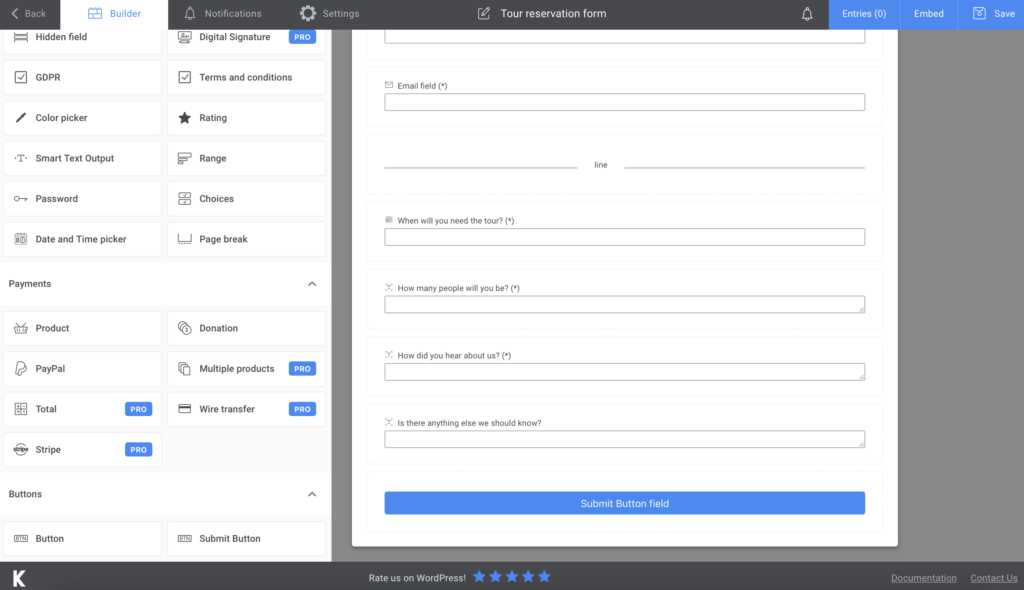
Next, I added a Date and Time picker field to find out when your customers need your service and a Textarea field to reach the number of passengers. In this section, I added two more Textarea fields – one for finding out where people heard about your agency and one for more information they would like to share.
At the end of this form, I will add a Submit button field.
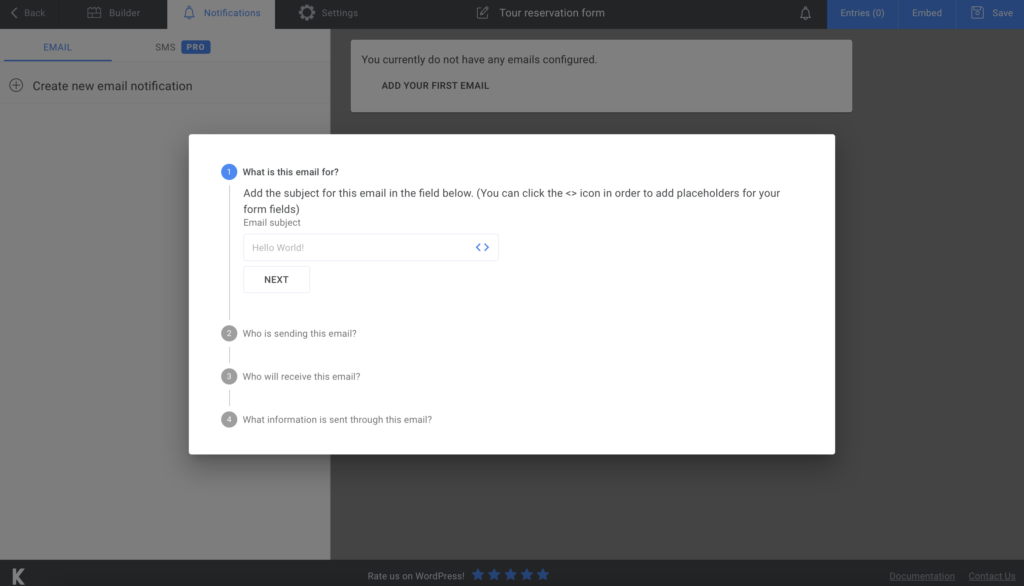
If you want your customers to receive a confirmation of you receiving their tour reservation, you can go to Notifications and set up the e-mails just as you want. You can even send SMS notifications if you choose to buy the PRO version.
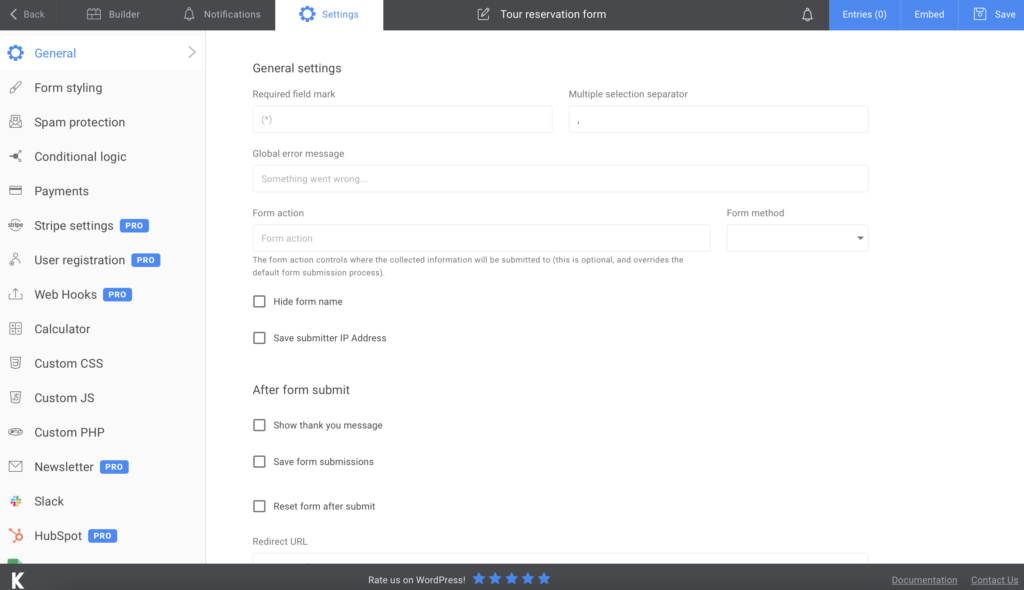
Well, you can take advantage of more customization options in the Settings section. You can choose your Form style or display a “thank you” message after your customers submit the form.
Adding the tour reservation form to your website
This is the last step you need to take in order to get over with creating this form. Once you are done adding fields and customizing your form, click on Save. A shortcode will be generated, so copy and paste it into a page or post.
You can also export all your data to CVS or Excel to have everything backed-up and safe on your computer.
Now, you are ready to receive tour reservations.
Summary

As you can see, creating online forms with Kali Forms is super easy, intuitive, and get you rid of hassle. It saves you a lot of time and helps you organize tour reservations more efficiently. Try it out and see how it works!


