

Do you want to let people know your organization accepts sponsorship requests? In this case, you’ll need a sponsorship form on your website.
If you want to get your organization sponsored for various events or projects, you will need a simple way to collect information about your potential partners. Here’s where the sponsorship form comes in handy.
In this article, you will find out why it is so important to create a sponsorship form and do it correctly.
Table of contents
Why you should create an online sponsorship form
To gain organizations’ and people’s trust, you will need a well-made and professional sponsorship request form that integrates all the necessary information. There are plenty of strong reasons why to create one, but let’s look at a few of them:
- Professionality — Getting sponsorship is not easy, especially if your brand is still new and doesn’t have a good image yet. Therefore, creating an online sponsorship registration form will increase the chances of getting your cause sponsored and create an image for the business you are standing for.
- Saving Time — We are in 2021 — a year where time flies with the speed of light. Calling other organizations for a sponsorship contract is really time-consuming and exhausting at the same time. However, with the help of an online fundraising form, you will collect data faster than before.
- Database — After you get more people to sign up for your cause, you will have a lot of information about people and organizations that want to help you. If you want, you can create a database with all the gathered information that will help you keep evidence of everything.
How to set up a sponsorship form
The following process is a pretty straightforward one that will take you through all the steps required to build this online sponsorship request form. It will increase the chances of finding sponsors, and it will create an amazing image for your company. The only thing needed is a strong tool to create the sponsorship form for the fundraising you’ve always wanted. In other words, if you want to create an amazing request form for a sponsorship, you have to consider Kali Forms.
How to Install Kali Forms
First, if you want to access all Kali Forms’ features, you will need a functional website. If you don’t have one, there is no problem! Follow this step-by-step tutorial on creating a WordPress website. Creating one is not the easiest task, but not the hardest either.
Once you built the site, go to WordPress dashboard > Plugins > Add New.

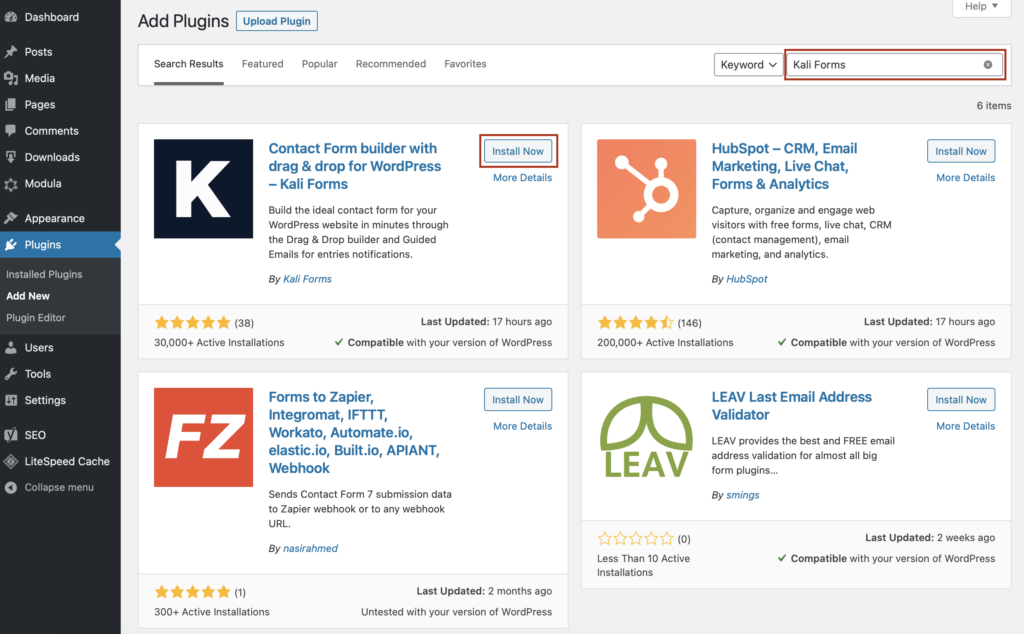
You’ll be redirected to a page that lists all the available WordPress plugins. Type Kali Forms in the search bar placed in the top right corner and click on Install when you find it.
After the plugin has been installed, click on Activate.
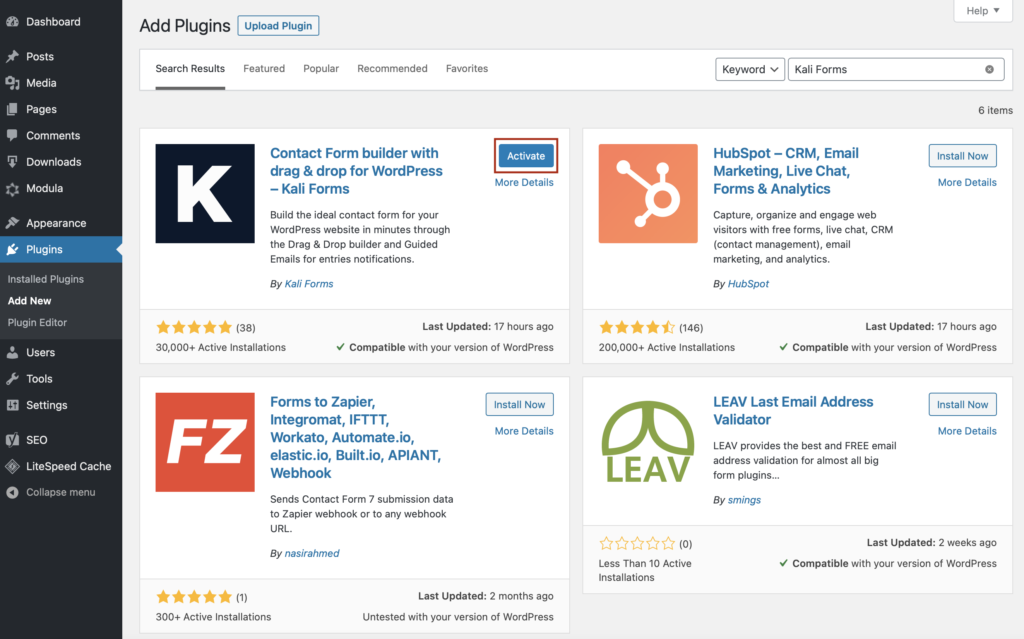
The plugin will appear in your WordPress menu.
Create a new form
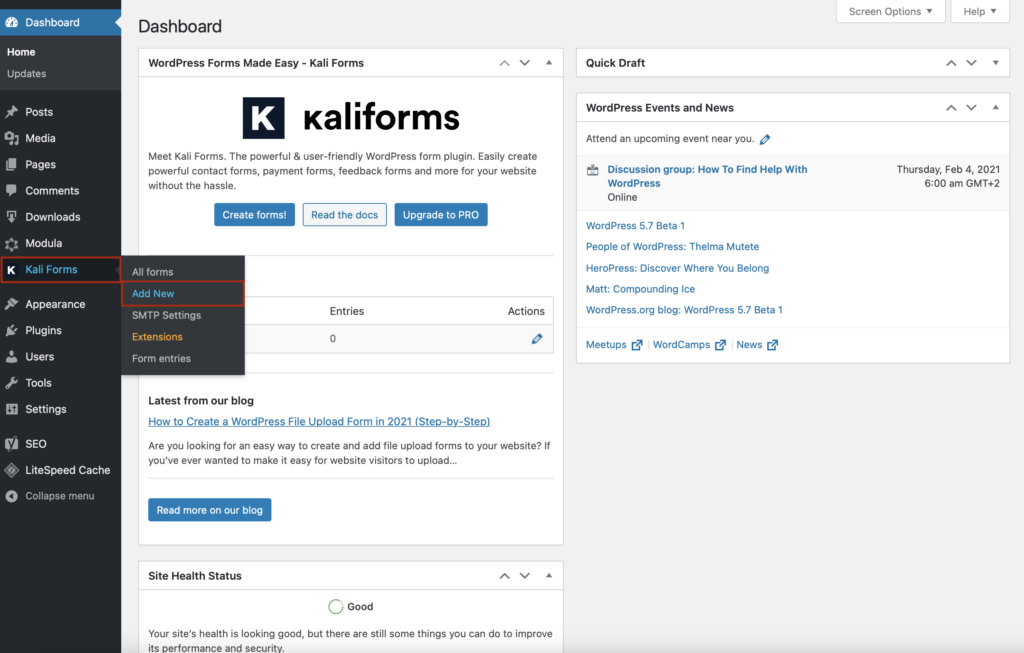
From now on, anytime you want to create a new form, go to your WordPress menu > Kali Forms > Add new.
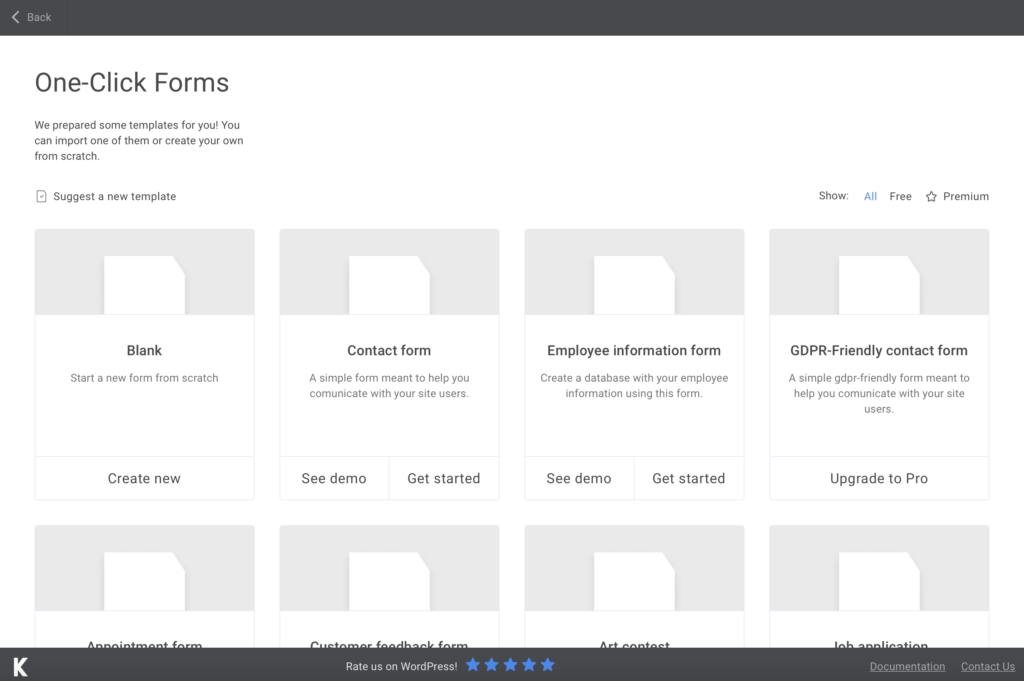
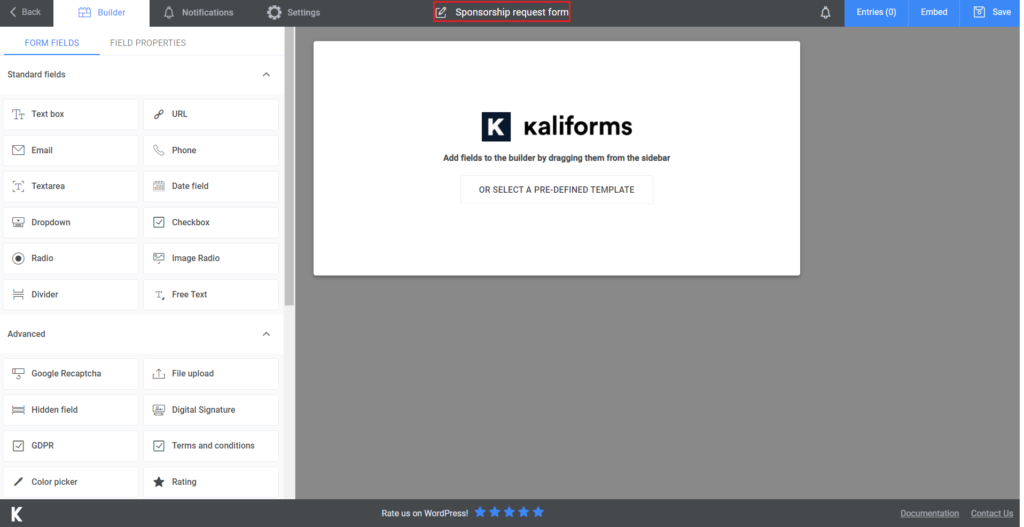
You’ll be led to a page with ready-to-use templates. Since there isn’t a sponsorship request form template, we’ll make one from scratch and see how the plugin works. Let’s get started by clicking on Create new.
I advise to name your form to differentiate it from the others.
Adding Form Fields
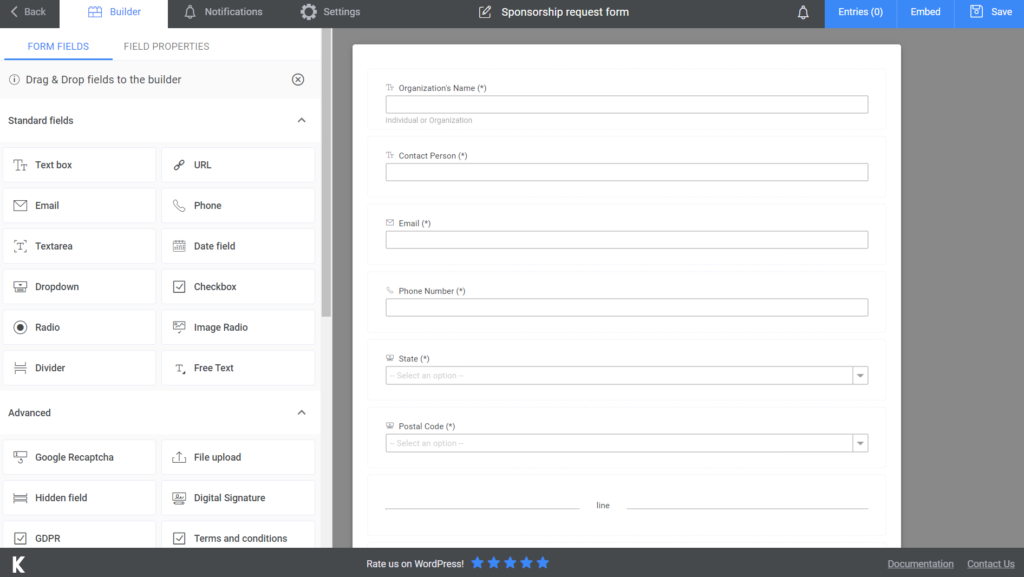
All these fields are customizable. You’ll find all of them in the menu placed on the left side. Drag and drop one of these fields into your form, then left-click on it, and you can start designing it. Instead of a menu, you’ll find some customization tools that allow you to design the fields the way you like.
For the first section of our sponsorship form, I added two Text Box fields, one for the organization’s name, whether it is an individual or an organization, and the other field for the contact person. After that, I placed an Email field and a Phone Number field, followed by two Dropdown fields, one for the US State and one for the postal code. All the fields have been made required by selecting the Required option. I also added a Divider to end this section.
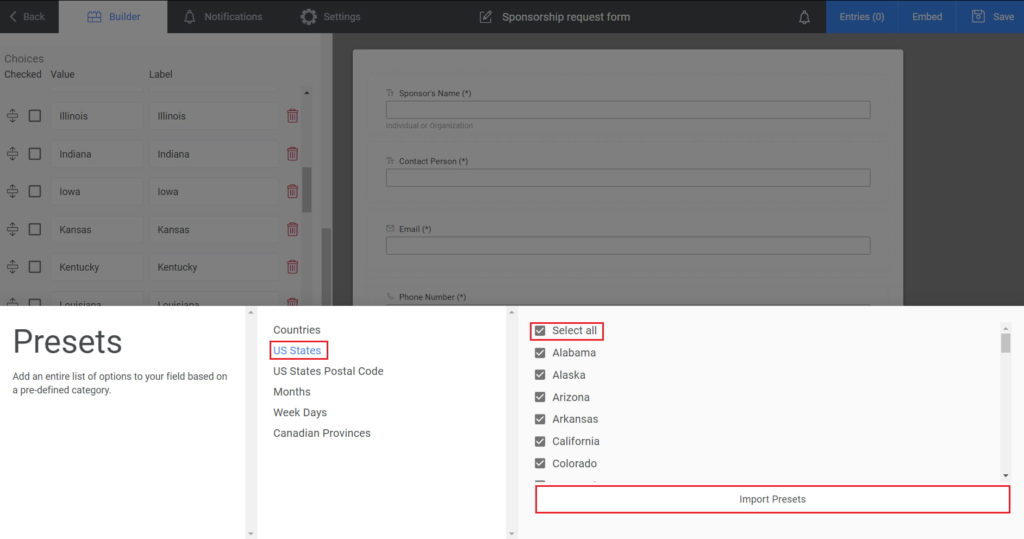
To add all the US States to your form, click on the Dropdown field, scroll down to Options > Presets > the US States > All States > Import Preset. The same process is applying to the Dropdown field with the postal codes. If you are not living in the United States of America, don’t worry. Add a Text Box field for the city, one for the postal code, and a Dropdown field for the countries. To add them, follow the same steps.
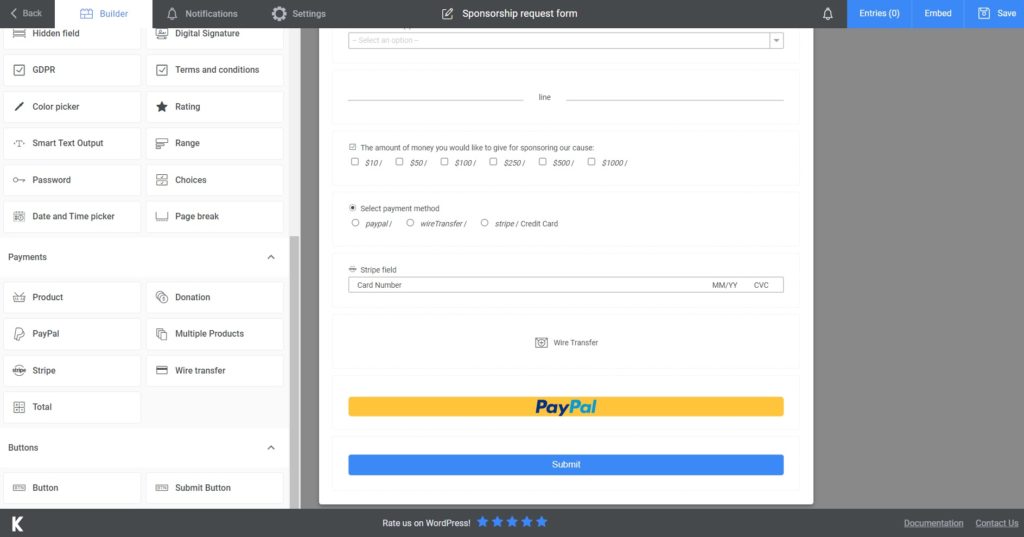
For the second section, I began with a Checkbox field to let the sponsors choose the amount of money they will offer, followed by a payment method and finally, the Submit Button. I suggest you add as many payment methods as possible to ensure that all the sponsors can offer the money.
Additional Features
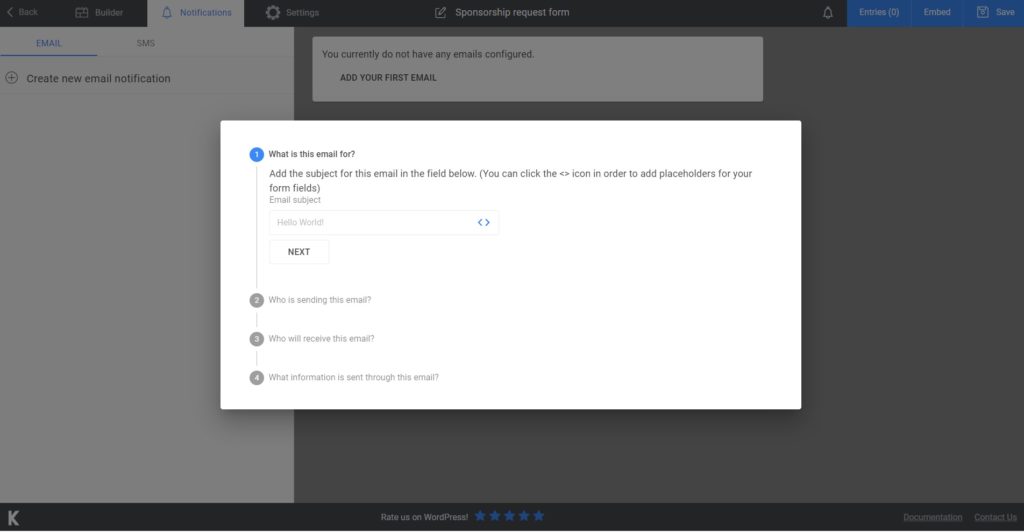
So, this is how you create a sponsorship form. You can send an email to your sponsors to inform them that their order was successful by going to Notifications and follow the instructions there step by step. If you choose the premium version, you can also submit a confirmation SMS. It’s all up to you.
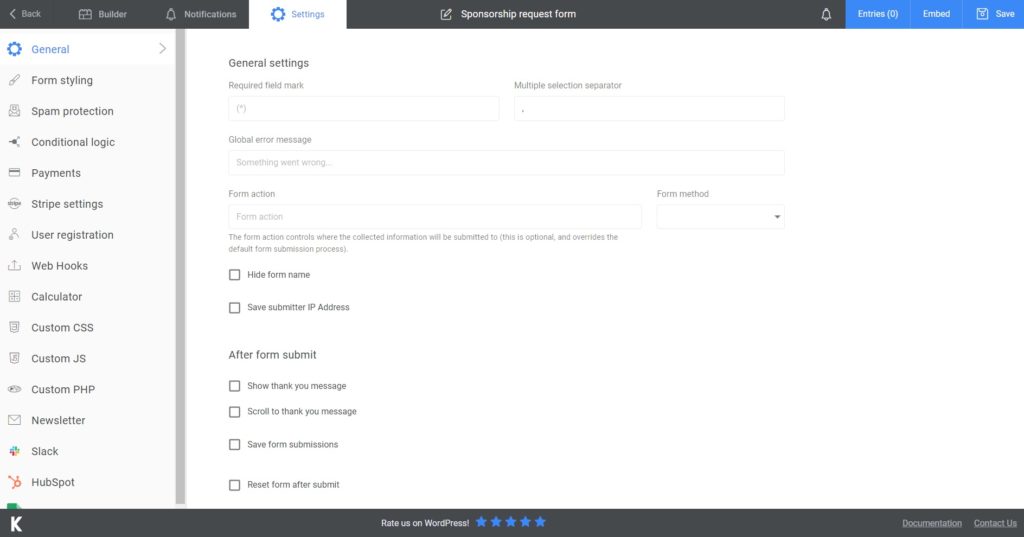
Moreover, go to Settings if you want to take advantage of all of Kali’s functions. Other customization options include selecting the sponsorship form style and displaying a “Thank you for the sponsorship” note. You can also add your form to Slack, HubSpot or submit newsletters if you upgrade to the premium version.
Add the sponsorship form to your website
Simply press Save once you’ve finished building and configuring your form. Kali Forms will create a shortcode that you can copy and paste onto your website.
If you value your information and wish to keep it confidential, export it to CSV or Excel and save it securely. It’s as easy as that!
Conclusion
To summarize, it is not as hard as it might seem to create a sponsorship form. Our drag and drop plugin named Kali Forms takes care of everything. All you need is to follow the steps presented above.
Take your time to learn about all the features that Kali Forms offers so that you can create an amazing form for your sponsors.


