

Are you looking for a quick solution to make your service request process more efficient?
In the fast-paced world that we live in, people need quick solutions for their problems. We’re all looking for things that can save us some time. So why not do that for both yourself and your customers? In this tutorial, we’ll show you how to create an online service request form template in order to make your life easier.
No matter the service you’re providing, it’s always a good idea to be up to date and prepared to make any changes are necessary so your workflow gets better.
| 1. Why should you use an online service request form? |
| 2. How to create a service request form |
| 3. Add the service request form to your website |
| 4. Summary |
Why should you use an online service request form?
Let’s see why do some people choose to go digital for some of their processes:
Less paperwork
Because people keep needing these types of services, requests come in all the time. I’m sure everybody has a system, but wouldn’t it be easier if you could keep track of them by just being able to access them in a few clicks? So save yourself from the trouble of finding something in an entire pile of papers.
Don’t lose track of things
With the paperwork problem comes another issue – what if you lose such a request? Or misplace it? You’ll have an upset customer that may not call in for your services again. Make sure you can keep track of every single request for service form by having them online.
Save time
Even if people are not supposed to come to your headquarters to fill in the request and they can just mail it to you, wouldn’t it be a logical move to have them all in one place? Moreover, you can export all your data and sort it just as you please – and all of this on the screen of your computer, with no additional effort to be made.
Advertising
Being online brings some other benefits as well. Advertise the fact that you offer a super simple process of filling a service request form and people will keep coming to you. They just want to save time, so make sure you’re the one that saves theirs.
How to create a service request form
It’s so much easier than you would imagine. With the help of a great tool that is going to basically do the work for you, you’re all set. I’m talking about Kali Forms, an amazing, user-friendly, responsive, and super intuitive plugin that will help you create the best service request form in a matter of minutes.
Installing Kali Forms plugin
This step is very simple. All you need is a website up and running. If you already have one, you just saved a step. If you don’t, you shouldn’t worry too much about it. You can create one in the blink of an eye with this great tutorial. Once you’re done, go to your dashboard and look for Plugins. Click on Add New and type ‘’Kali Forms’’ in the search bar in the upper right corner.
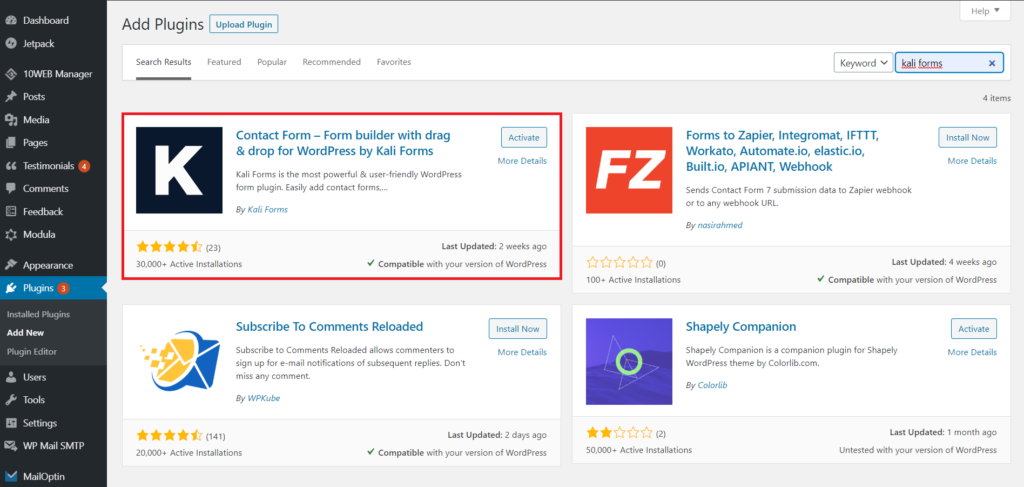
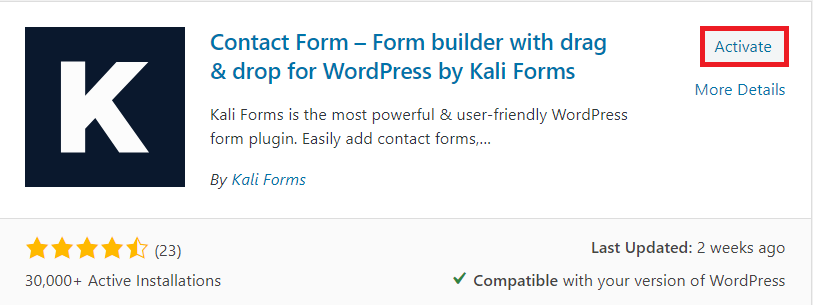
Click Install and let it do the magic. It shouldn’t take more than a couple of minutes. After you have the plugin installed, you have to Activate it by pressing the button.
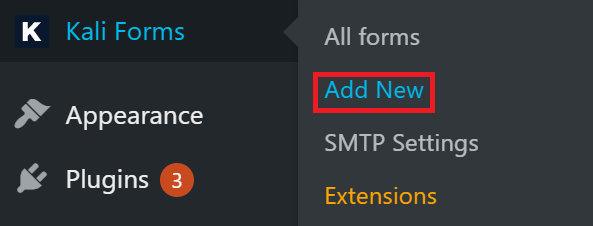
Go to your dashboard again and you’ll see Kali Forms has a special place there. Click on it and press Add New – you can now start creating your first form!
Creating a new form
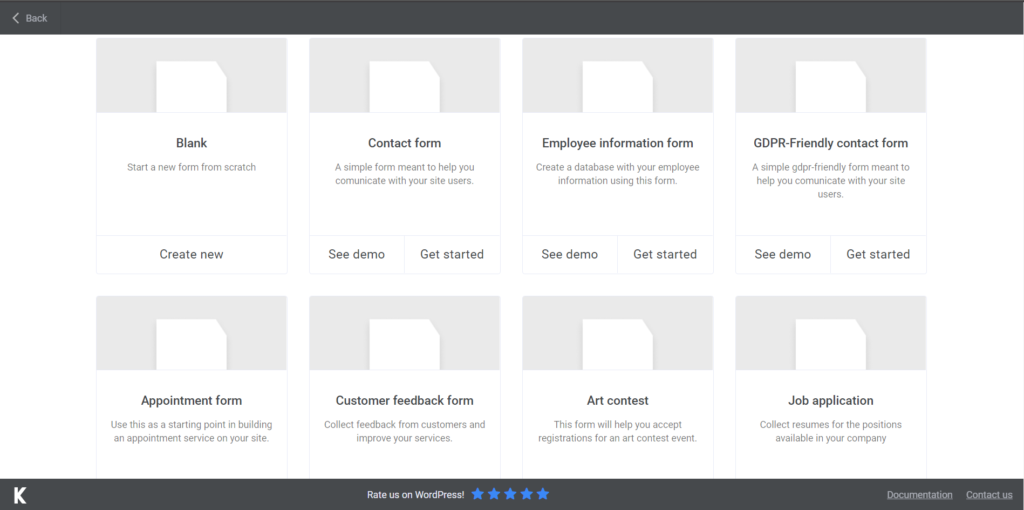
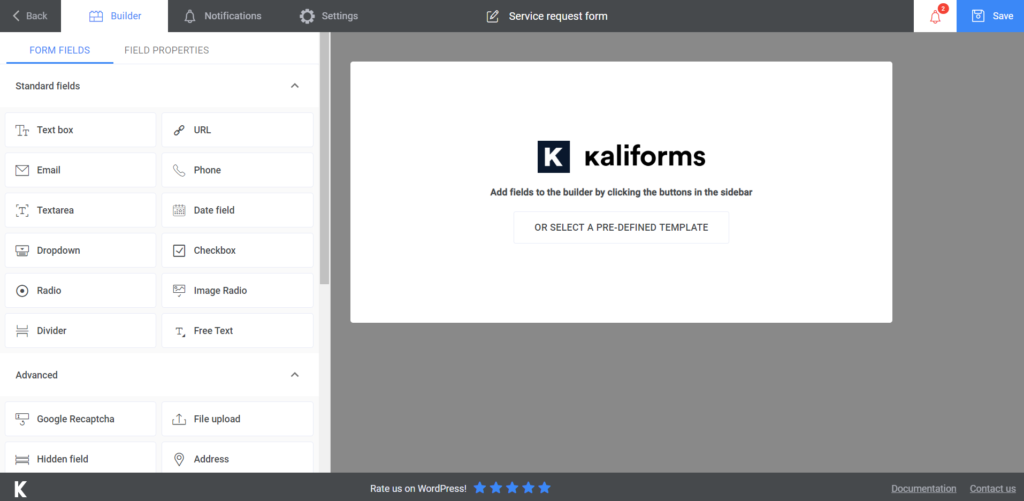
You’ll be redirected to a page with a bunch of templates to choose from. Unfortunately, the service request form template won’t be there, but we’re taking one step by step, so don’t worry. Start by clicking on Create New.
Start by giving your form an appropriate name. I’ll name mine Service request form for now, but you can choose whatever you please.
Adding form fields
If you have one of your old service request forms around, just grab it and start working. We’re going to present you with a very general tutorial that you can customize the way you want.
The one thing you need to know from the beginning is that you have the option to play around with things – all form fields are highly customizable. Once you selected the blank form, you’ll see the menu on the left. To customize a specific field, you just have to click on it after you’ve selected it to go in your form.
From there on, you can name your field, and add a description to it, make it required to fill or not. It’s super easy, so let’s see what we need for this specific form.
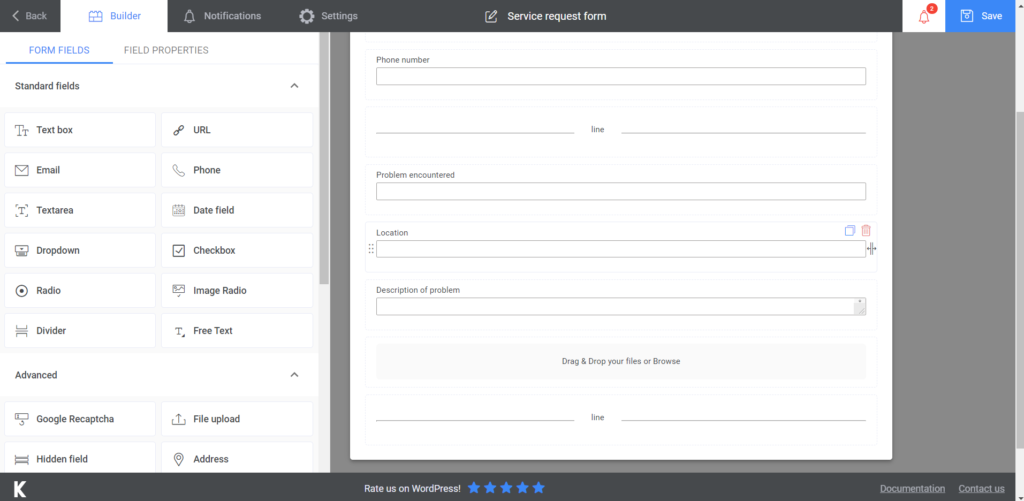
I started by adding a Text box, an e-mail, and phone number field for the person’s contact details. I also opted for a Divider, because the next section will be entirely about the requested service.

Next, I added two other Text boxes – one to state the problem encountered and one for the location where the service is true. You can also choose an Address field here. My choice for the next field was a Textarea, so the person can detail the problem. This way, you know what to prepare for. This is optional, but I also added a File Upload field, in case the person can send a picture with the damaged item. I added another Divider, to separate the final part.
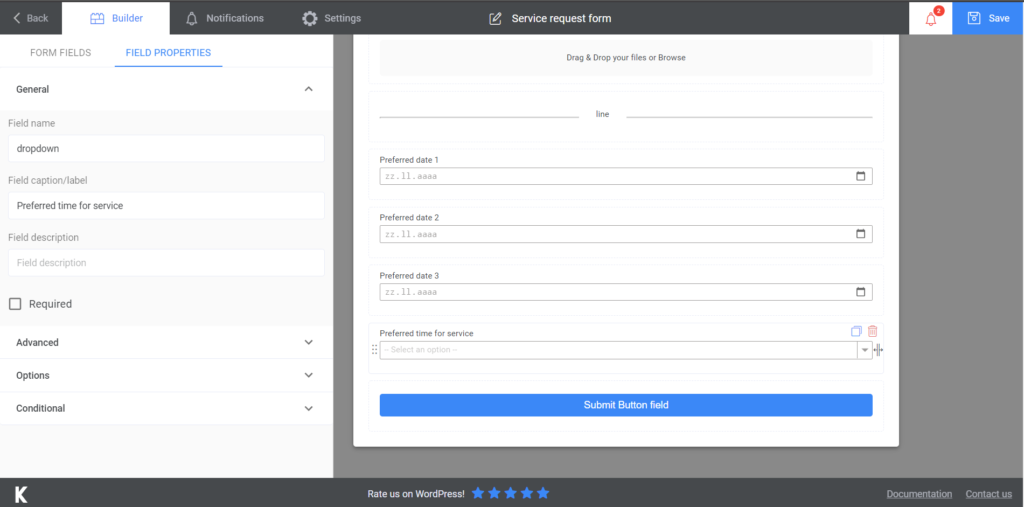
The last part of this form is entirely designated to finding out the availability of the person requesting the service. This is why I added three Date fields, so they can have three options, and a Dropdown for time slots. The last part is the Submit button, so make sure you don’t forget about it.
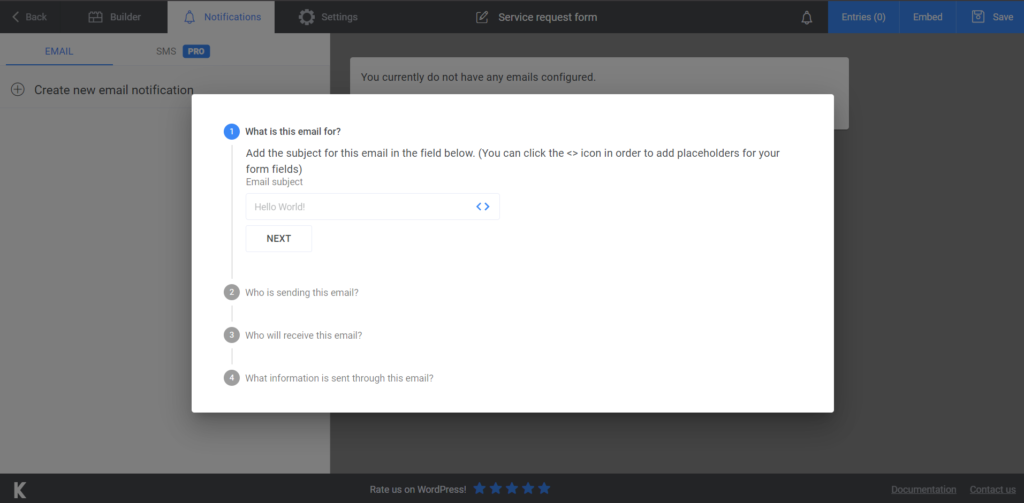
What you can do next is to set up a confirmation e-mail for the people who send requests. You have an article that explains how to do it, but, to be fair, the whole process is guided, so you might not even need it. Just go to the Notifications section and enter the details. Make sure your clients know you received their request by upgrading to premium and sending them SMS notifications.
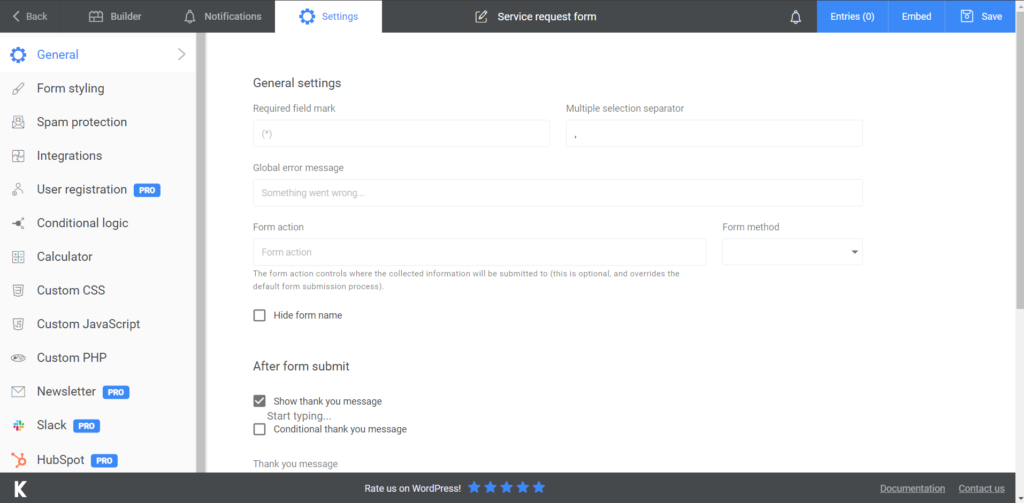
The Settings section is destined to offer you the chance to customize settings that were not available in the form itself. You can choose the Form Style or even display a thank you message after people submit it. Go crazy on these features. Keep your clients informed about your services with the newsletter option the premium version offers.
Add the service request form to your website
This is actually the last step in the whole process. After you finish setting up the form, press Save. A shortcode will generate, so copy it. You can now create a new page or integrate the form into an already existing one – just paste the shortcode where you desire it to be and you’re good to go. People can start filling your forms.
Also, remember that you can export all the data to CVS or Excel, so you can have it stored somewhere safe. This way, you can also keep track of past, present, and future orders and organize them properly.
Summary

There’s nothing left to say besides the fact that it’s up to you to make a choice now. We provided you with some of the best solutions you can find – a step-by-step tutorial and a trustworthy plugin, that will help you improve your business.


