

Are you running a photo contest? Then you’re in the right place.
You may be running a business or an organization, so there will be times when you will need professional pictures to create certain promotional materials. Or maybe you’re handling a publication that wants to find the best wildlife picture of 2020. No matter which one applies to you, we’ve got something that may be of interest: a photo contest entry form to spare you the trouble of messy data collection procedures.
In this tutorial, we are going to teach you how to create a responsive photo entry contest form and offer you some tips. Let’s dive right in!
| Why should you use an online photo contest entry form? |
| How to create a photo contest entry form |
| Adding the photo contest entry form to your website |
| Summary |
Why should you use an online photo contest entry form?
There’s one word that can describe all the advantages of online forms, and that is efficiency. But let’s discuss that in more detail.
Reduces time to fill in
Filling in an online form is more efficient than writing it by hand, on paper. This will save a lot of time for your participants and make this process much easier. They can also easily delete and change anything if necessary. I think we are all tired of crossing words on paper forms – it’s not very aesthetic.
Accessibility
This is a fantastic part of online forms. Your participants can fill them in on any device – smartphone, tablet, or laptop. It will increase your number of participants, and you will collect more forms. There’s more. Your participants can complete the form on-the-go. We all know that most people spend their time on the internet when they are in traffic or waiting in line.
Editing is much easier
When it comes to online forms, editing and changing information is made easier. You can easily make adjustments, add descriptions, text, new fields, or lead. In a nutshell, you won’t have to print new forms again and spend hours assessing the changes needed. If you are still glued to the traditional method, this is a sign that you should start using online forms.
How to create a photo contest entry form
Creating an online form is more straightforward than you might think. In this tutorial, we’re going to teach you how to create a photo contest entry form in a few easy steps. All you need is the help of a powerful tool that will increase your workflow, called Kali Forms. Without further ado, let’s see how it works.
Installing Kali Forms plugin
First of all, you will need a running website. Nowadays, most businesses have one – it is pretty essential in terms of marketing. If you don’t have one, don’t worry. Just follow this tutorial on how to build a website.
Once you have created your website, go to your WordPress dashboard, and look for the Plugins section. Click on Add new, and type Kali Forms in the search bar in the upper right corner. Have you found it? If yes, click Install.

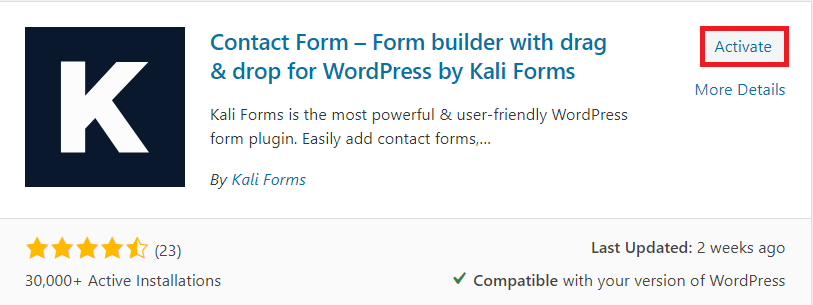
This process shouldn’t take more than a couple of minutes. Once you have the plugin installed, click Activate.
Now your plugin is up and running. Go to your WordPress menu and find the Kali Forms plugin. After that, click on Add new to start creating your first form.

Creating a new form
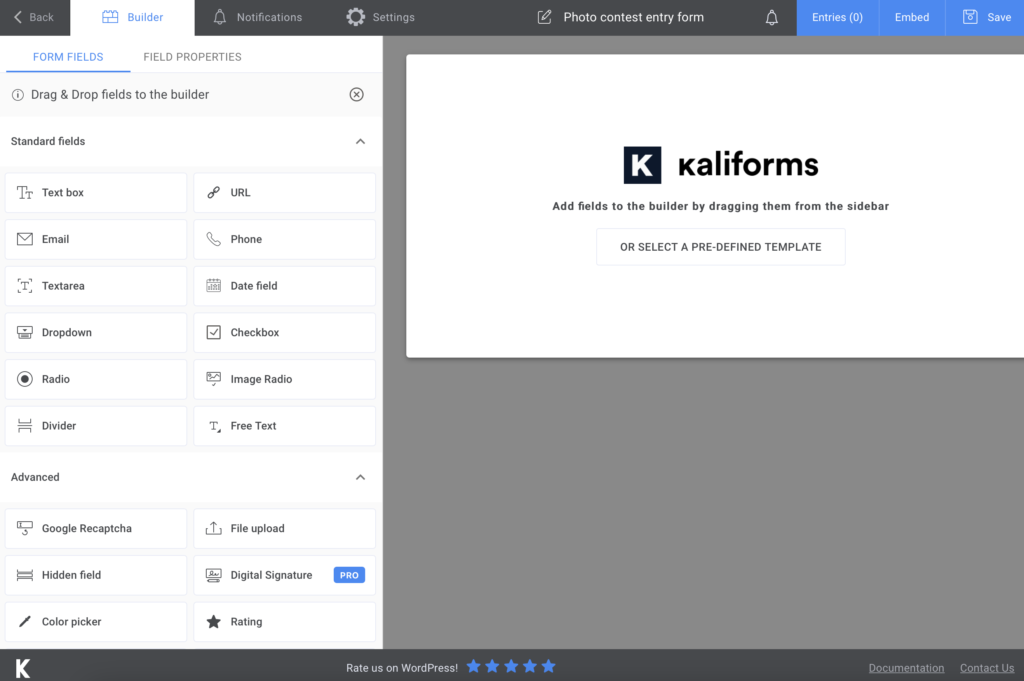
Next, you will be redirected to a page with a bunch of pre-designed templates. We don’t need any of these right now, so we will create one from scratch. Look for the blank file and press Create new.

Start by naming your form, so you don’t forget later. I called mine photo contest entry form, but you can choose whatever you find suitable for your needs.
Adding form fields
Before we start adding fields, you have to know that everything here is customizable. You will see a lot of options on the left side of your page. So, you can add fields, name them, add descriptions, make them required to fill or not, and so on. Try every feature to get used to Kali Forms.
Regarding our form, I added a Text box, an Email field, a Phone field, and a Textarea for the address to have all the participants’ contact information. As you can see in the picture below, I made all the fields required to fill. This way, you will be 100% percent that your participants won’t miss any information.
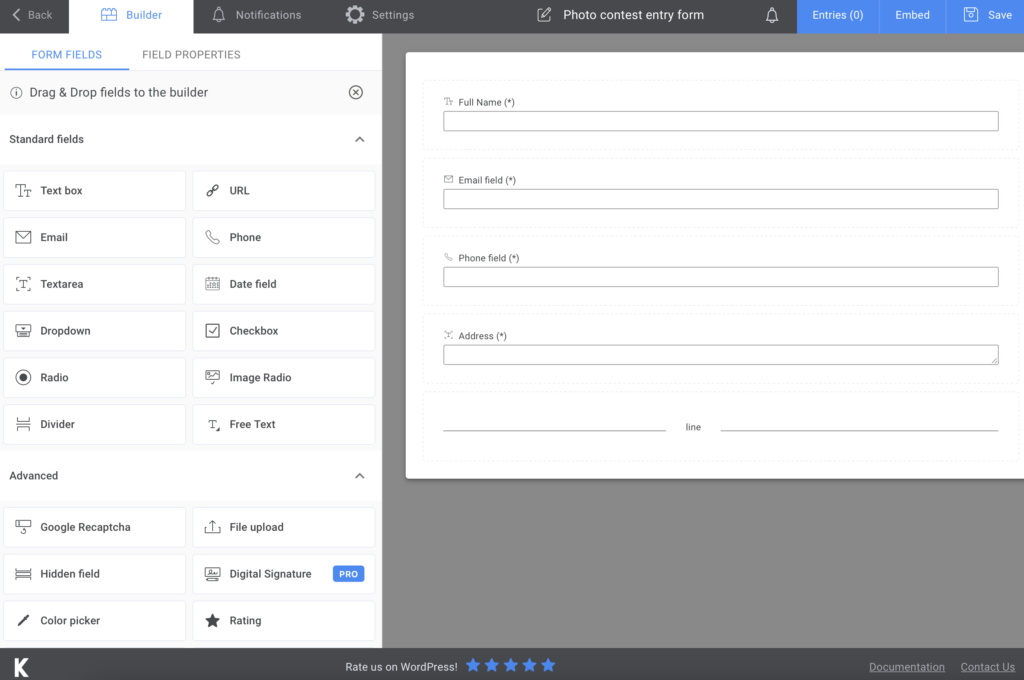
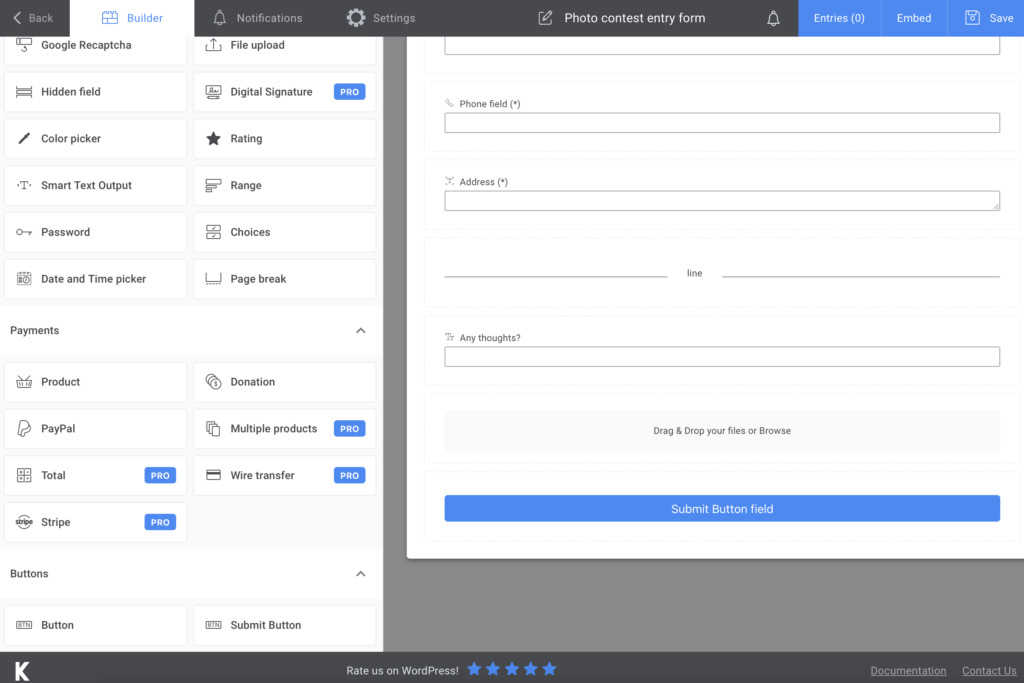
After we are done with this section, I added a Divider to separate it from the next one. I added one more Text box in case any of the participants has any additional comments or recommendations. Then, I added a File upload box for receiving photos from the participants. It is a photo contest entry form, isn’t it? For the last field, add a Submit button, and that’s it. For now.
Additional features
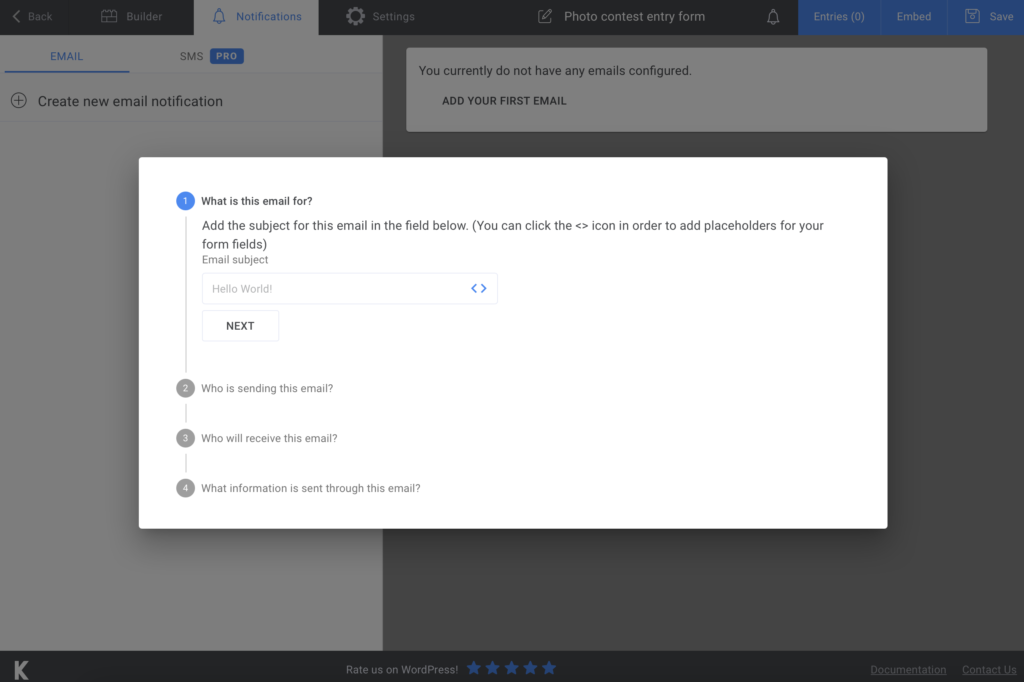
You can send your participants a confirmation email to assure them that you have received their form. Also, if you have the premium version, you will have the possibility to send SMS notifications.
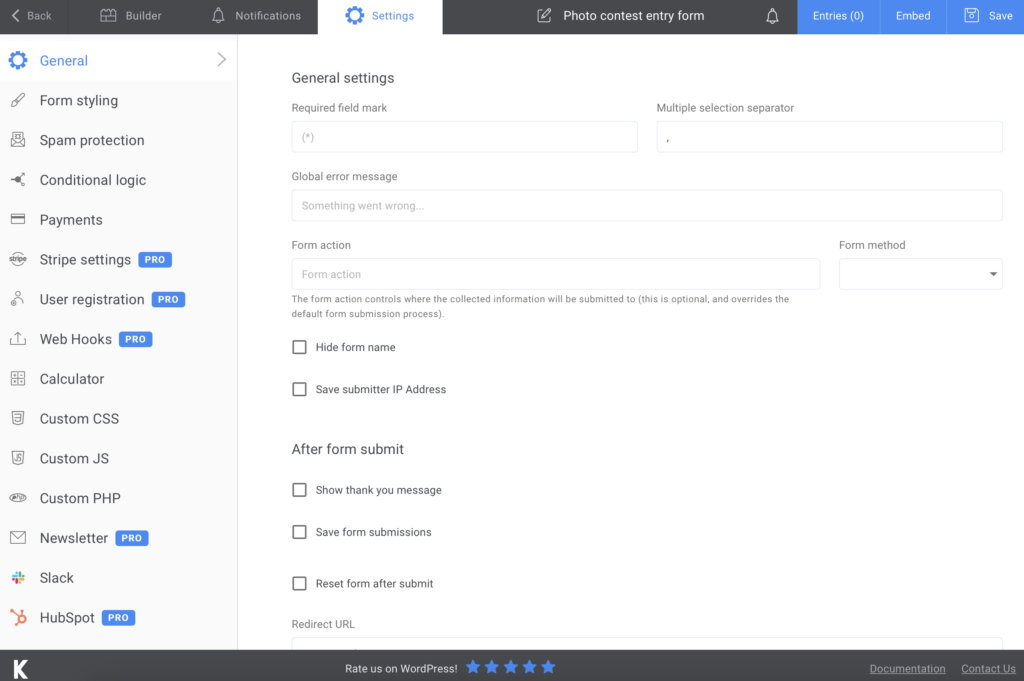
If you want to take advantage of more customization options, you can go to the Settings page. There you can choose your form style, display a “thank you” message, and customize it according to your preferences.
Adding the photo contest entry form to your website
This is the last part of this tutorial. Once you are happy with all the settings, press Save and you are ready to share the form. A shortcode will be generated, so you will have to copy and paste it on a page or in a post. Easy-peasy!
One more thing to add, you can keep your data safe on your computer and export your form submission to CVS or Excel. You better not lose any information!
Summary

Your photo contest entry form is calling for participants to win the prize! There’s not much effort you have to put in due to Kali Forms and its powerful features. Forget about paper and start digitalizing this process to increase your workflow.


