

If you’re searching for a way to optimize your donation form completion process, you’ve landed just in the right place.
There are a lot of NGOs and other types of organizations that fight for different causes in order to make a change in the world. It’s an important part of our society and we need these people – we’re more willing to donate than to coordinate the donation process. But we also want an easy way to do it, saving us the trouble of going to a specific place to complete a donation form and then give a certain amount of money to the cause.
This is why we’re here to show you how to create an online donation form, so you can save people’s time and make the process more efficient. They will be able to donate directly from their card, so this may actually get your cause more money, since they can give more than just the spare change they had in their pockets.
| 1. Why should you use an online donation form? |
| 2. How to create a donation form |
| 3. Add the donation form to your website |
| 4. Summary |
Why should you use an online donation form?
Let’s see what are some of the strongest arguments for keeping your donation forms online.
Save time
Even if you don’t collect donations in person and you accept them by mail, it’s still a lot of time to enter the data of each individual or keep track of things. Having an online form means that you can basically export all your data on your computer and have it there for whenever you want to check something.
People trust you
There are a lot of scams going on in the world these days, so making sure people go through a serious donation process makes everything more believable and trustworthy. It is also easier to link your form to your cause and let people check your organization, as well as what you’re fighting for.
Expand your reach
Being visible online means that you can reach many more people. You can advertise for your cause and even have people joining it to make it more visible. There are a lot of variables involved in digitalizing this process, and all of them seem to only bring benefits to what you’re working for.
How to create a donation form
You’ll see that this process is super easy. You just need to install Kali Forms, a user-friendly plugin that helps you create online forms in a matter of minutes. It’s something you can use for multiple purposes as well – create any type of form you want. So let’s dig into it.
Install Kali Forms plugin
First things first, you need a website. If you’ve never carried out online activities and don’t have one, don’t worry. You can create a website very fast. Here is a complete guide on how to do it. After you’re all set with this part, you can go and install Kali Forms.
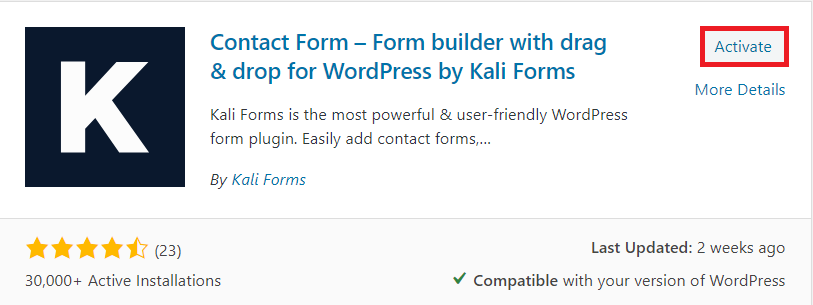
Go to your WordPress dashboard and look for the Plugins section. Click on Add New and type Kali Forms in the search bar in the right upper corner of the page. After you find it, press Install.

After the installation is done, click on Activate.
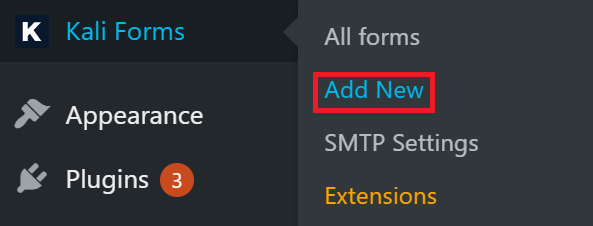
Now everything is set. Kali Forms is now part of your menu, so when you’re ready to start creating your form, just press on Add New.
Creating a new form
After clicking on Add New, you’ll find yourself in front of a page with a number of templates. Among them you can find one for the donation form as well, so you can use it if you find it’s enough. We’ll make a complete tutorial on how to create one from scratch anyway, so you might want to follow it. Start by clicking on Create New.
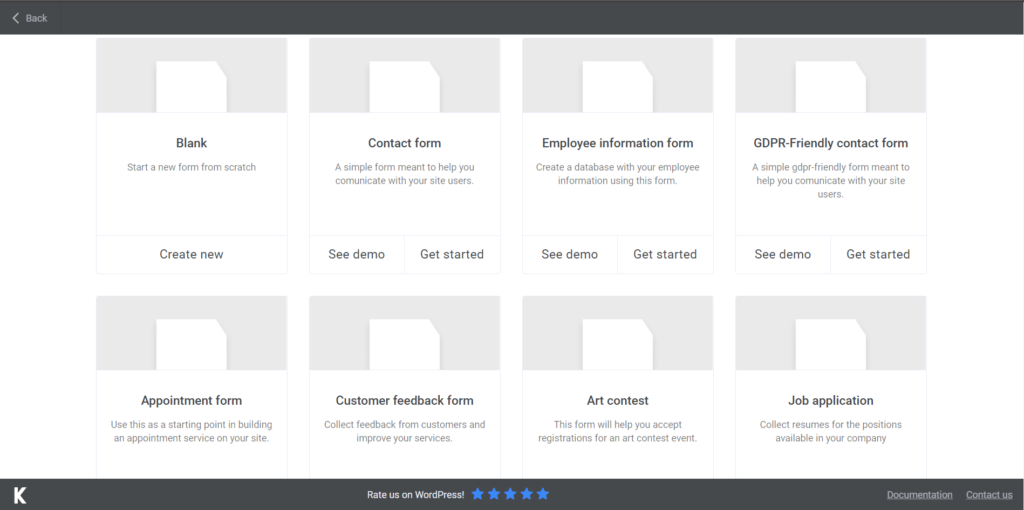
Start by naming your form – mine is called Donation form, but you can give it the name of your campaign, for example.

Adding form fields
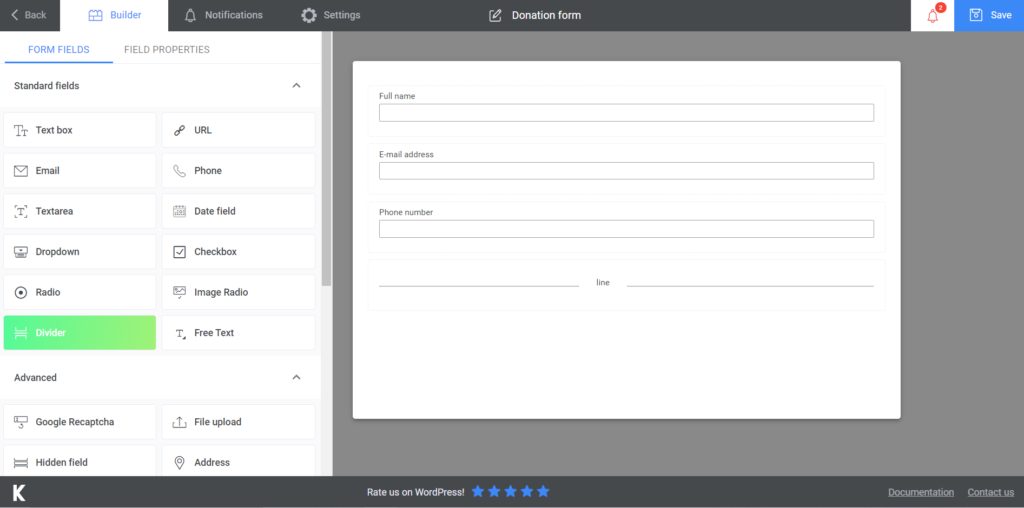
One of the main reasons for which we created this tutorial even if a template is available is because we want to talk a bit about the customization options that you have. Once you open the new form page, you’ll have a menu with all the fields you can add on the left. Look through them a bit and try to see what you’ll need.
Whatever you choose, if you click on it after you’ve selected it to go in your form, the customization menu will appear on the left instead of the regular one. You can name your fields, add a description, or an example of how to complete it. You can also make some fields, if not all, required. This means that whoever wants to donate, has to fill in all the necessary data.
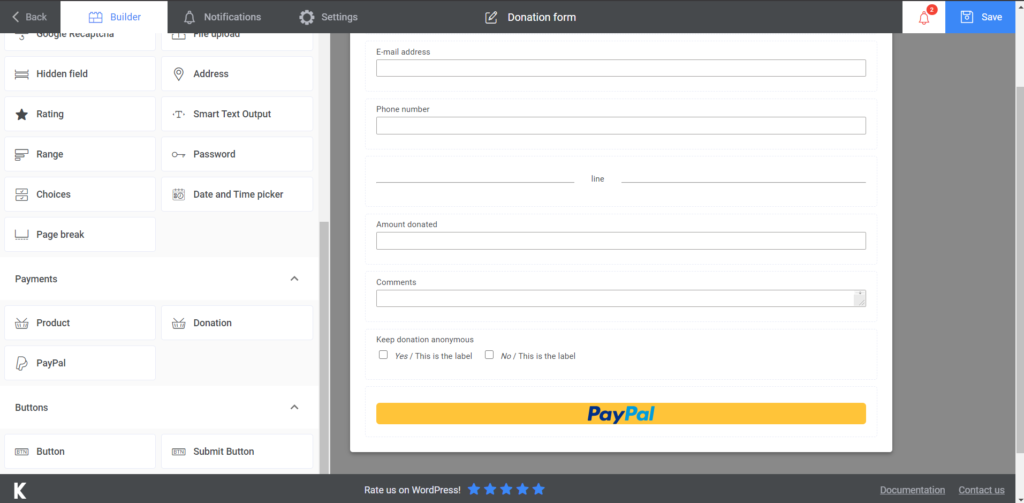
What we’re creating is a basic charitable donation form template, so you don’t go into something very complex from the beginning if you’re not sure of how it will go. Start by adding a Text box for the name of the person donating, an E-mail field and a Phone field, so you can collect all the basic information from people. I also added a Divider to separate the personal data from the rest of the form.
The next fields we’re going to add are connected to the donation itself. I added another Text box for the amount donated and a Textarea for any other comments the person feels that could be made. If you’re planning on maybe posting the name of the supporters of your campaign or something similar, make sure people are ok with that. This is why I also inserted a Checkbox that has the functionality of finding out whether people are comfortable with that or not. Last but not least comes the Paypal option, through which people can pay. It’s not mandatory to create a Paypal donation form, there’s another option in the field menu.
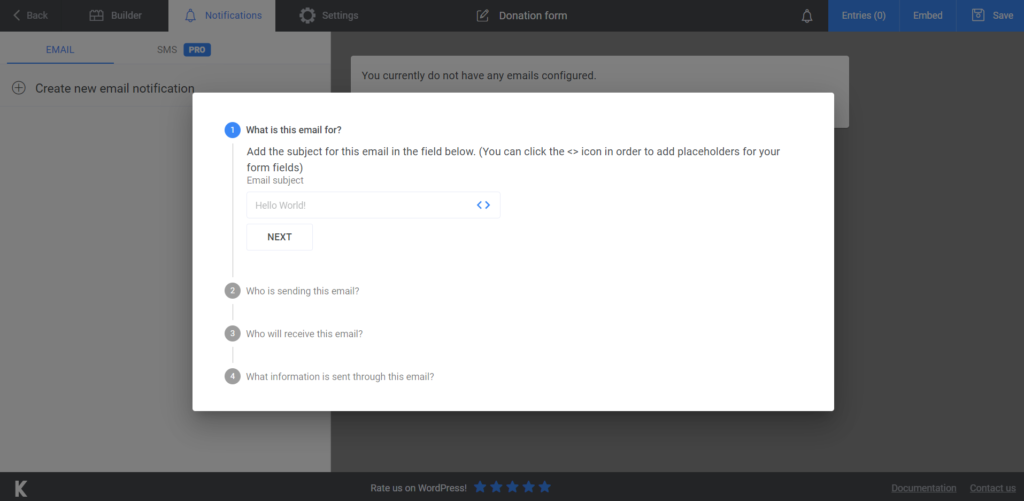
For the last part of creating your donation form, you need to settle some final details. You can send people an automated confirmation or thank-you e-mail after they donated. It’s a nice gesture that makes the difference. Just go to Notifications and the whole process of creating the e-mail is there. Upgrade your subscription and send SMS notifications, to make sure people get your message!
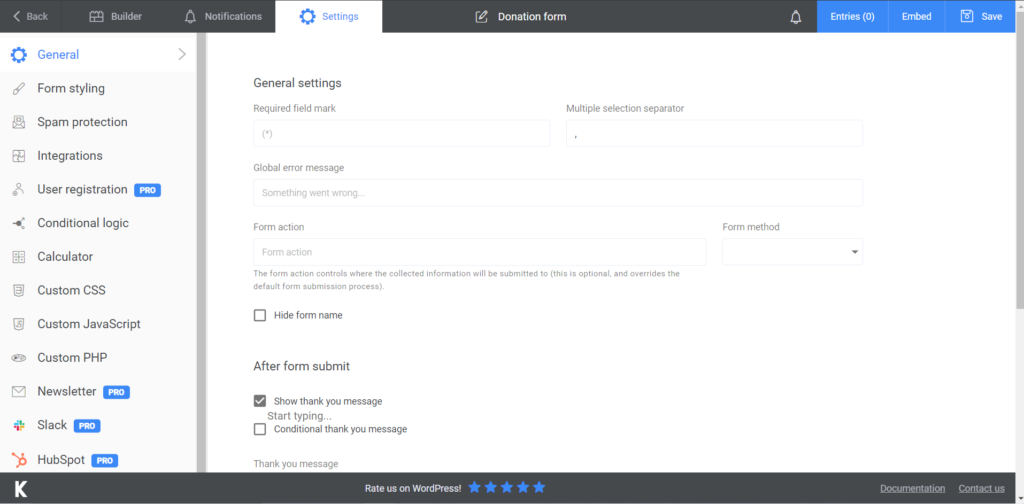
After this, you can go to Settings and customize what’s left. You can change your Form Style or even display a thank-you message right after they make the payment. It’s up to you if you feel like doing these things. Update your donors by sending them newsletters – this means that you’ll have to go premium, but it’s definitely worth it!
Add the donation form to your website
After you’re done with all the touch-ups, you press Save. You’ll get a shortcode that you’ll have to integrate on your website. Choose an already existing page or you opt for creating a new one, just for this form. Now you’re really done with whatever trouble you had before with these donation forms.
You can also export all your data to CVS or Excel, to have everything backed-up on your computer. There’s also the option to duplicate your form, in case there’s a need for that.
Summary
We walked you through the entire process of installing the plugin, creating the form, and posting it on your website. All the steps are easy to understand and you can get started right away. Make everything more efficient with this amazing tool and maybe you’ll gain even more success in fighting for your cause.


