

Are you in need of a more efficient way to deal with expense reimbursement forms?
Then we’ve got you covered. Things are evolving so fast and companies are growing so quickly that it makes it very difficult to stick to old procedures. Constantly hiring new people and developing the company can come with unexpected new things – like dealing with an expense reimbursement form.
When first starting a business, many people dream big – and that’s an amazing thing because you keep your expectations high and you have to work hard for that. But you have to be prepared and constantly updated with what’s new and efficient. This is why we’re here, to help you optimize at least one of the processes that might slow you down and make things more complicated. Even if it doesn’t sound like much now, you’ll see the benefits of investing in a tool that’s going to help you move even faster.
| 1. Why should you use an online expense reimbursement form? |
| 2. How to create an expense reimbursement form |
| 3. Adding the expense reimbursement form to your website |
| 4. Summary |
Why should you use an online expense reimbursement form?
Before we dig into the whole benefits thing, you need to know that online doesn’t necessarily mean public. It can still be an internal procedure, but once you digitalize it, you’ll have a smoother process of dealing with it.
Save time
Filling a form by hand requires time – you have to go to the person responsible for handling this who may or may not be busy enough to help you, fill in the actual form, giving it back and waiting for someone to register it manually. By having it online, the employee is just a few clicks away from sending it directly to whoever is in charge.
Make sure nothing gets lost
Paperwork is not something people enjoy. Handling documents is a dull activity that makes everything more complicated in terms of storage and not losing any request. You may not experience this as often, but avoid complications and go online. You’ll forget about extra space for the papers and no one can say that their form was lost.
Store everything safely for future reference
There are times when you need to go back and check some of these papers – it can be for legal reasons, to see if the request was submitted, to go over costs, and so on. No matter the reason, it’s important to have these documents stored somewhere safe, I would say. So instead of finding a physical place for them, you can just export all the data in your computer and organize it as you wish. You can find anything you’re looking for with just a few clicks.
How to create an expense reimbursement form
You’ll be surprised at how simple this whole process is. You’re literally a few clicks away from creating your first expense reimbursement form – all you need is Kali Forms, a user-friendly, intuitive, and responsive plugin that will help you get the job done.
Installing Kali Forms plugin
Before you start this whole process, you need a functional website. Most companies nowadays have one, but if you’re not among them, don’t worry. You can easily create a website with WordPress in a few simple steps. After you’re done, go to your WordPress menu and look for Plugins. Click on Add New and in the search bar that appeared in the upper right corner type Kali Forms. Once you find it, press Install.

The installation should be pretty quick, so once that is over, Activate your plugin.

You’re ready to kick it – all that’s left is pressing on Add New and start creating your form.

Creating a new form
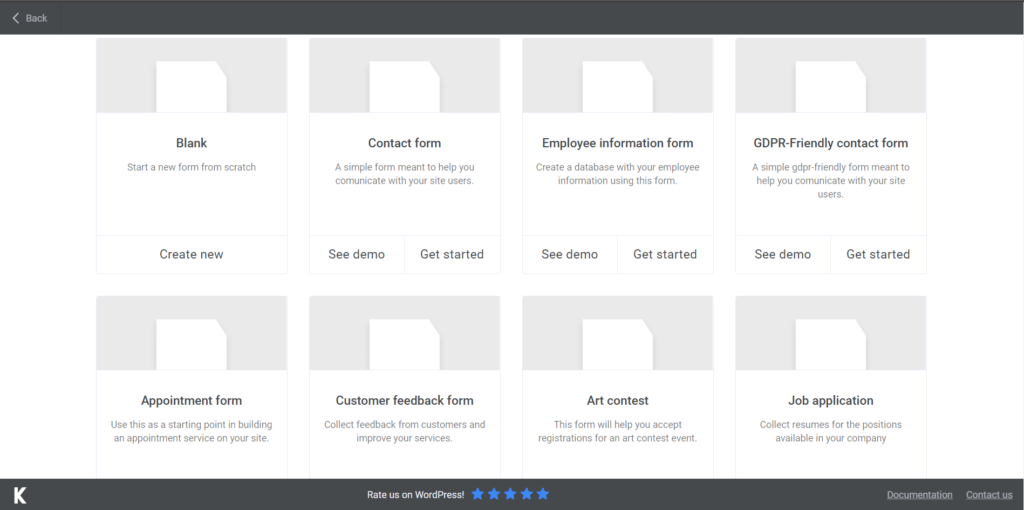
You’ll see that clicking on Add New will redirect you to a page with a bunch of templates. None of those is appropriate for us right now, but you can put them to good use if you need it. Just click on Create New and let’s start this journey.
First, add a title to your form. You can choose whatever you find suitable – for now, I named mine ‘’expense reimbursement form’’.
Adding form fields
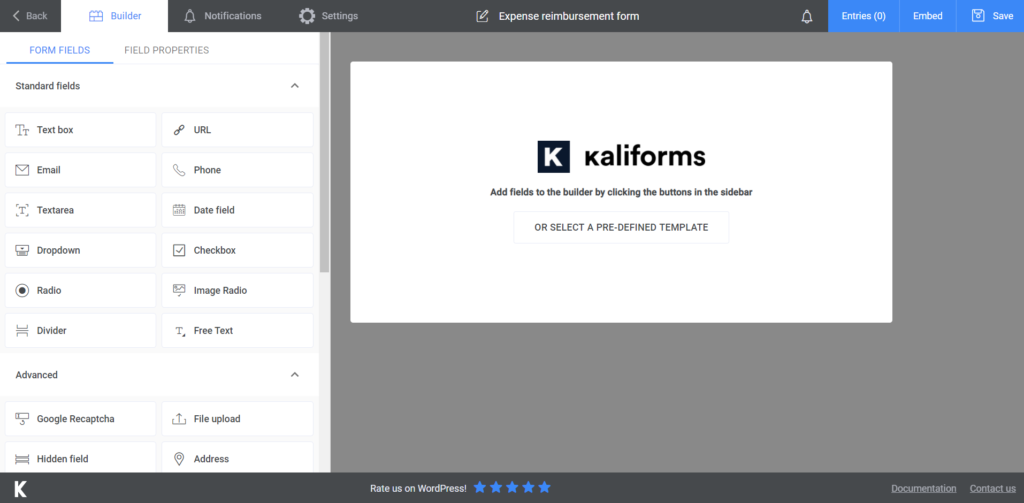
Let’s take things one step at a time. Before we start creating your expense reimbursement form template, we’d like to let you know that all the features that you see in the menu on the left are customizable. You can name your field, add a description or placeholder, and make it required to fill. You can do this if you first select the field and after it appears in your future form, click on it. The customization menu will show instead of the regular one so you get to choose your options.
For this specific form, I started with three Text boxes – one for the employee’s full name, one for their job title, and one for the department they’re in. Next, I opted for E-mail and Phone number fields, and a Divider at the end of this section.
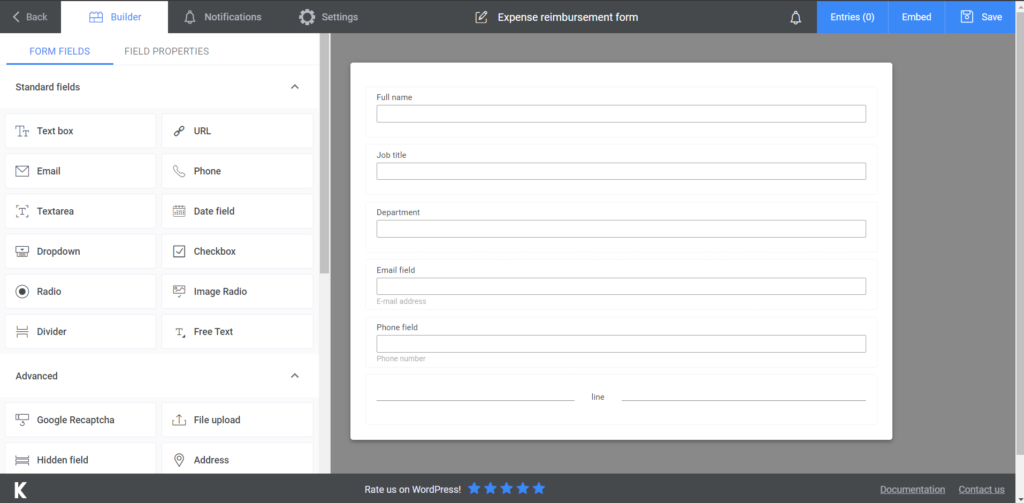
Next come the details about the expenses that have to be reimbursed. I will make the section for one type of cost, but you can follow the example and add as many as you want. I added a Date field, for the date when the purchase of the product/service was made, a Textarea, for the description of that service or product, and another Text box for the costs. You can also add a File Upload field, in case they can also provide an invoice or receipt. Last but not least, don’t forget to add a Submit button.
If you’re going for the premium version, you can also add a Digital signature field, so you can make this an official document.

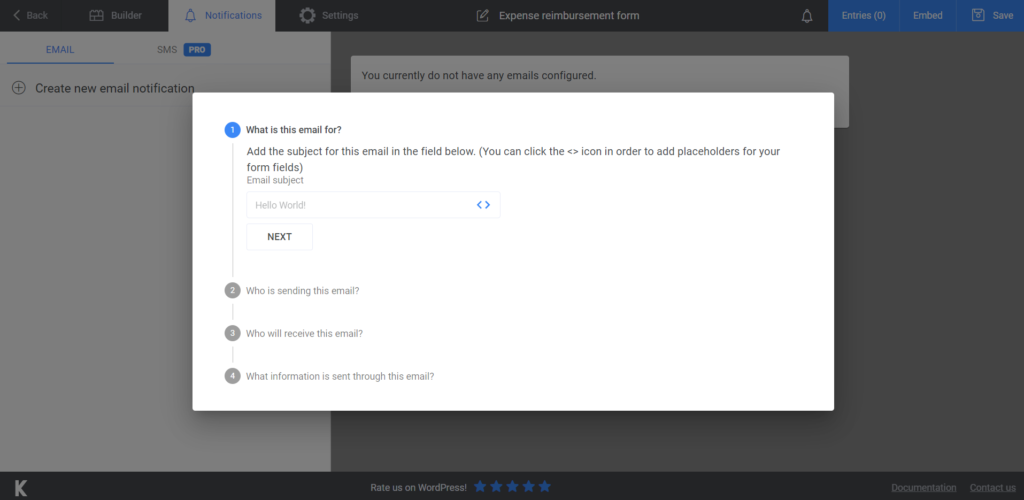
To make sure your employees know that you received their submission, you can send them an automated confirmation e-mail. Just go to Notifications and the whole process is explained there. The premium version also offers the option to send SMS notifications, so depending on your choice you can play around with these.
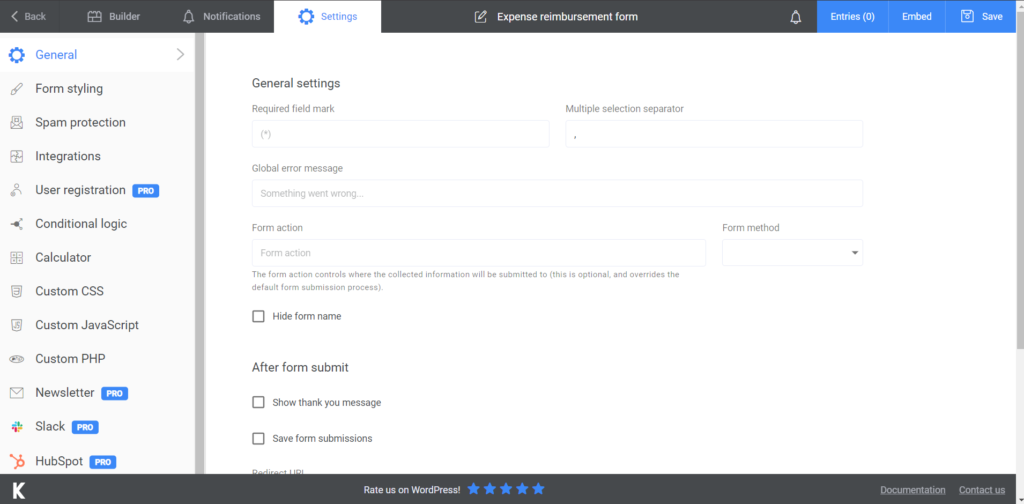
Last, on our list come the final Settings. This section includes a bunch of other ways to customize your form. From displaying a ‘’thank you’’ message to choosing your form style, you have a nice bunch of options. You now have HubSpot integration and you can send Slack notifications, so take advantage of everything!
Adding the expense reimbursement form to your website
This is how the whole process of creating and integrating the form into your website. You just have to press Save once you create it – a shortcode will be generated. All you have to do is copy it and paste it into an already existing page or a newly created one just for this form.
Remember that you can export all the data to CVS or Excel and store it somewhere safe, in the cloud or on your computer.
Summary
Our journey is over, so you just have to make up your mind. The choice is pretty clear. Kali Forms is the best plugin that can help you digitalize some of your processes and take some things off your mind!


