

Do you want to have a more efficient customer complaint solving system?
We know that handling complaints from customers who find a lot of things not alright with the items or services they buy can be quite of a struggle. If you add not having a proper system if doing it and paying attention to everyone, it can become a nightmare. This is why you need a proper complaint form to deal with this – it will make everything hundreds of times less complicated.
| 1. Why should you use an online customer complaint form? |
| 2. How to create a customer complaint form |
| 3. Add the customer complaint form to your website |
| 4. Summary |
Why should you use an online customer complaint form?
Well, the reasons are pretty strong here, so read them and see for yourself what you’d get rid of.
Create an organized system
Receiving complaints on e-mail on social media networks can be awful. You can’t keep track of all of them, the customers you haven’t answered yet will keep complaining, making everything very difficult. Creating a form that can be easily exported to your computer will have everything much easier to put together.
More clarity = more problems solved
It’s not a secret that there are many people who are not really good at putting into words how they feel. So receiving e-mails which make everything more blurry and not being able to solve the problem can lead to frustration and many other issues. Having a standard form will allow you to better figure out what your clients’ needs are.
Make people loyal to your brand
If you create a well-established system that pays attention to all customers, you’ll have people seeing your business as trustworthy and they’ll be loyal to your brand. Gaining the respect of a community is a very important thing in order to advance. So do your best to have everything in place.
How to create a customer complaint form
It may seem difficult at first, but you’ll see how easy it is to create the form. After this, all of the other things will seem like some details you don’t even have to worry about. And with the help of Kali Forms, a user-friendly, intuitive plugin that deals with most of what your form will contain, you’ll be done in minutes. Let’s dig into this.
Installing Kali Forms Plugin
First of all, you need a functional website. If you already have one, then it’s perfect. If not, you can easily create it – follow this complete guide on how to build a WordPress website. After you’re done with this, go to your WordPress dashboard and look for the Plugins option. Click on Add New, and it will redirect you to a search page. In the search bar (upper right corner), type Kali Forms.

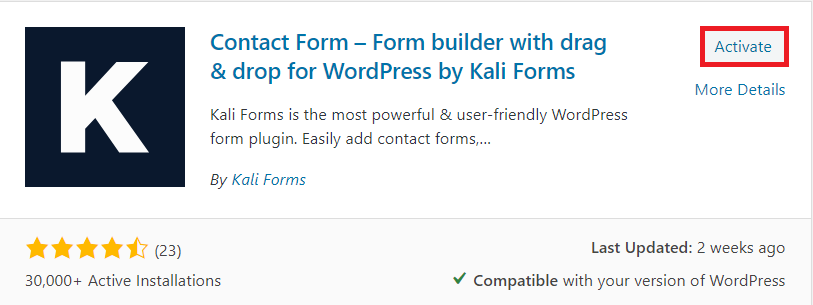
Press Install and wait for the magic to happen. After that, Activate the plugin. It shouldn’t take longer than a couple of minutes.
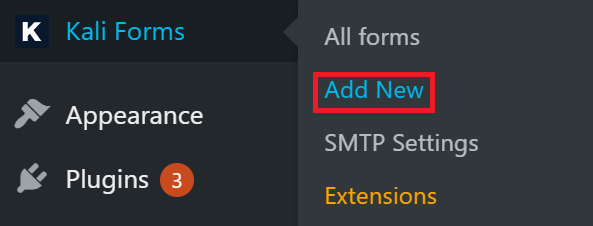
Now you’re ready to start working on your form. Kali Forms will now show up on your dashboard, so anytime you want to add a new form just click on Add New.
Creating a new form
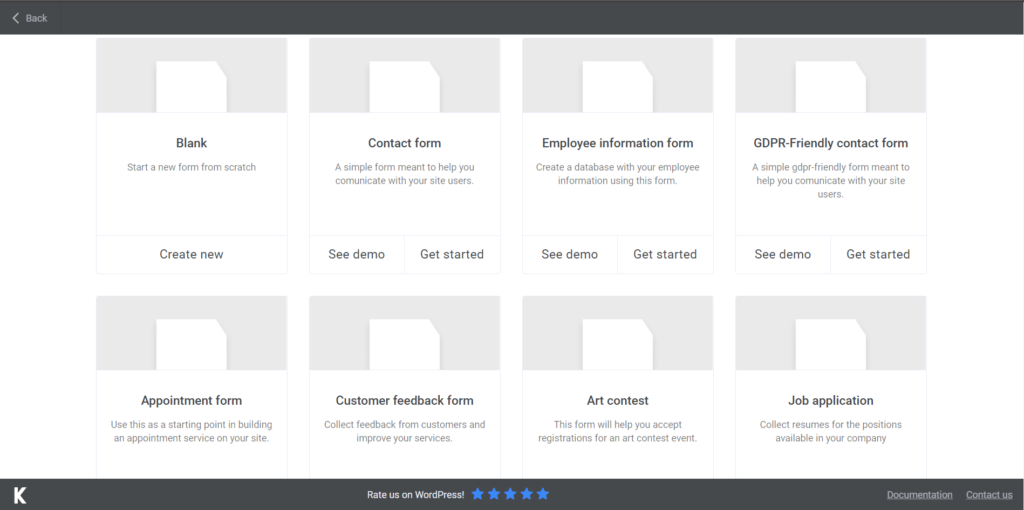
By clicking on Add new you’ll be redirected to a page with a number of form templates. You can put them to use if you need them, but right now we’re going to create a form from scratch. So press Create New.
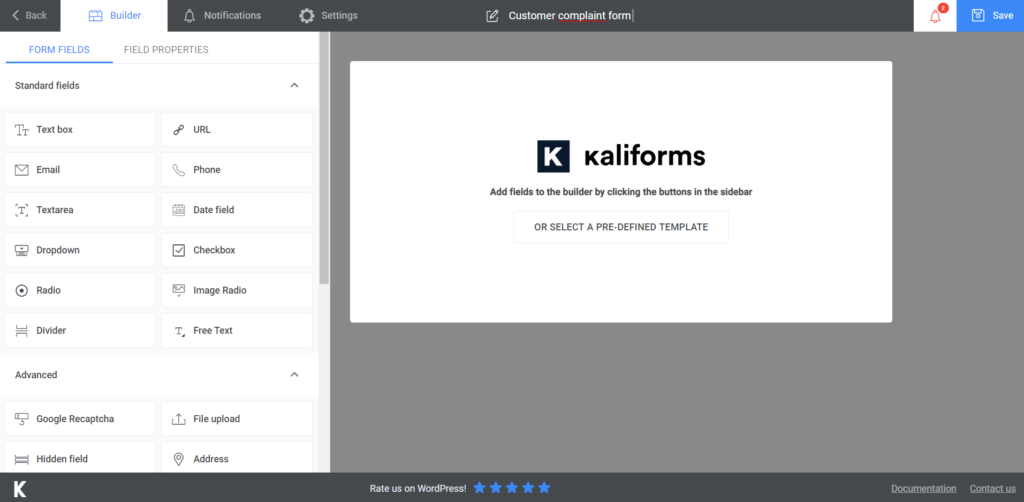
You may want to start by naming your form. I named mine Customer complaint form, but you can choose whatever you find appropriate.
Adding form fields
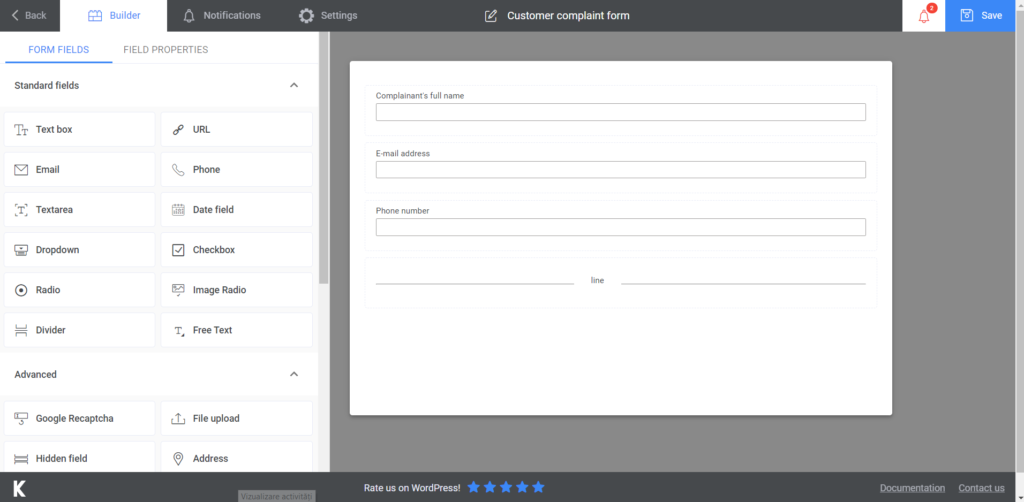
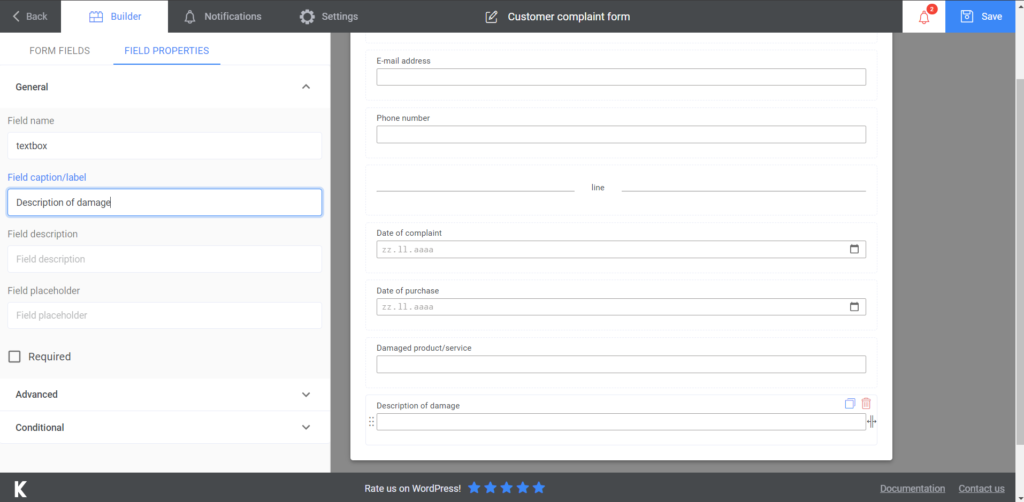
Before we start adding the fields, you need to know that they are all customizable. Once you open the form to start creating it, a menu with all the options will appear on the left. To customize any of the fields, add it to the form and then click on it. Instead of the menu, you’ll see what choices you have to modify the form according to your wishes. You can name the fields, add descriptions, insert placeholders, and make them required to fill.
Now that you know everything about the help Kali Forms can offer you, let’s get to it. I started by adding fields for the details of the person complaining – a Text box for the name, an E-mail field for their e-mail address, and another field designated to the Phone number. I also added a Divider, to separate between the contact details from the rest of the complaint.
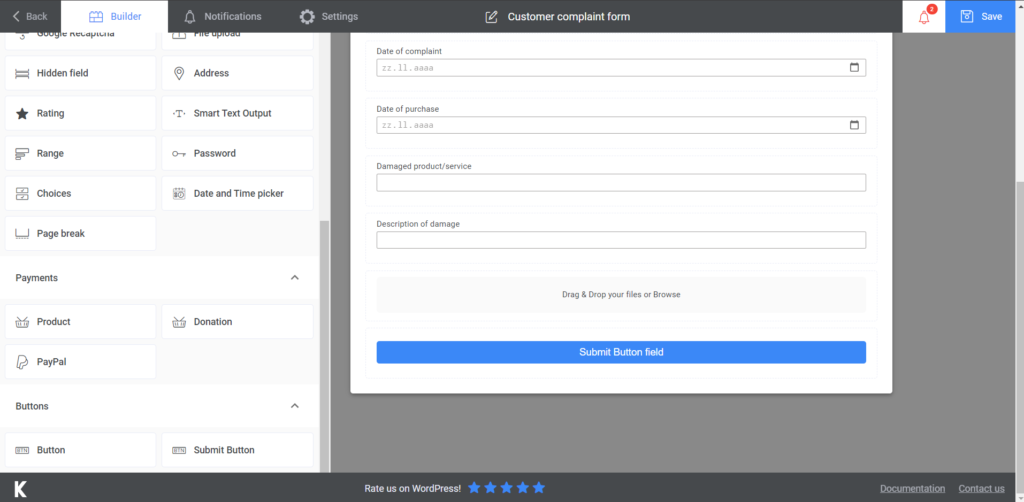
Next comes the part where the complainant has to fill the information about the damaged product/bad service they experienced. I started with two Date fields, one for the date of the complaint and one for the date of the purchase. I chose two Text boxes, so they can state the product/name of the service and the description of the damage.
For the last part, I included a File Upload field, in case they can send proof of the damage and a Submit Button.
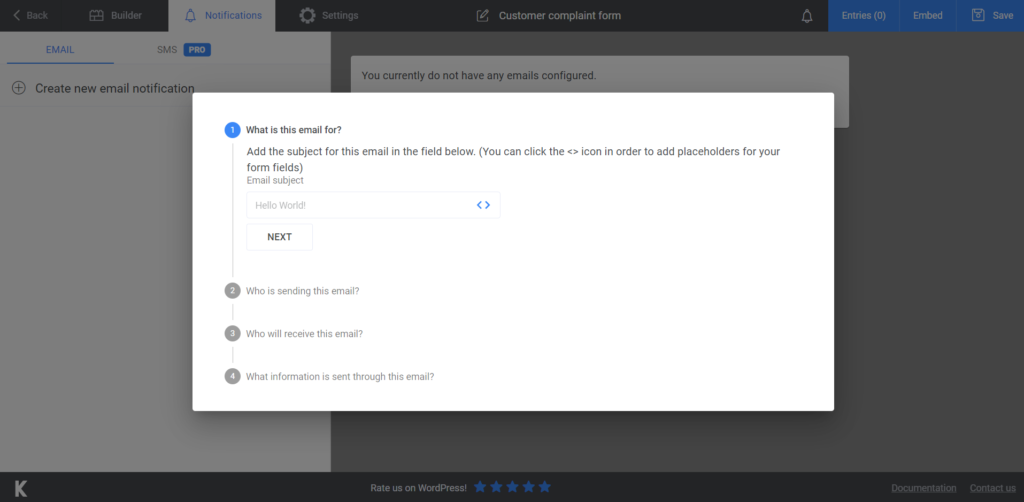
What you can also do is send an automated confirmation e-mail, so the complainant knows that their submission is received. You can do this by going to Notifications and follow the steps presented on how to create such an e-mail. Show your customers that you care by going for the pro version and sending them SMS notifications – you’ll definitely improve your relationship with them.
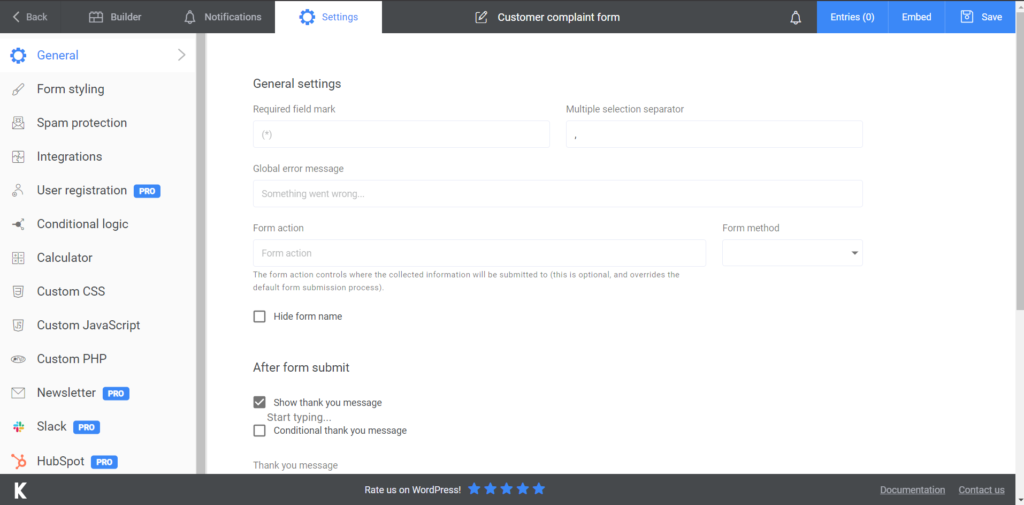
The last thing you can do is go to the Settings section and customize the rest of the things that you feel like they need a bit more work. You can choose your Form style or display a thank you message after people submit their form.
Add the customer complaint to your website
This is the last step in creating and implementing your online customer complaint form. After you press Save, a shortcode will be generated. Copy it and paste it into either an already existing page on your website. Or, if you want, you can create a new one just for this form.
Remember that you can export all your data to CVS or Excel. Keep it somewhere safe or organize it the way you want.
Summary

Now that everything is said and done, the only thing left is to install Kali Forms and start working. It will take you no more than a couple of hours to have everything up and running, so it’s an investment that will save you more time than you think. Having a great service will always be a necessity, so start now and you’ll be grateful later.


