

Suppose you are looking forward to creating a registration form for your convention, but you don’t know how. Don’t worry! You came to the right place!
Whether the convention is virtual or not, organizing one requires a lot of hard work – if it is a physical one, you will need to look for volunteers, hire people, choose a location, and so on. When everything is established, you will need the most important thing – attendees. The best way to attract people to your event is to create a sample conference registration form. By doing so, you will sell tickets more efficiently, and eventually, create a database with your customers.
In this article, we will show you how to create a virtual convention registration form with the help of the most user-friendly plugin called Kali Forms.
Table of contents
Why should you create an online convention registration form?
Even though we are now living in the online era, we still need to keep in touch with our families, attend seminars, and engage with our employees. There are several reasons to establish a professional online conference registration process. Let’s take a look at the most significant ones.
- Efficiency – The sign-up process would be much more effective and automated if you create a participation form. More precisely, people can register using your application form and may pay if the conference is fee-based. Furthermore, you have the option of making the convention private. As a result, participants will receive the password in their confirmation email or SMS after signing up.
- Accuracy – One of the great things about online forms is that you can choose whether those fields need to be filled out, meaning you won’t have to think about missed data. You’ll have all the information you need from your participants.
- Safety – Once you’ve gathered all of the details about your candidates, you’ll need to keep it safe. You can import the reference request forms to your desktop instead of making a million files of paper forms and a lot of documents. They’ll be safe, and you won’t have to worry about them falling into the wrong hands. You no longer have to rummage through a stack of papers to find a single form.
How to create a registration form for a virtual convention
It’s effortless to create an online application. You only need the assistance of a strong tool to make this process more seamless. So, use Kali Forms, the most user-friendly and intuitive form builder on the market. Let’s take a look at how it works.
Install Kali Forms
Supposing that you already have a functional website, you can download Kali Forms from the WordPress plugin page. If you don’t have one, don’t worry! Follow this step-by-step tutorial on how to create a WordPress website from scratch.
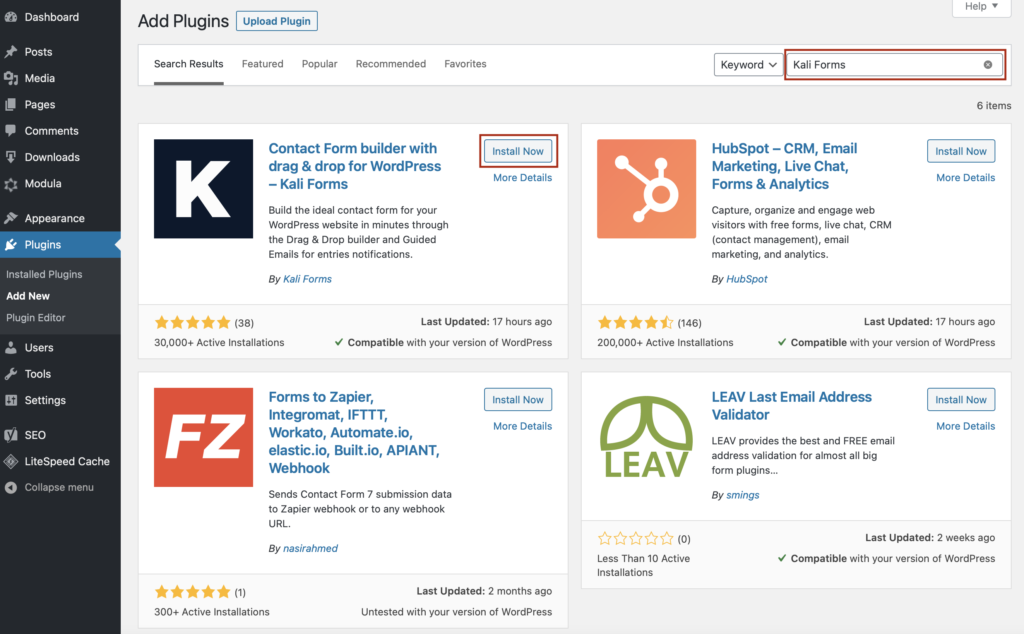
After you built your website, go to WordPress dashboard > Plugins > Add New. You will be brought to a page listing all the available WordPress plugins. In the search bar, type Kali Forms and press Install when it’s found.
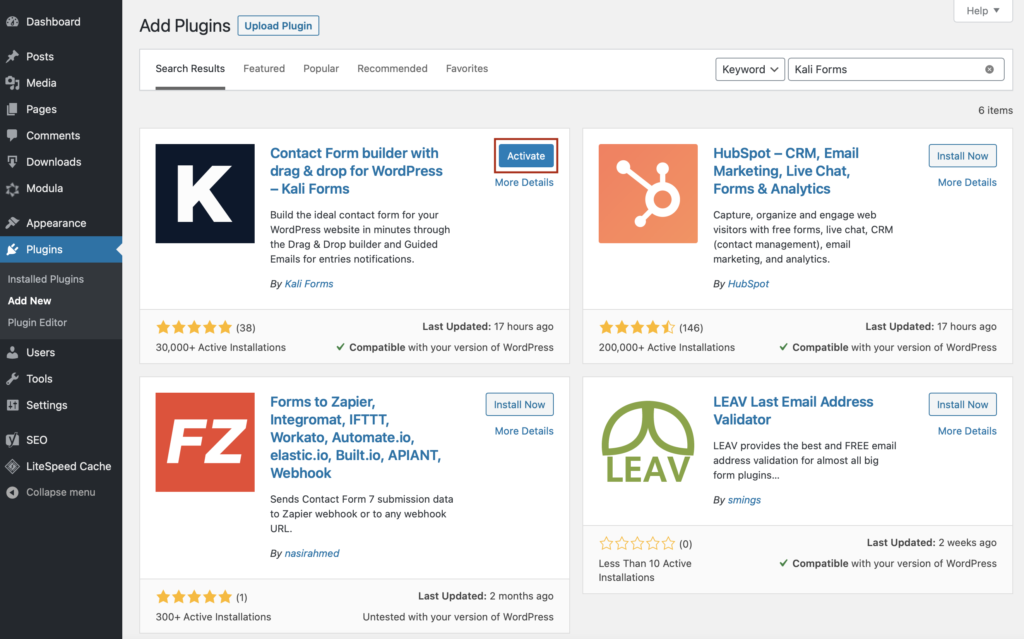
After the plugin is installed, click on the Activate button.
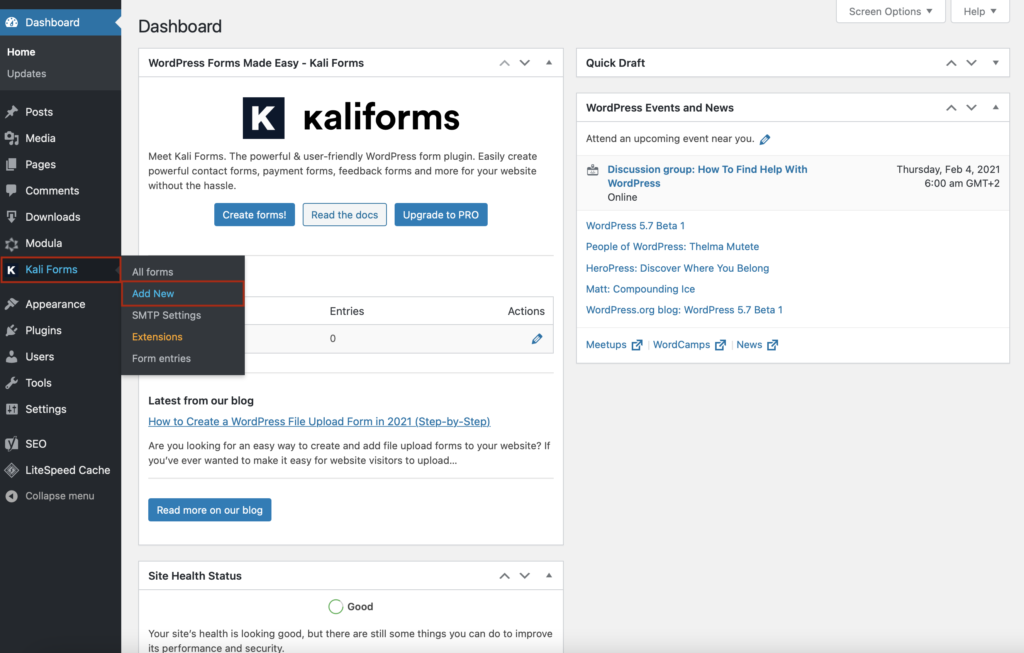
Then, the Kali Forms plugin will appear on your WordPress menu.
Create a new form
From now on, anytime you want to create a new form, just go to your WordPress menu > Kali Forms > Add new.
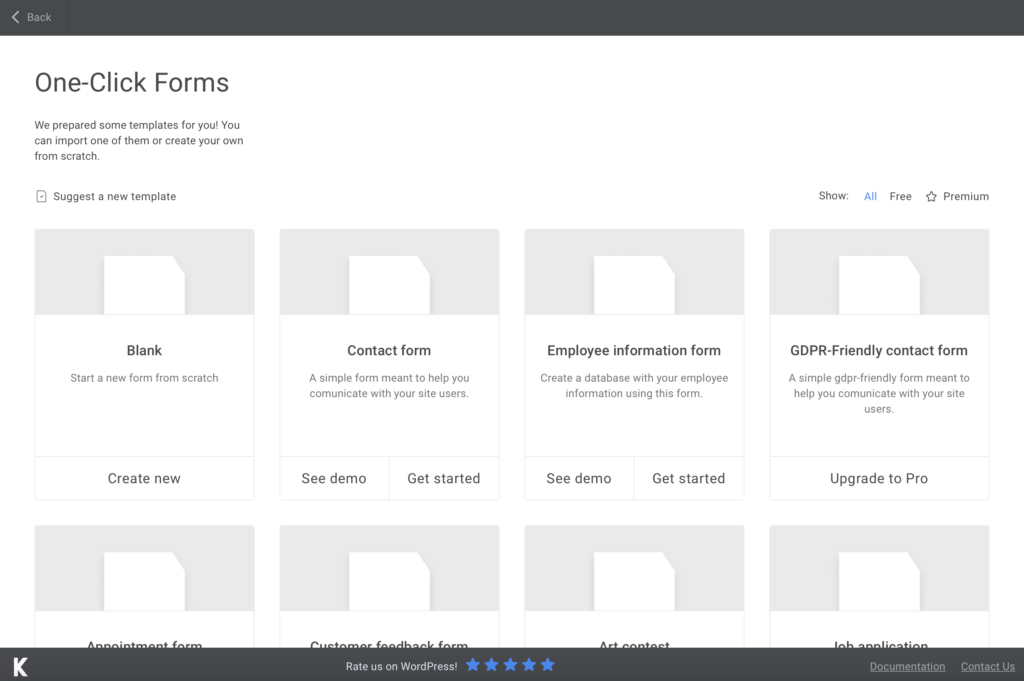
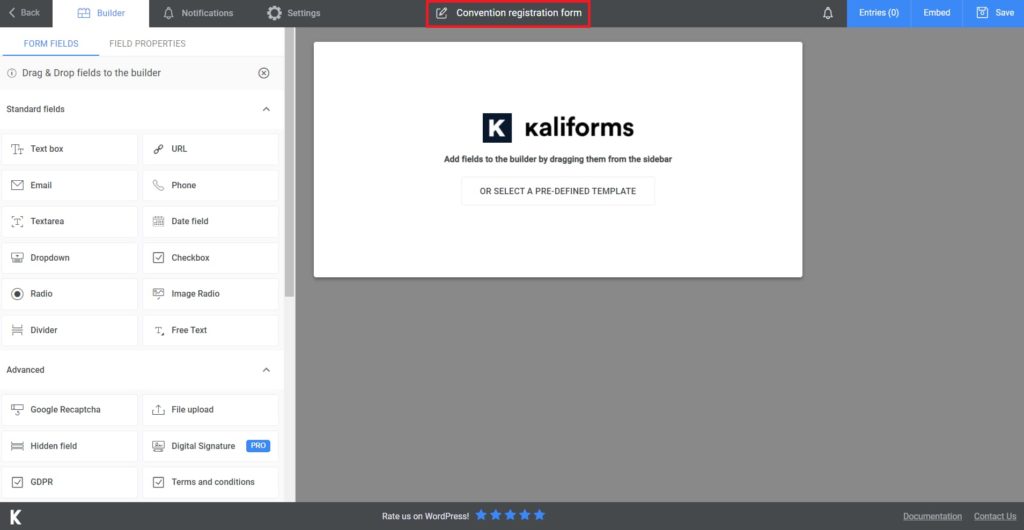
You will be redirected to a page with predesigned templates. Since there isn’t a convention registration form template, we will create one from scratch to see how the plugin works. Let’s get started by clicking on Create New.
Firstly, start by giving a name to your application form, so the convention attendees know what they are signing up for.
Adding the fields
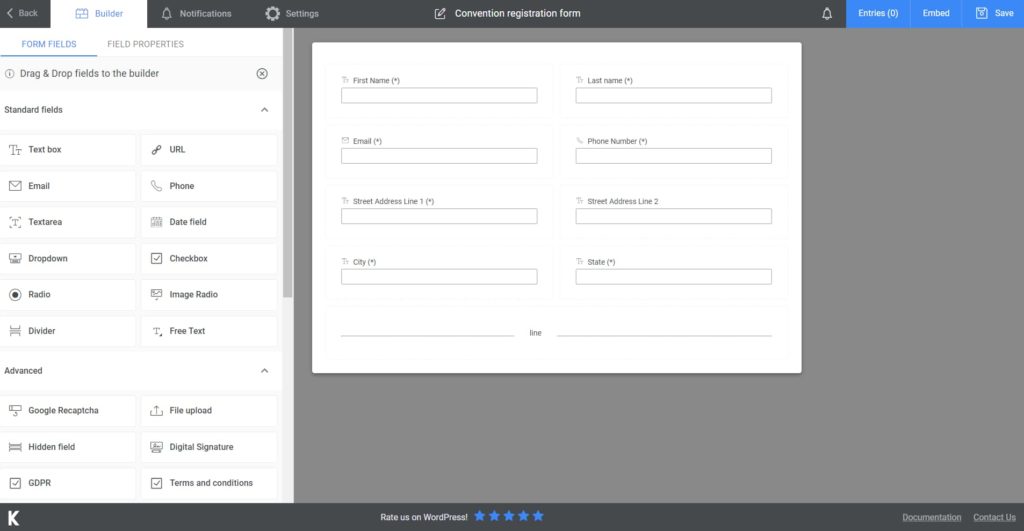
To begin with, you should be aware that all of these fields are editable. All Kali Forms fields can be found in the left menu. Drag and drop the fields into the form, then click on it to start customizing each of them. Instead of a menu, you’ll find some customization tools that allow you to style fields as you like. You can add descriptions, placeholders, name the fields, and make them required to fill, among other things.
For our registration form, I started by adding two Text boxes for the first and last name, followed by an Email field and a Phone field. Moreover, I added a few more Text boxes for address, city, and state. If you are hosting an international convention, I suggest adding a Dropdown field with all the countries. Then, to separate this section with the personal information from the others, I added a Divider.
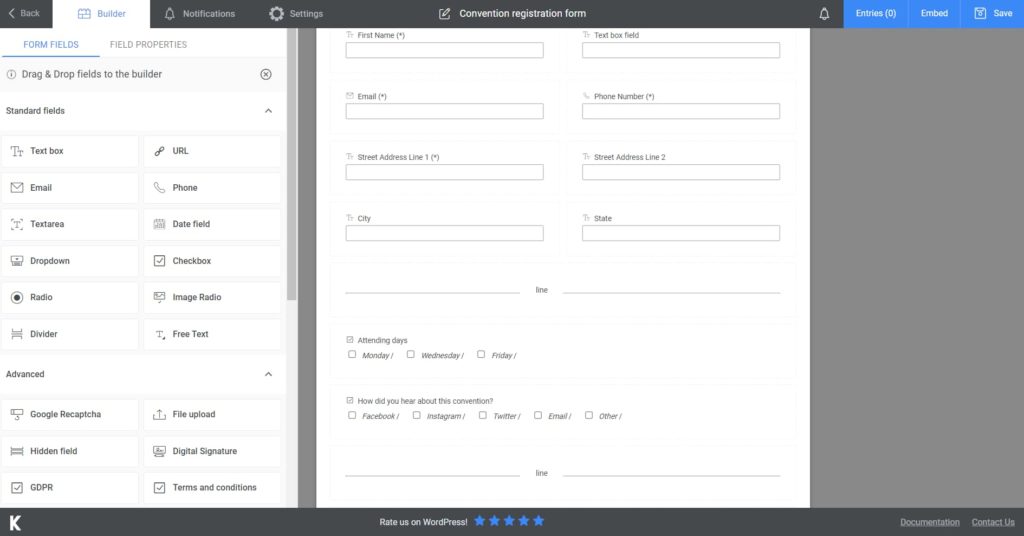
Next, I added two Check boxes to let the attendees choose when they will attend the convention and the other to get to know where each participant found out about the event. This information is crucial because it helps you figure out in which area you need to increase your advertising budget. To add a choice to the Check box field, left-click on it, scroll down, and you will find Options. Click on it, and add as many choices as you consider. Again, at the end of this section, I placed a Divider.
Further, I added the type of ticket the participant will choose, with the help of a Check box field and the type of payment. Thanks to Kali Forms, you can let the attendees pay with various methods such as PayPal, Credit Card, Wire Transfer, or if the convention is for a good cause, you can also add a Donation field. If it’s a public convention, don’t add any payment methods. It’s up to your desire.
And finally, I added a Button to submit the form.

Additional features
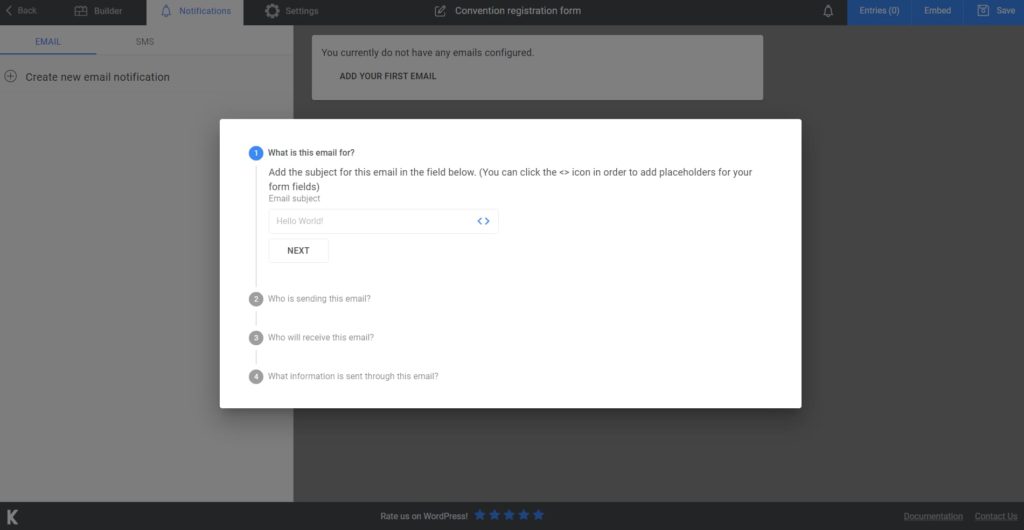
To finish the form professionally, go to Notifications and create an automatic validation email – where you can also include the conference password if it’s confidential. If you’re not sure exactly how to do it, the procedure is fairly straightforward – here is a guide you can follow. Moreover, if you update to the premium version, you can also send an SMS notification.
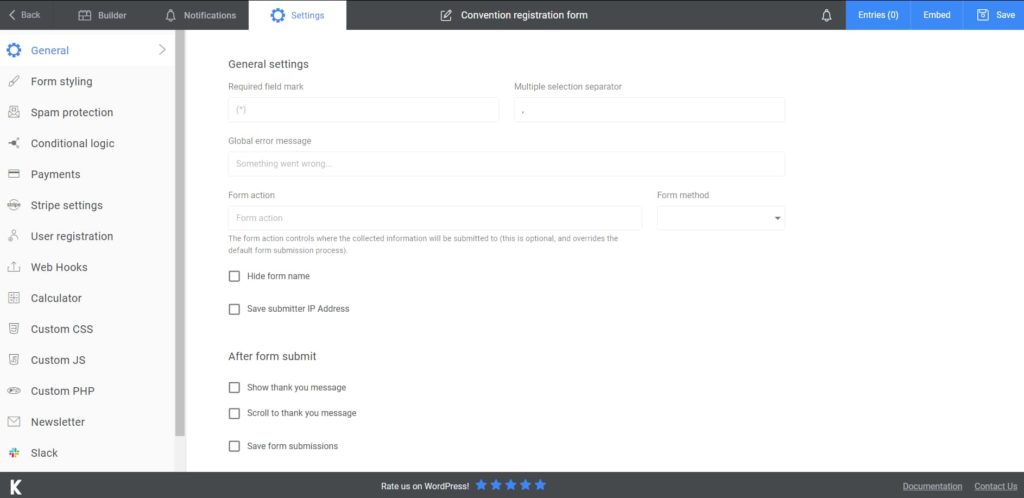
Besides, if you want to take your online registration form to the next level, you can review all of the modification choices available in Settings. Moreover, you can change the Form’s design and add a customized “Thank you for joining our convention” message. If you upgrade to the premium version, you’ll have a couple of options.
Adding the online convention registration form to your website
You can either add the convention registration form to an existing post/page or create a new one. When you’re finished creating your form, click Save. All you have to do now is copy and paste the shortcode into a page or post after it has been created. It’s as easy as that!
And besides, if you believe you need to export your data for security or other purposes, you are free to do so! To ensure that your whole database is secure, export your form to Excel or CSV.
Summary
To summarize, Kali Forms is an easy-to-use form builder that is also intuitive. In our free version, you can build as many forms as you want. But once you switch to the paid version, you’ll have access to all awesome functionalities at the click of a mouse.
Choose Kali Forms to build your virtual convention registration form and get the job fast!


