

Are you looking for a way to improve the way you’re scheduling client consultations?
Then you’ve landed on the right page. We’re here to help you understand the need for an online client consultation form nowadays. If you’re still doing it by phone, e-mail, or any other communication channels besides the online form I mentioned, then you really need to read this article because it’s going to change your strategy big time.
We’re living in an online era that’s constantly improving and finding new ways to spare us as much time as possible. We’re here to back that up and tell you that there are ways in which you can optimize the process of receiving requests for client consultations. Ready to hear about it?
| 1. Why should you use an online client consultation form? |
| 2. How to create a client consultation form |
| 3. Adding the client consultation form to your website |
| 4. Summary |
Why should you use an online client consultation form?
There are countless reasons why this is so efficient and time-saving. Let’s see what are some of the strongest arguments for this.
Save time
Of course, the first one is going to be the time-saving perk of dealing with an online client consultation form. Just think about how easy would be to receive forms that hold all the information you need from a client, export it and that’s it? Well, it’s something you’re not going to get if you take appointments by phone or e-mail, where there’s a chance you’re not getting all the information you need and you have to go back and forth to get it.
GDPR
Although it’s not much and you’re not requiring very personal information, some people might feel uncomfortable knowing that their phone number or e-mail address can be misplaced. Make sure you have everything organized on your computer or stored in the cloud, without any pieces of paper that can be lost because.
Make it easier for everyone
Because it’s very easy to forget about a piece of information when you’re writing an e-mail or you didn’t understand what the person who’s taking your appointment said over the phone, we think a form will step up your game. It can contain anything you feel it’s necessary. You can make all the fields required, so you’re sure everyone does their job properly and you don’t have to retake some parts of the process.
How to create a client consultation form
If you think that what we presented so far is at least helpful, you’ll see that from now on everything gets easier. We want to offer you an opportunity that really saves you a great deal of time and stress, so creating the form is actually the step that you’ll enjoy most. Everything can be done with the help of Kali Forms, an amazingly user-friendly, intuitive, and responsive plugin that is going to mesmerize you from day one.
Installing Kali Forms plugin
If you own a website, you probably know your way around with plugins. But if you don’t have one, don’t worry. You can create one very easily, as it’s a mandatory step in order to benefit from this tool that we’re presenting. Read this helpful article on how to build a WordPress site in order to start working on it. After you’re done with this, go to your WordPress menu and look for Plugins. Click on Add New and type Kali Forms in the search bar that appeared in the upper right corner. Once you find it, press Install.

The installation shouldn’t take longer than a couple of minutes. So after it’s done, press the Activate button that’s highlighted below.

Now that you can find Kali Forms in your WordPress menu, you can click on Add New each time you want to create a new form.

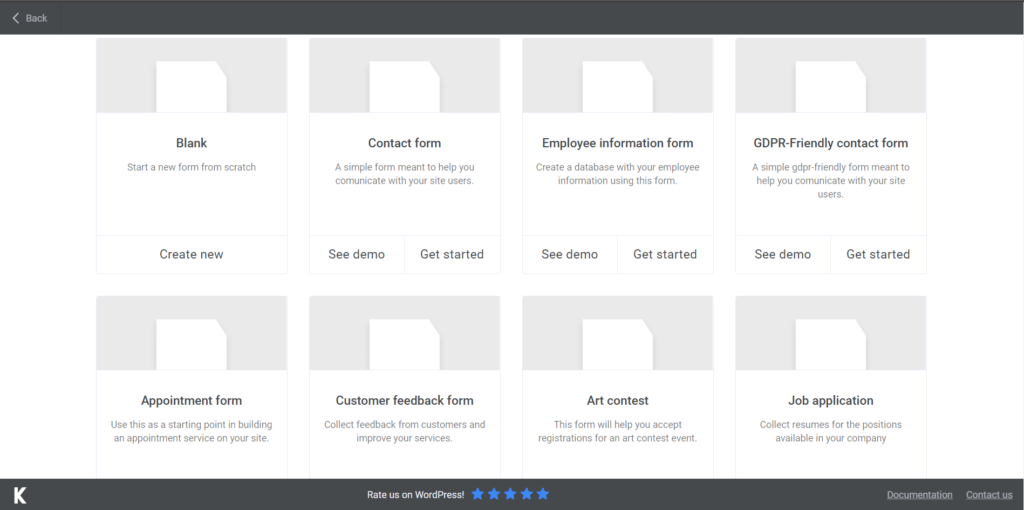
Creating a new form
After you click Add New, you’ll find yourself on a page with a number of templates. We don’t need any of them right now, but you can definitely use them in the future. Right now you should click on Create New and get started with your client consultation form.
The first thing that you should do is name your form. You don’t want your clients to be confused about what they should be looking for. I simply named mine ‘’client consultation form’’, but you can choose whatever seems appropriate.
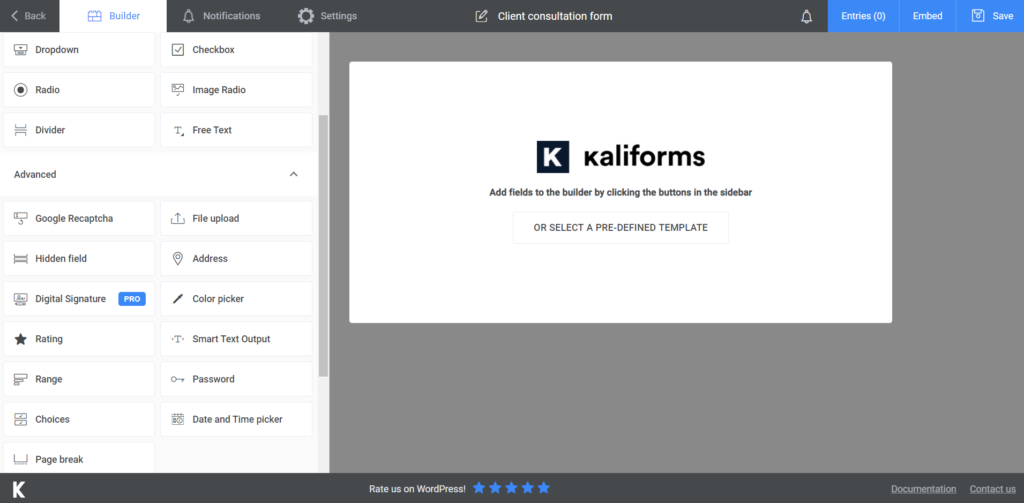
Adding form fields
Now comes the real part. But, before getting start with the actual form, you should know that everything you see on the menu (on the left) is customizable. Every field can have a name, description, or placeholder. You can make them required to fill or play around with their settings.
Now let’s get to the real deal and start building the client consultation form template. To start with, I added a Text box, for the full name of the person requesting the consultation. Next, I chose Phone and E-mail fields for the contact information, and another Text box field for the name of the organization they come from. I also chose a Divider, to separate from the personal information and what we need to know about the appointment.
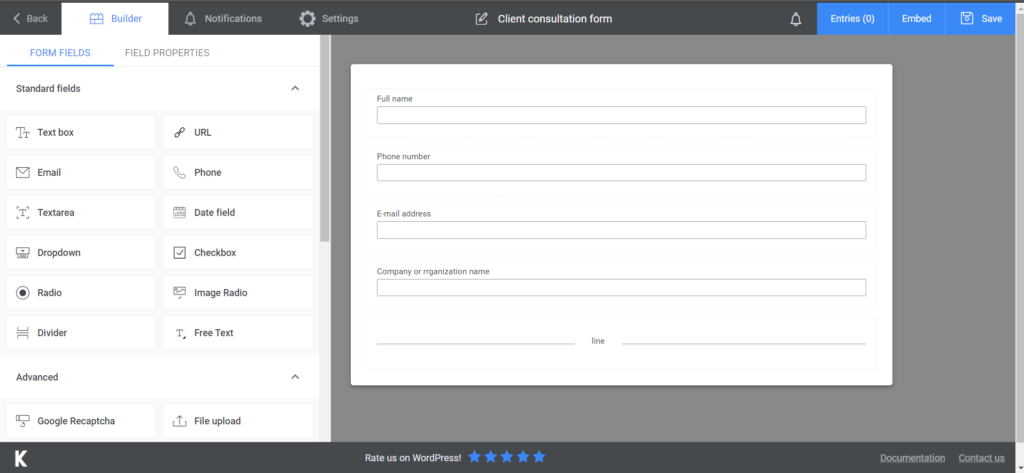
For the next section, I went for a Dropdown field, to list the services that I could offer as a consultant (e.g. network solutions, business development, support, etc.) and a Date and time picker, so they can choose from the available options. For the last part of the form, I chose a Textarea for further comments or mentions the person wants to make and a Submit button.

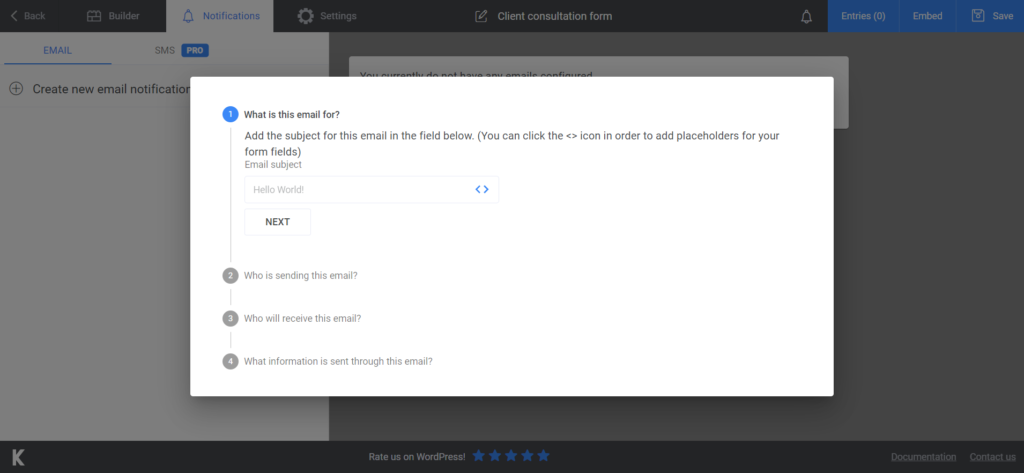
Now that your form is complete, you can go to Notifications and set up reminder e-mails for people filling your form, so they can remember the date and time of the assessment. If you choose the premium version, you’ll be able to notify your clients via SMS as well.
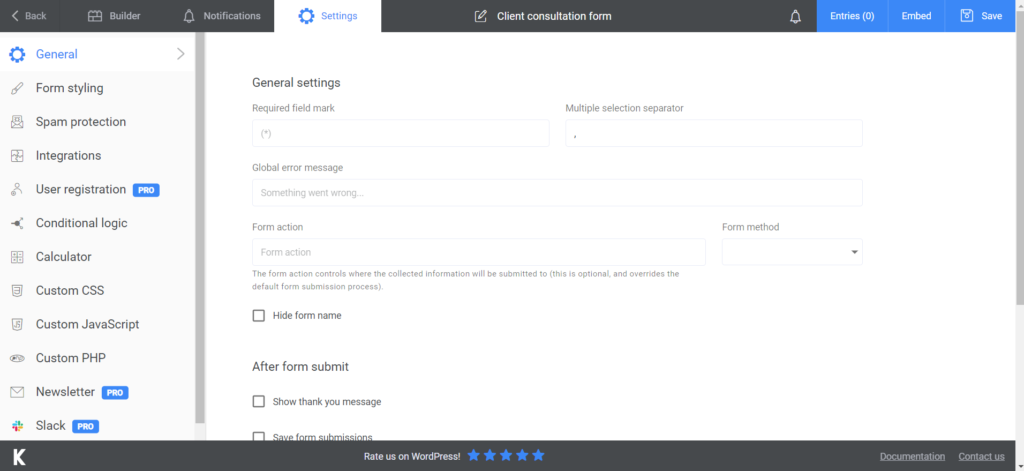
The last part is about the Settings section. Go there and set up the final details of your form – choose its style or opt to display a ‘’thank you message’’ after they press submit. There are plenty of features you can choose from. The premium version also allows you to send newsletters, which can be interesting if you want to be in touch with your community.
Adding the client consultation form to your website
This is the actual last step of the whole thing we’ve discussed so far. After you’re done creating and setting up your form, press Save. A shortcode will be generated and all you have to do is copy and paste it on your website – you can create a new page for it or integrate it into an already existing one.
Because I mentioned GDPR earlier, you need to know that you can export all your data to CVS or Excel and store it somewhere safe. You can keep it and go back to it as a future reference, so make sure you know where you put it.
Summary
Now that you know everything there is to know about how to create an online client consultation form, you just have to make up your mind whether this is the right choice for you. We strongly advise you to do so, because this will ease your work, thanks to Kali Forms and its miraculous ways of shortening the time you have to spend dealing with appointments.


