

Wondering if there’s a more efficient way of registering blood donors?
Then you’re right where you’re supposed to be. Those who work in a blood donation center know that it’s essential to have an efficient process. It’s true that sometimes it might not be as crowded – we all know that there’s always a high demand for blood donations, but people don’t always find the time or motivation to do it. It becomes very crowded when you have campaigns to support certain causes or when big groups of people who come together to do a good deed show up. This is why you need an online blood donation form, to help you have some of the paperwork done before they come in for the health tests and said donation.
We’re here to walk you through the whole process of creating such a form so you can take off your mind the pain of handling paperwork of this kind.
| 1. Why should you use an online donation form? |
| 2. How to create a blood donation form |
| 3. Add the blood donation form to your website |
| 4. Summary |
Why should you use an online blood donation form?
You may or may not see the benefits of digitalizing this process right away, but rest assured that there are countless reasons why this is more efficient. Down below are stated a few of the most impactful ones.
Save time
As I said, having big groups of people coming to your blood donation center can be overwhelming. Handling all of them, keeping track of the papers they filled, and making sure everyone fills in with all the required information can take most of your time. By having them registered before coming in, you’ll be a few clicks away from finding their form and getting to the next step quicker.
Take confidentiality to another level
We all know that the personal information needed to be eligible for a blood donation is confidential. Get rid of the pain of handling paperwork and eventually losing or misplacing one of the forms. If they can fill it online, you’ll not have to worry about leaking information without the intention of doing so.
Keep better track of everything
Misplacing papers will not only mean that there’s a possibility to leak information about someone, but will also make it more difficult to find when needed. This is why you should opt for an online form – you’ll be able to download everything and keep it in a safe place – a there’s no need for storing piles of papers anymore!
How to create a blood donation form
You will be amazed at how simple this whole process is. Forget about dull procedures. By reading this article you’ll figure out the simplest way of getting this done. All you need is a website and the help of one amazing tool that basically does the job for you – Kali Forms. An incredibly user-friendly, intuitive, and responsive plugin that can basically do more than half of the job.
Installing Kali Forms plugin
Let’s begin by learning how to get your hands of this plugin. Firstly, you need a website. Nowadays, everything from hospitals to businesses has one. It’s the place where you usually find all the needed information about what’s happening there. However, if you don’t have it, don’t worry – read this step-by-step tutorial on how to build one. After this part is done, go to your WordPress menu, and look for the Plugins section. Click on Add New and you’ll find yourself on a page with a search bar in the upper right corner. Type Kali Forms, and when the plugin pops up – Install it.

It shouldn’t take more than a couple of minutes. After the installation is done, you’ll see the Activate button. Click on it and wait for the magic to happen.

Now you can find Kali Forms in your WordPress menu. To start creating your form, click on Add New.

Creating a new form
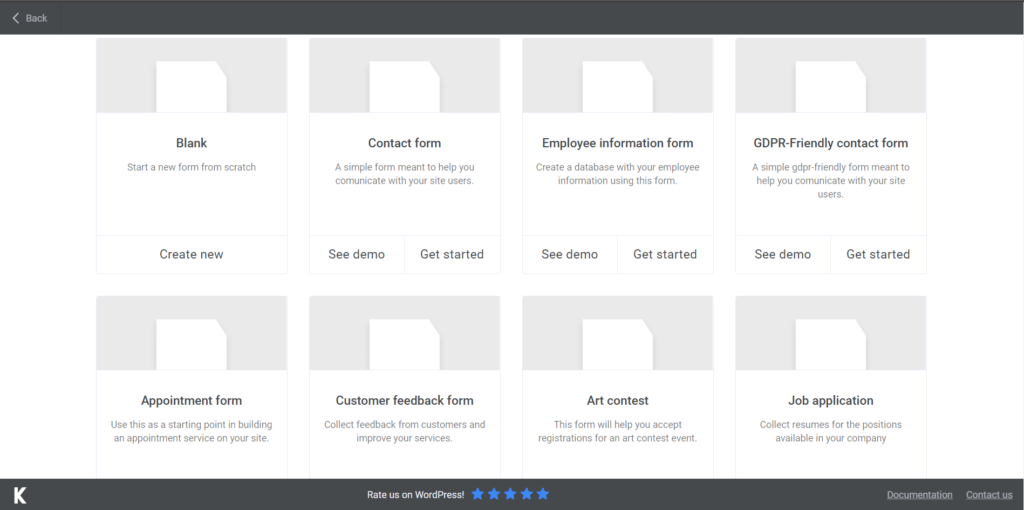
After you pressed Add New, you’ll be redirected to a page with a number of pre-made templates. You will not need any of them right now, but if you learn that they can be useful over time, put them to good use. To start working on our blood donation form, we will start from scratch, to click on Create New.
Start by naming your form, so your future donors know what they should handle. I know it’s pretty intuitive but better safe than sorry.
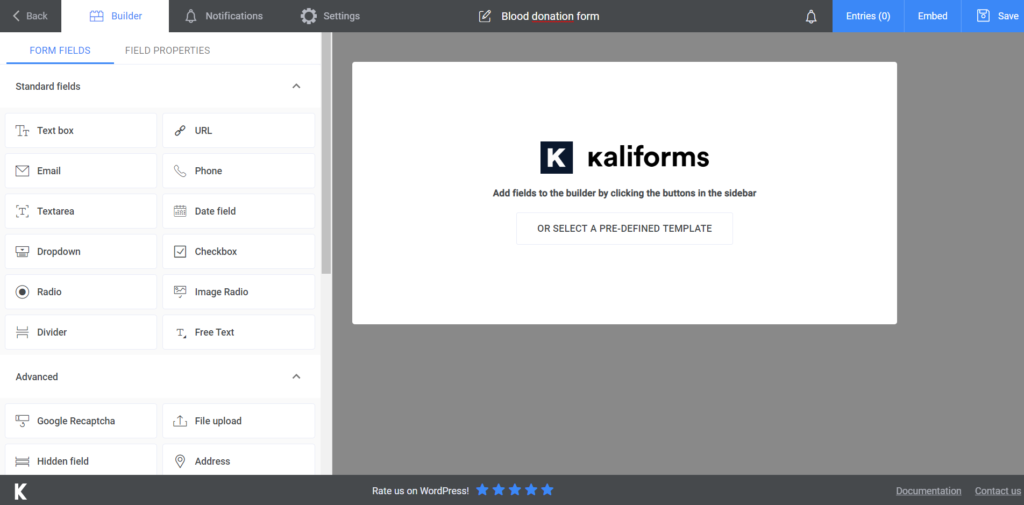
Adding form fields
Now we’re ready to actually start creating the form. Before that, you might be interested in the fact that everything you see on the menu (you can see it on the left) is customizable. All the fields that you see there can be managed according to the way you think it should be.
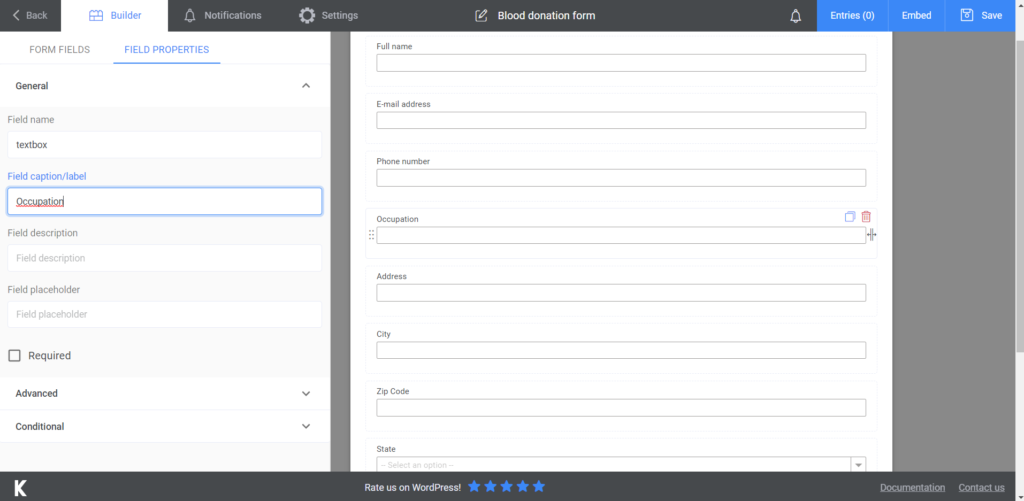
To do that, you have to first select one of the fields and then click on it. Instead of the regular menu, you’ll see the customization one. Add a proper name to your field, so people can know what to fill in, place a description, in case there’s something that needs further explaining, give examples by using the placeholders, and make the fields required to fill, so you can make sure you receive all the information you need.
For this form, we’re going to start by adding a Text box for the name of the donor, E-mail, Phone, and Address fields for the contact information that is usually required in such a form. I’m not sure if everyone uses this, but I added another Text box for the occupation of the person donating. I opted for a Divider as well, so we can separate between the personal info and the things that are related to the donation.
Next, I went for a Dropdown field, to find out what their blood group is. You can add a Checkbox field, if you want to know if they’ve donated blood before – a yes or no answer should make for it. Next, you might want to find out if they have any diseases or conditions you should be aware of, as well as allergies. I opted for another two Checkbox fields and Text boxes – so they can also fill in what exactly they might suffer from.
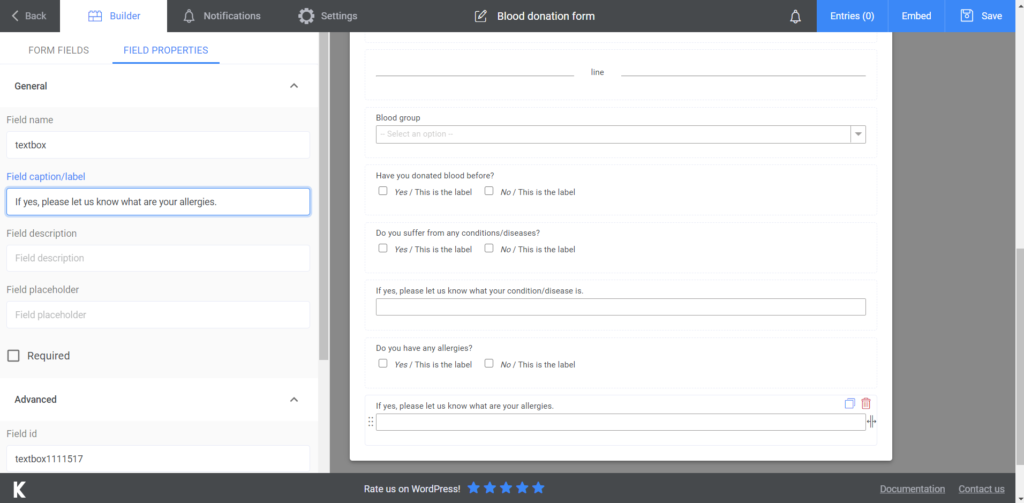
Lastly, I added a Textarea, for further comments that they might want to make, so you know what to take care of when they come in. This form ends with a Submit button – that’s kind of it. Simple, right?

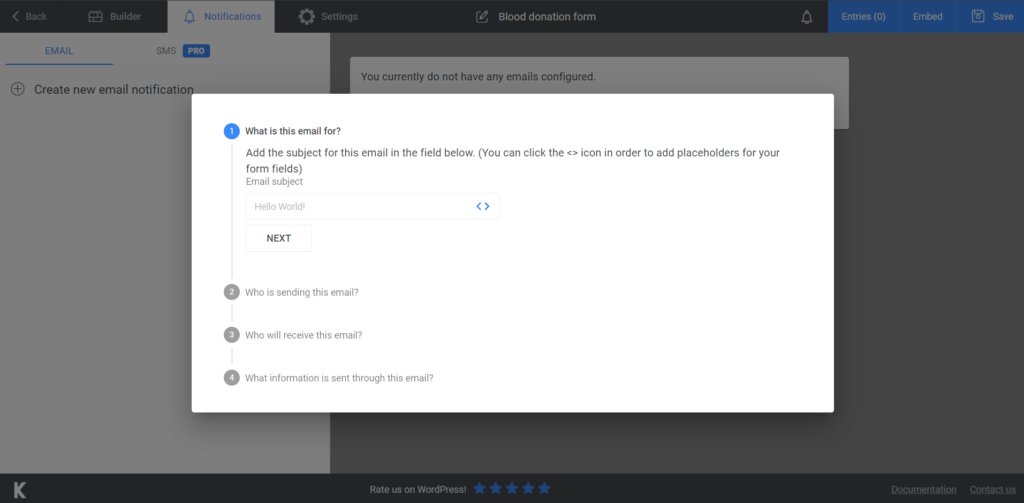
If you want to let your donors know that you received their blood donation form, you can configure a confirmation e-mail. Just go to Notifications and the whole process is explained there. There are all kinds of people that donate blood, and some of them maybe don’t have an e-mail account. So go premium and make sure everyone gets a message – you’ll be able to send SMS notifications.
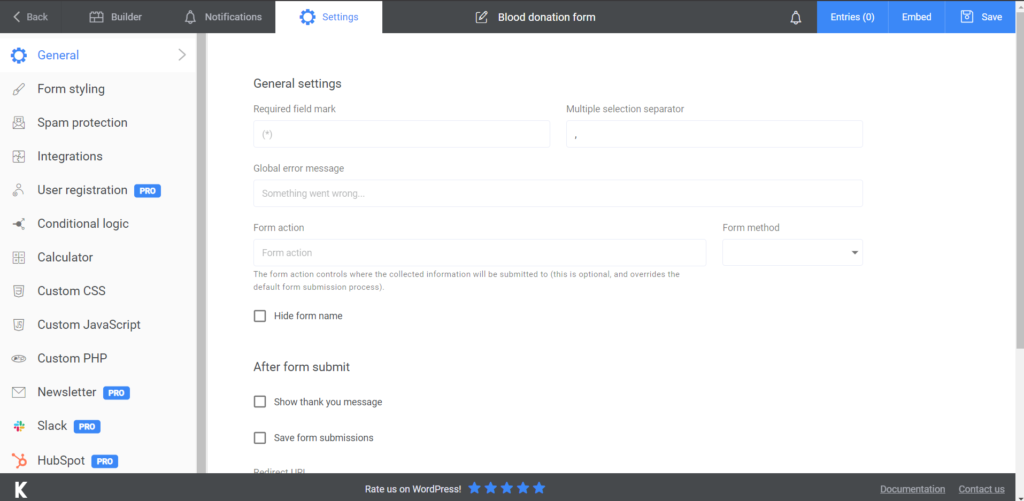
There are a few more things you can customize in the Settings section. Choose your Form Style or display a ‘’thank you’’ message after they press submit. There are a couple more things you can play around with, so make sure you give them a try. Send people newsletters with what’s happening, benefits of donating blood, and so on by upgrading to premium.
Add the blood donation form to your website
This is the last part of making your online blood donation form to happen. Press Save when you’re done creating it and a shortcode will be generated. Just copy it and paste it on a page on your website – it can be a new page, designated to this form or you can just integrate it into an already existing one.
Remember that you can export all your data to CVS or Excel, so you can store it in the cloud or on your computer.
Summary

Hopefully, this process is as easy for you as it is for us. You just have to give it a try and having Kali Forms help you is a huge plus. Forget about all the time-consuming paperwork and start digitalizing this process. It’s a benefit for both you and your donors. So get started today and waste no more energy – it’s up to you to make the call!
If you want this service, you can also send newsletters to your donors and let them know what the benefits of blood donation are.


