If you’re looking to optimize your check request procedures, you’re in the right place.
A check request form is a great alternative to check transactions for payments that include reimbursements, subscriptions, memberships, registrations, and so on. It’s an easy and safe way of performing a payment.
What’s important to know is the policy of each institution you issue a payment to – some may have some other requirements as well. For example, they can request for the original invoice, a copy of your ID, or anything that they consider necessary in these cases.
| 1. Why should you use an online check request form? |
| 2. How to create a check request form |
| 3. Add the check request form to your website |
| 4. Summary |
Why should you use an online check request form?
It’s important to keep up with the trends, especially if they are making processes more efficient and less time-consuming. So let’s see why this type of form would be more effective if used online.
Improved accuracy
Because there’s no need to enter data more than once, you cut out possible errors before making them. There are also processes like built-in verification of entry to help you get everything right from the beginning.
Reduced risk of loss and easy storage
The biggest problem with paperwork is the fact that you can easily misplace it – even if it has its own special storage space. It’s true that documents are important, but knowing how difficult it is to store hundreds of them without losing track of what’s there is a nightmare. Making it online saves you a lot of trouble.
Faster payments
Leaving aside the fact that this is a very secure way of handling documents, it can be processed in minutes from arrival. This means that the whole process is optimized, not only the part where people have to fill and submit it.
Easy tracking
You will not be forced to have a pile of paper to sort in order to find something anymore, as you can have everything on the cloud or on your computer. This way, you can keep track of every check request that comes in and go back to them each time you have a question with no fuss.
How to create a check request form
The process of creating a check request form is way easier than you think. In that regard, you only need the help of one tool that gives you everything you need- you just have to put it together. Kali Forms is a plugin that will take the stress of handling paperwork with a few simple steps. You just have to install it and you’re good to go. Let’s take a look at the whole process, step by step.
Install Kali Forms Plugin
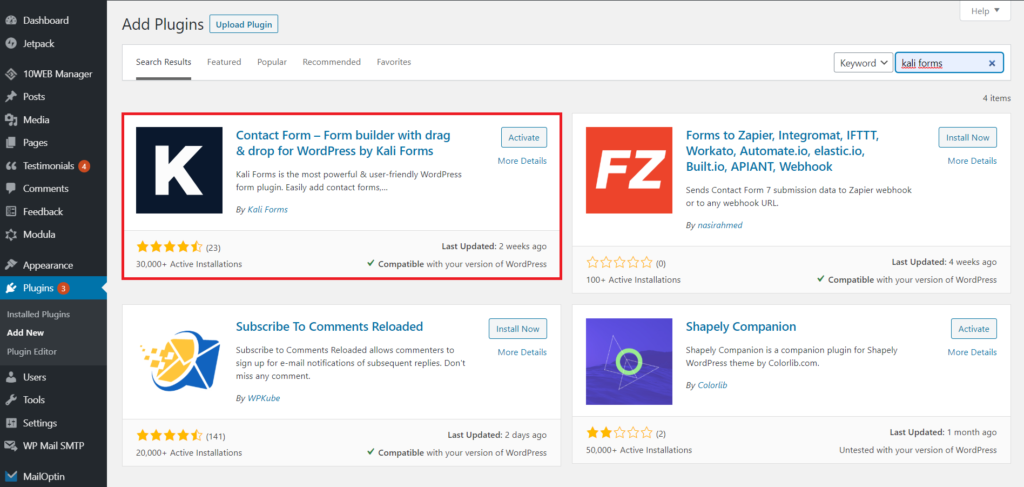
Assuming you already have a website, you can download the plugin there. If you don’t have one, worry not, as we live in an era when you can obtain anything in a matter of hours or even minutes. As we said, you can create a website quickly and easily with this complete guide on how to build one in WordPress. The next step is to go to the Plugins section on your dashboard and click on Add New. A search bar will appear in the corner right – that’s where you’re supposed to type the name of the plugin.
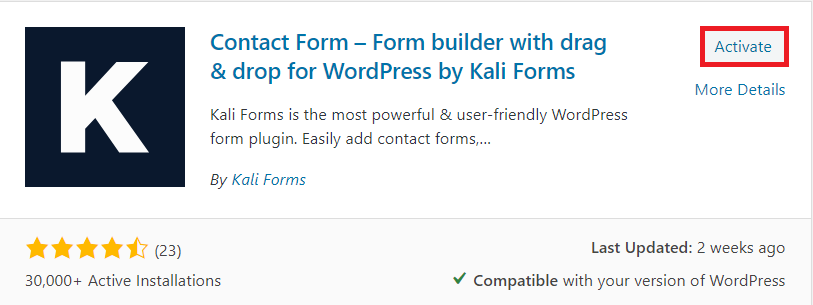
After you’ve found it, click Install and wait a couple of minutes. Once this step is done, you only have to Activate your plugin.
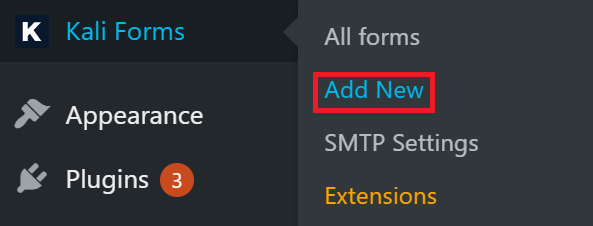
Now you have everything up and running. You’ll find the plugin in your dashboard from now on. When you’re ready to start creating your first form, click on Add New and get the job done!
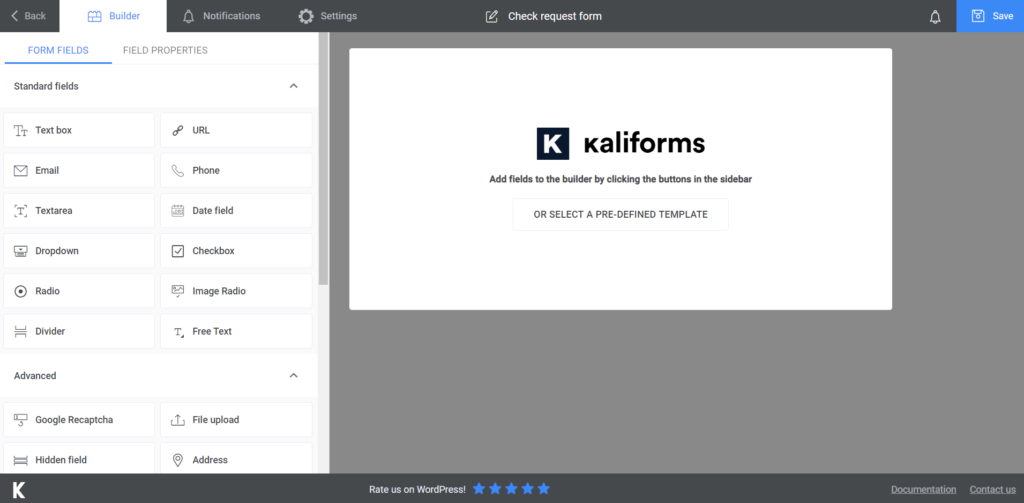
Creating a new form
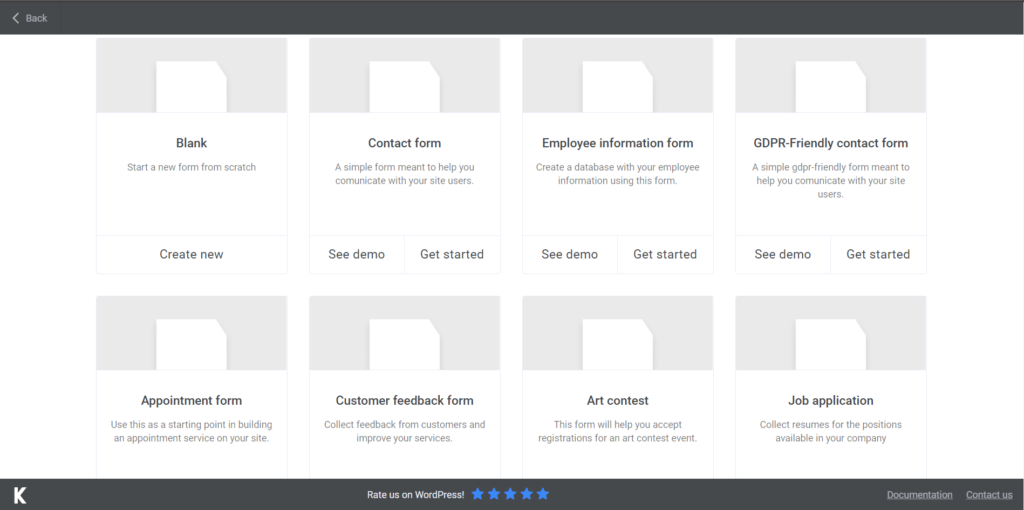
After clicking on Add New, a section of templates will appear. You can use those if you ever need it, but we’re going to start making a form from scratch. Press on Create New and let’s go on. In this tutorial, we’re going to create a staff reimbursement check request, with the basic information required.
Start by naming your form, so people can easily find it. You can give it whatever name you find it’s suitable for this.
Adding form fields
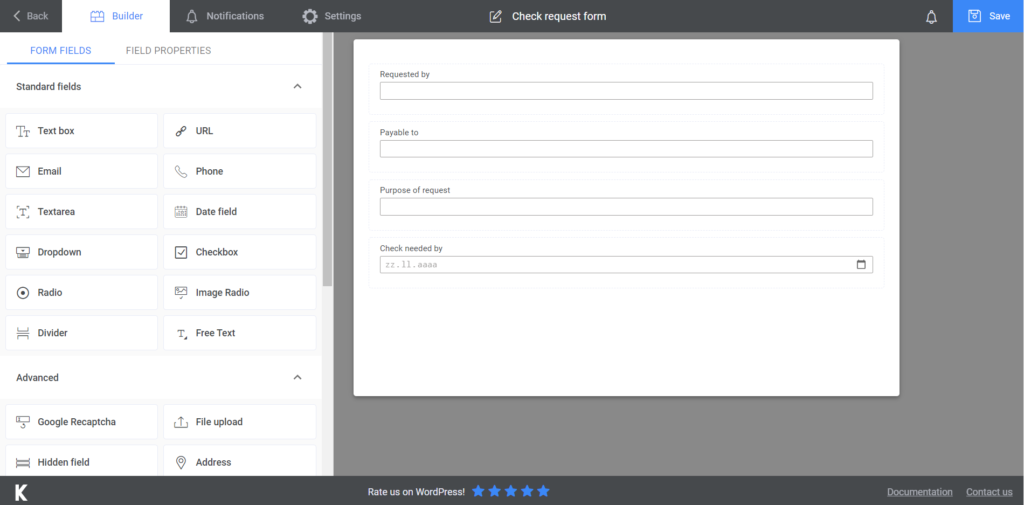
What you need to know before beginning this part is the fact that all the options that can be added in this form are customizable. You’ll see a complete list of them on the left side of your screen. After you’ve chosen one, you just have to click on it and instead of the menu, the customization options will appear. Name your fields, add a description, or make it required to fill. It’s as easy as that.
I began by adding a few Text fields, for some essential pieces of information, such as the purpose of the request, who is it requested by and who is it payable to, and the amount that’s to be paid. On top of that, I added a Date field, to have a deadline for the payment.
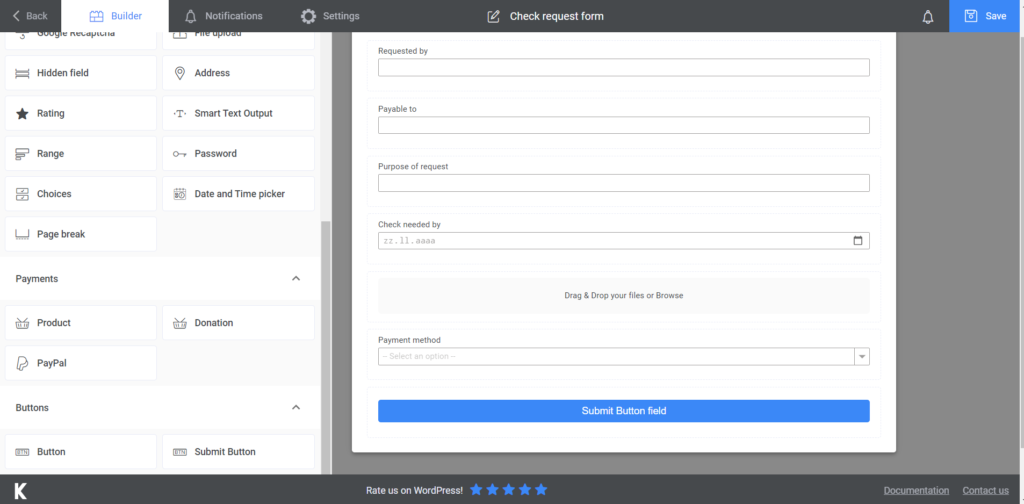
If there’s any extra documentation that needs to be attached to this form, choose a File Upload field. Now everything they submit will be in one place. After that, you need to create a field for the payment method. Kali Forms gives you a PayPal option, but you can just add a Dropdown field with your preferred option (such as direct deposit, hand-deliver, mail, etc.). The last step is adding a Submit button.
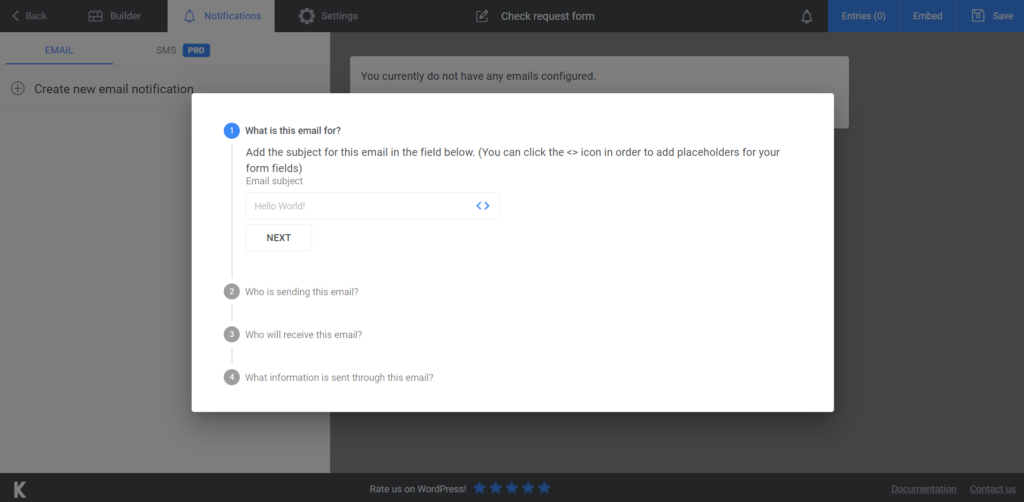
You also have the option to send either confirmation e-mails or notifications to people – either the ones who submitted the form or those who are supposed to handle it. Go to the Notifications section and there’s the step by step process of how to create such e-mails. However, if you’re not handling it, here’s a tutorial on how to do it. If you think about going pro, you’ll be able to also send SMS notifications.
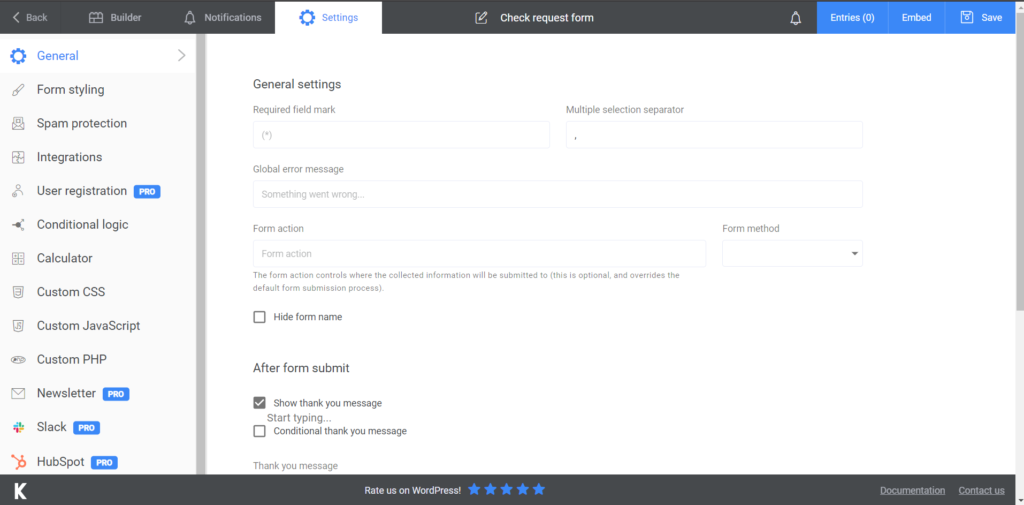
The last step is to go to the Settings section and see if you’d like to change anything there. You can show a thank you message in the end or choose your Form Style.
Add the check request form on your website
After you’re done putting everything in place, you need to Save your form. A shortcode will be generated, and you’ll have to either create a new page for it or insert it in an already existing one.
Remember that you can also export your data in CVS or Excel to have it stored somewhere safe.
Summary

Now that you have all the necessary information, you just have to get started with creating your first form. This process is indeed very simple if you choose Kali Forms as your trustworthy tool. Give it a try and see for yourself why we praise it so much.